Creating a VM Template in Proxmox

Introduction
Proxmox has been my go-to choice as a hypervisor for the last several months, after migrating off of VMWare, my previous choice in hypervisor. It offers a plethora of features and functionality, including the ability to create VM templates.
While it is easy to click through all of the various configuration and settings pages needed to create a new VM in Proxmox, it is not necessarily the most time efficient method of spinning up a new VM. Templates within Proxmox allow you to easily spin up a new VM within seconds, rather than minutes, allowing you to scale your lab with ease. In a future blog post, I will show you how to further capitalize on this by utilizing Terraform but for today's post, we will be focusing solely on templates.
Preface
Before we begin, it is important to note that this tutorial will show you how to also bake in the qemu-guest-agent. I have seen many other tutorials that omit this, or in some cases, the tutorial will instruct you to use libguestfs-toolsto inject the agent into your cloud-init image. The problem with this, is that it sets a machine-id that will then get copied over to all VMs you end up creating based off of your the template. This, in my experience, can become problematic fairly quickly. Especially with DHCP/networking confusion.
My goal in writing this tutorial is provide a better way to have an Proxmox template with the guest agent baked in. That being said, let's begin
Initial Steps
Step One:
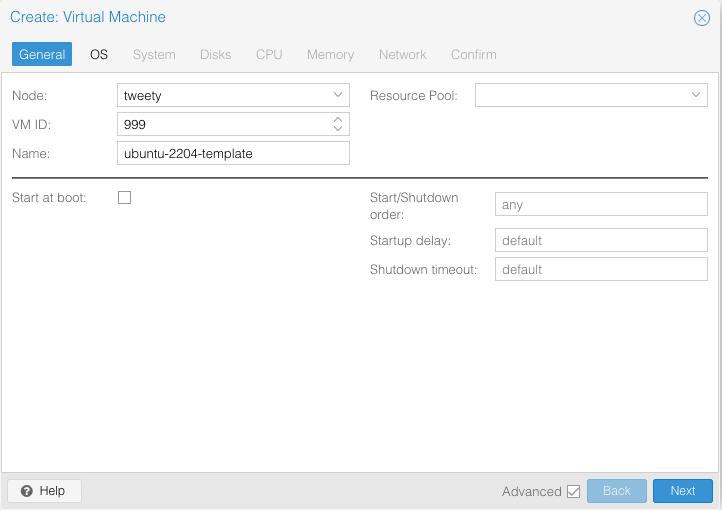
Creating a template within Proxmox is easy. Start by selecting the "Create VM" option within the Proxmox GUI and populate it in a manner similar to what is shown above.
I have personally chosen to give my template an ID of a higher number to prevent it from being numerically mixed in with the rest of my VMs. I have also given it a name to indicate the distro version this specific template will install.
Step Two:
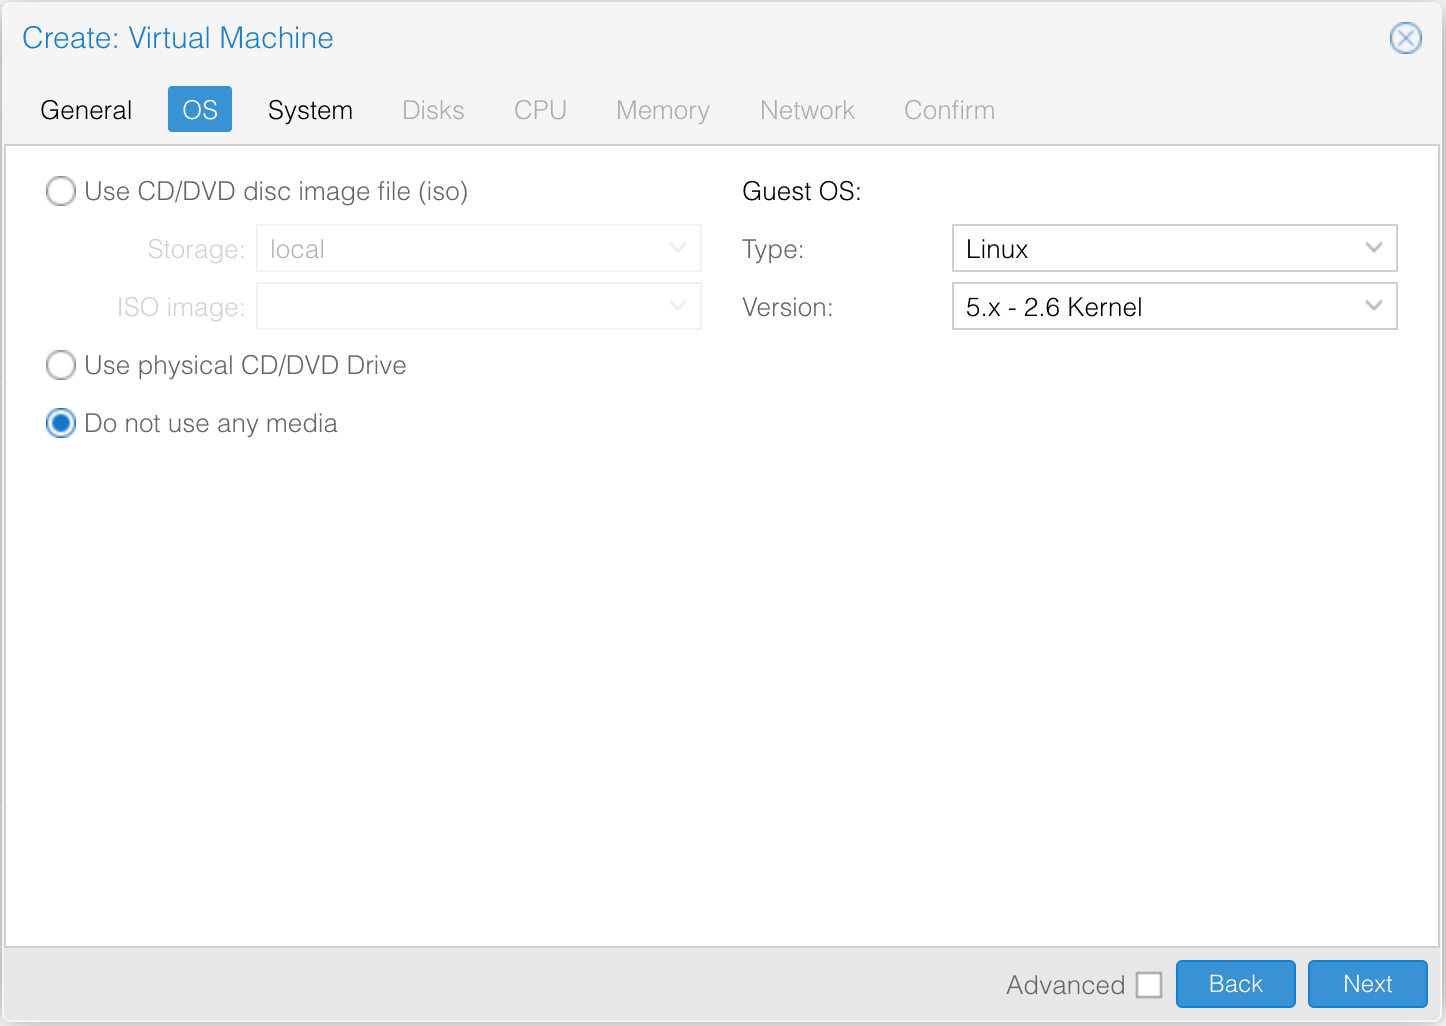
For the next step, simply select "Do not use any media". All other options can remain their default values.
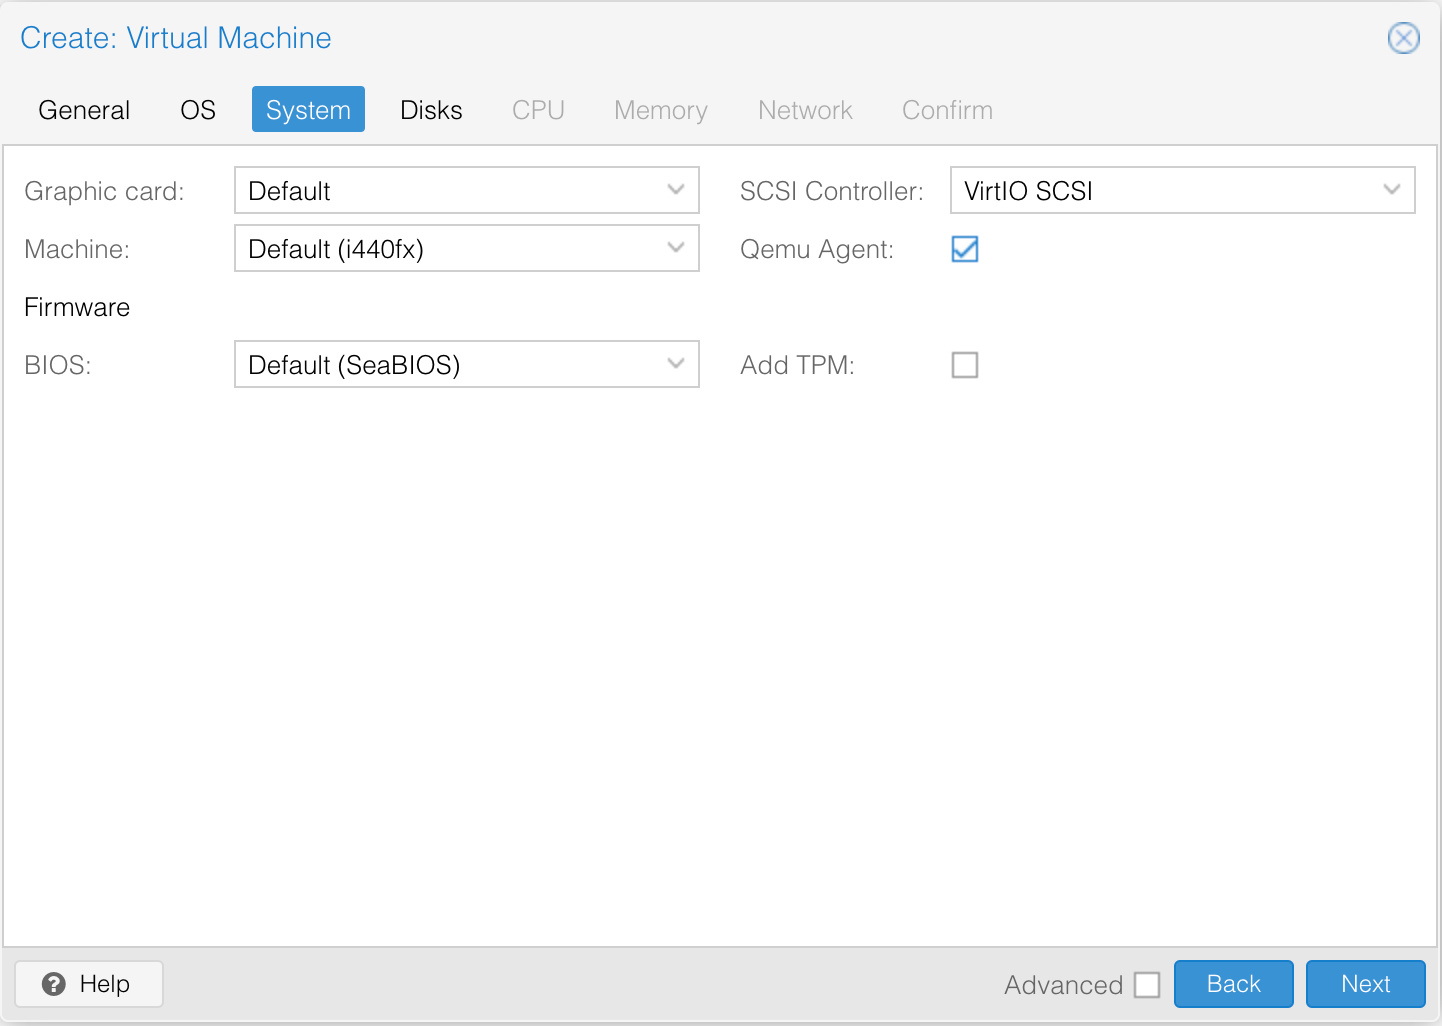
On the next screen, all that is required is for you to enable the "Qemu Agent" checkbox. The guest agent provides additional functionality between the VM and Proxmox, itself.
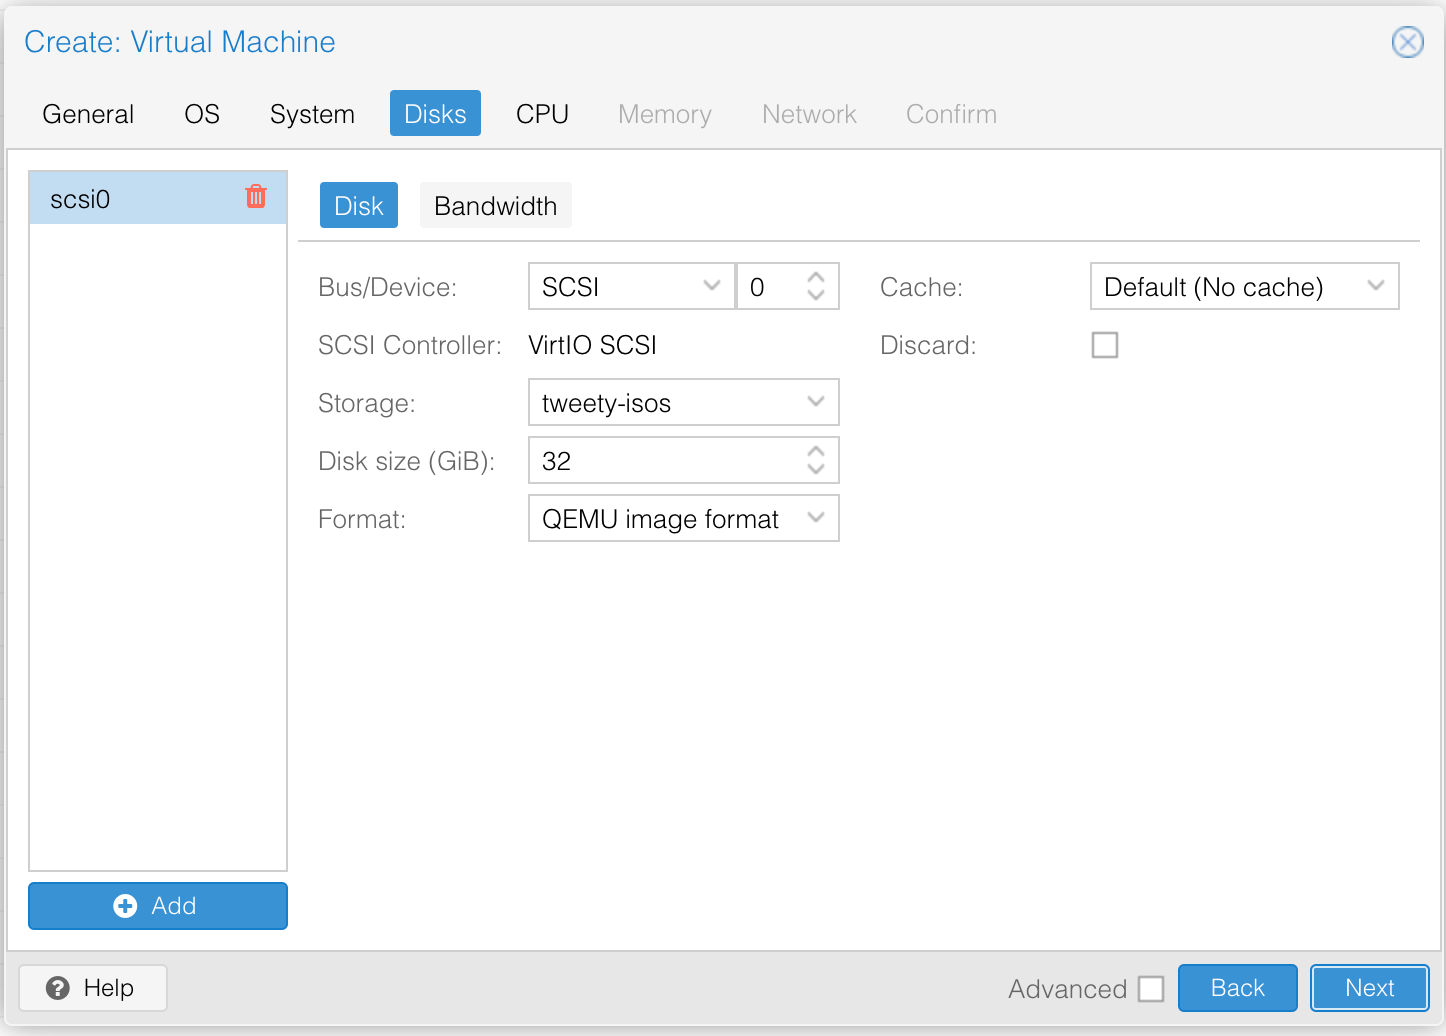
Next, all that is required is to delete the default scsi0 disk created by Proxmox. We will instead create our own farther along in the tutorial.
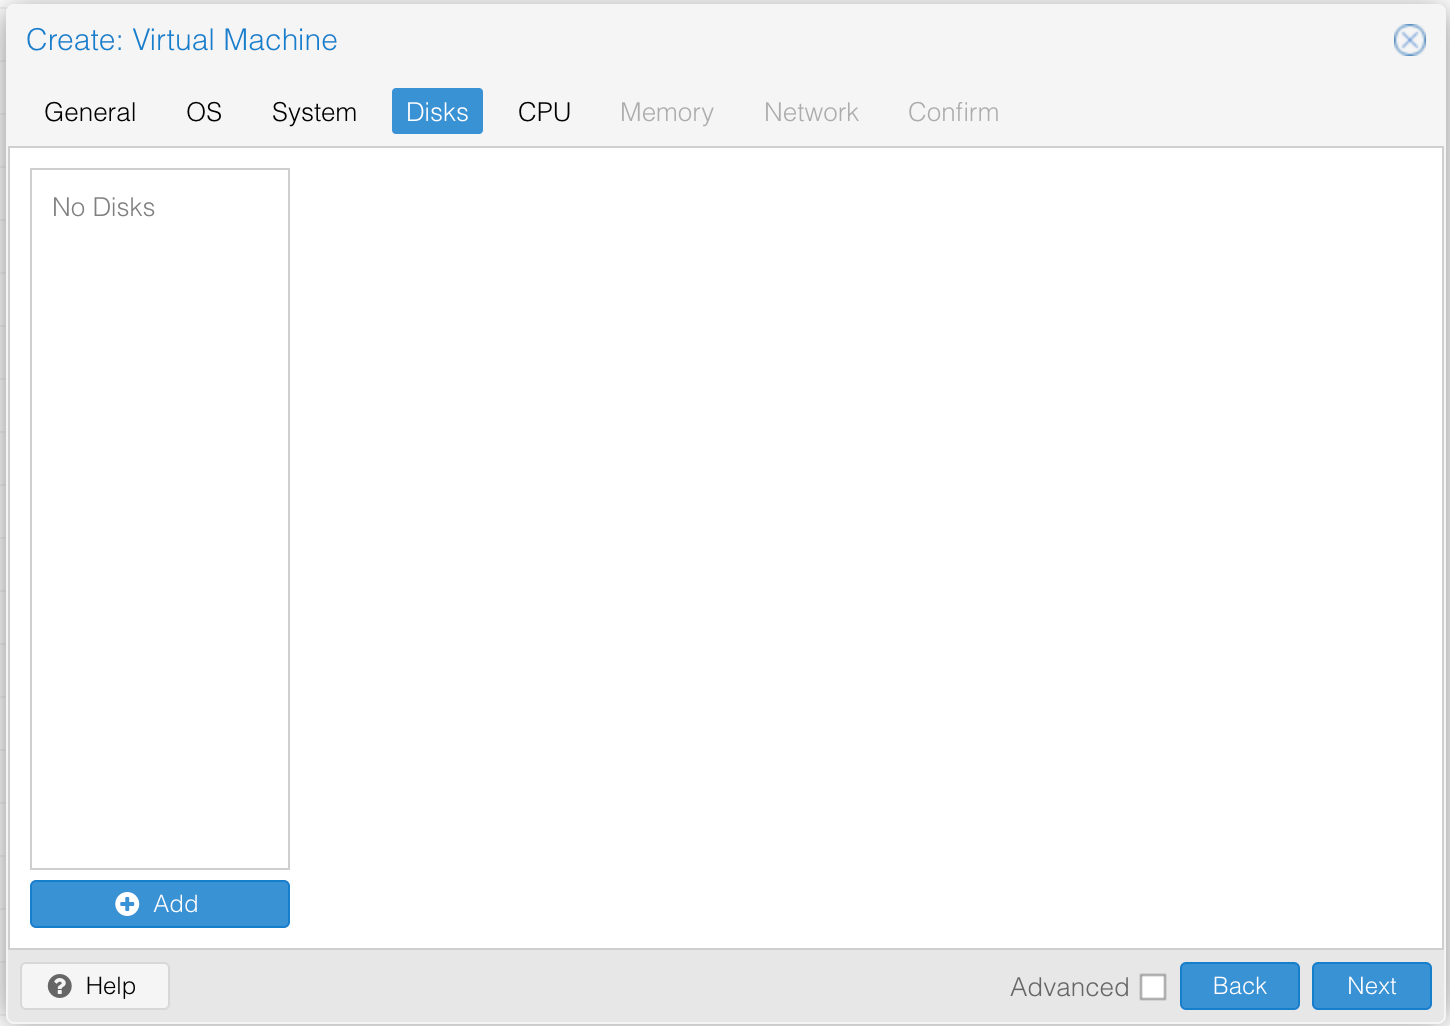
Confirm that the disk has been removed from the template
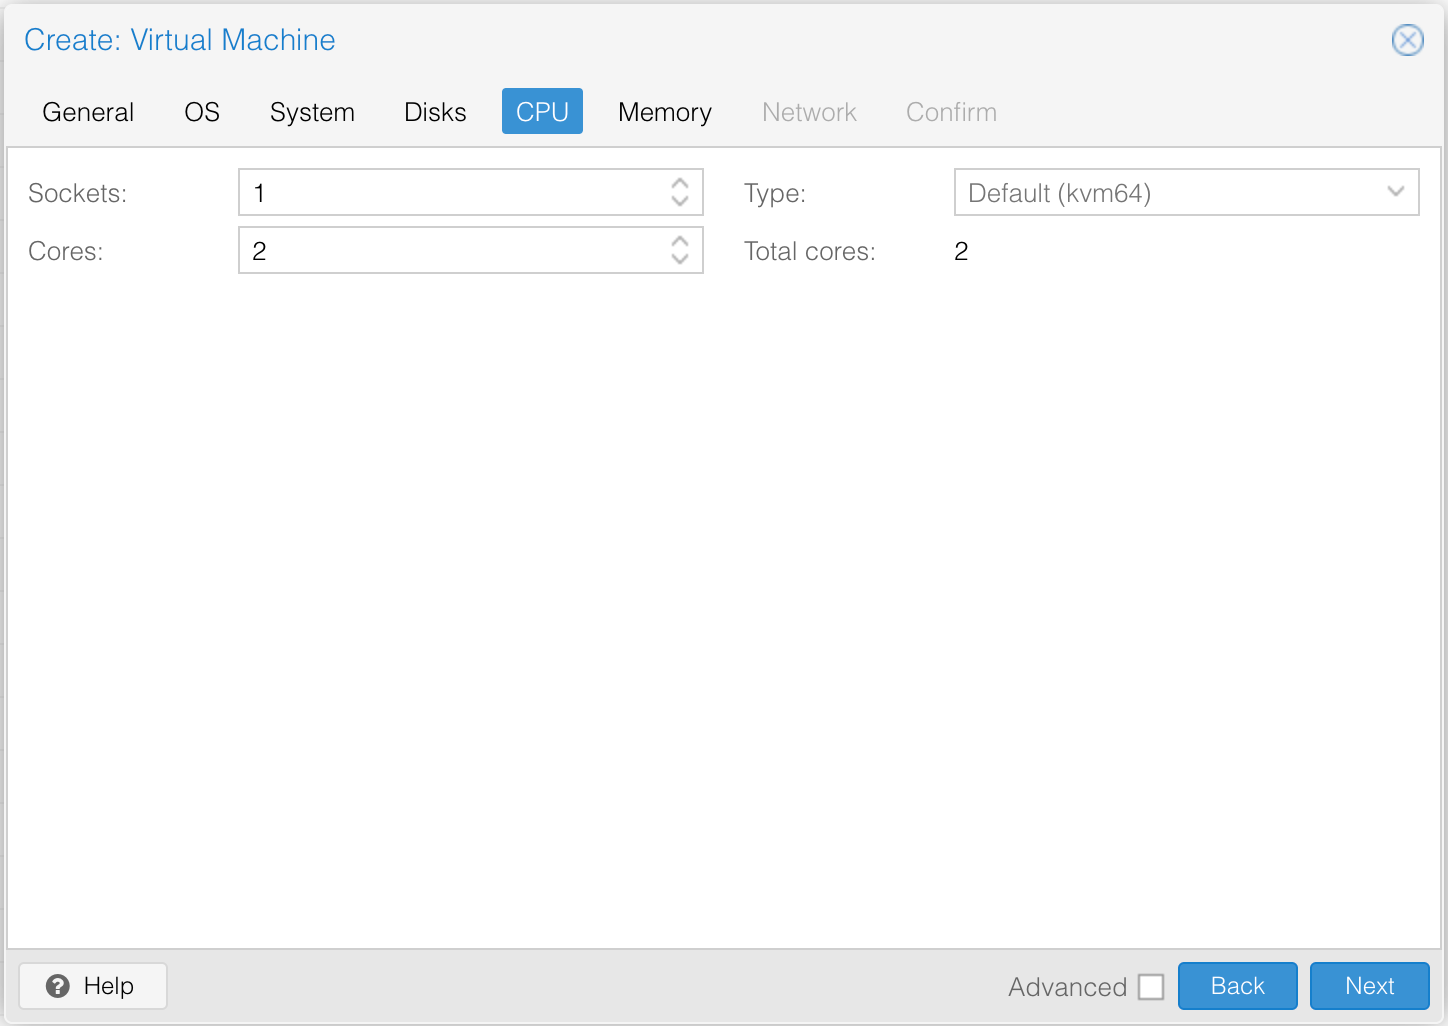
Now it is time to decide on a default value of cores you would like for future VMs derived from this template to have. You can change this to be higher or lower in the future but it is good to choose an all around go-to number of cores at this step.
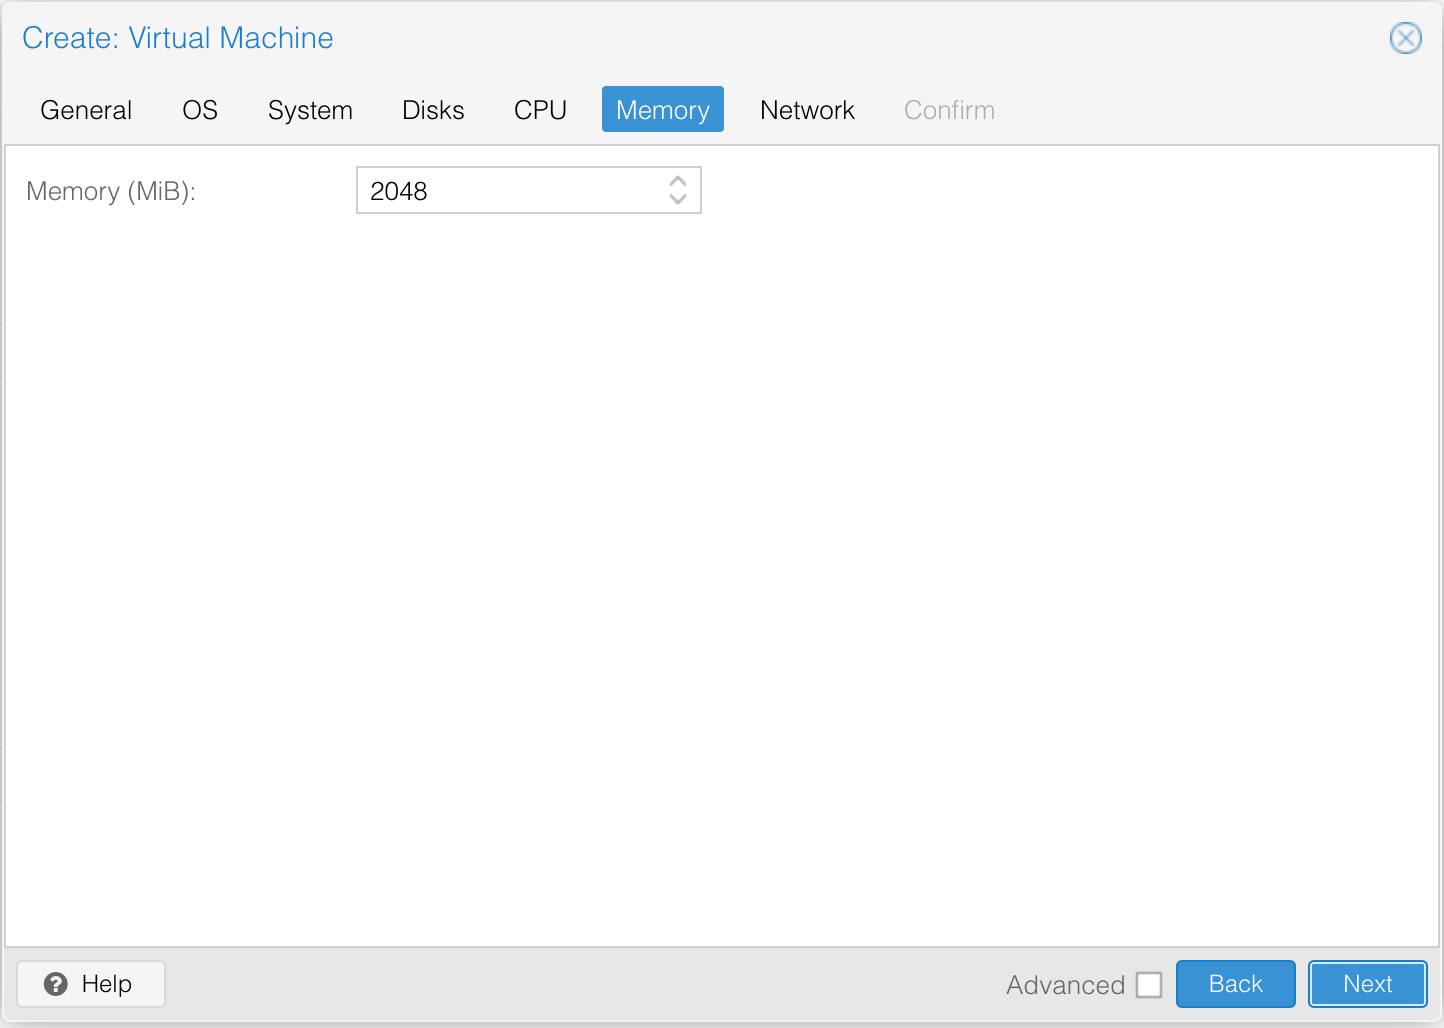
Similar to the previous step, set a default value of RAM you would like to have for your template derived VMs.
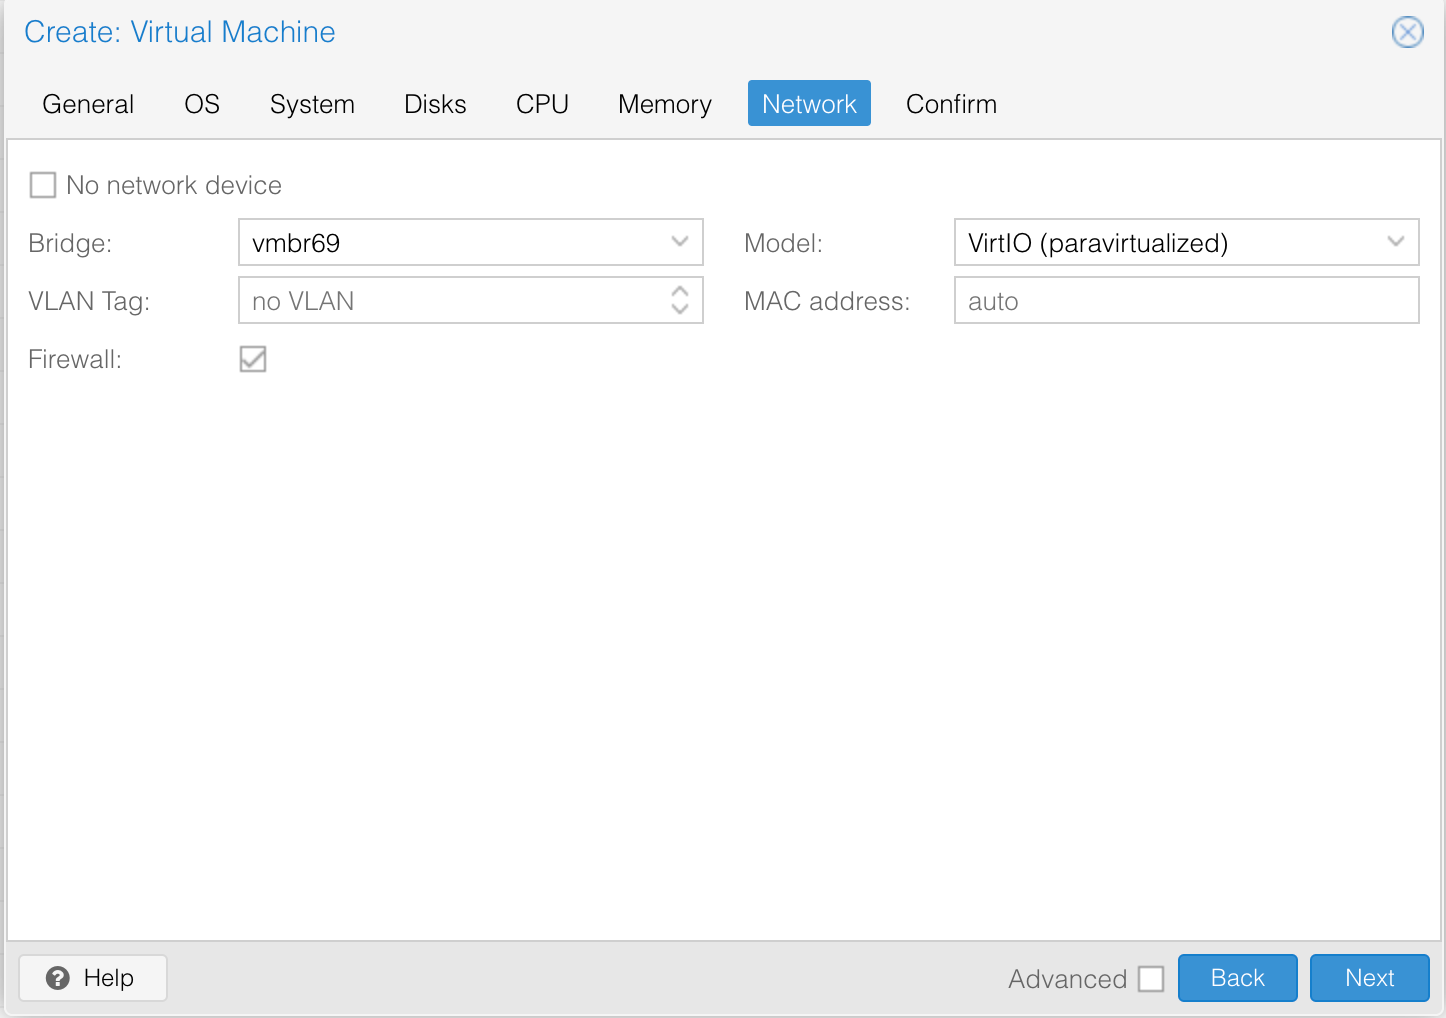
On this step, select the bridge you would like to use. You can also specify a VLAN, depending on your network configuration.
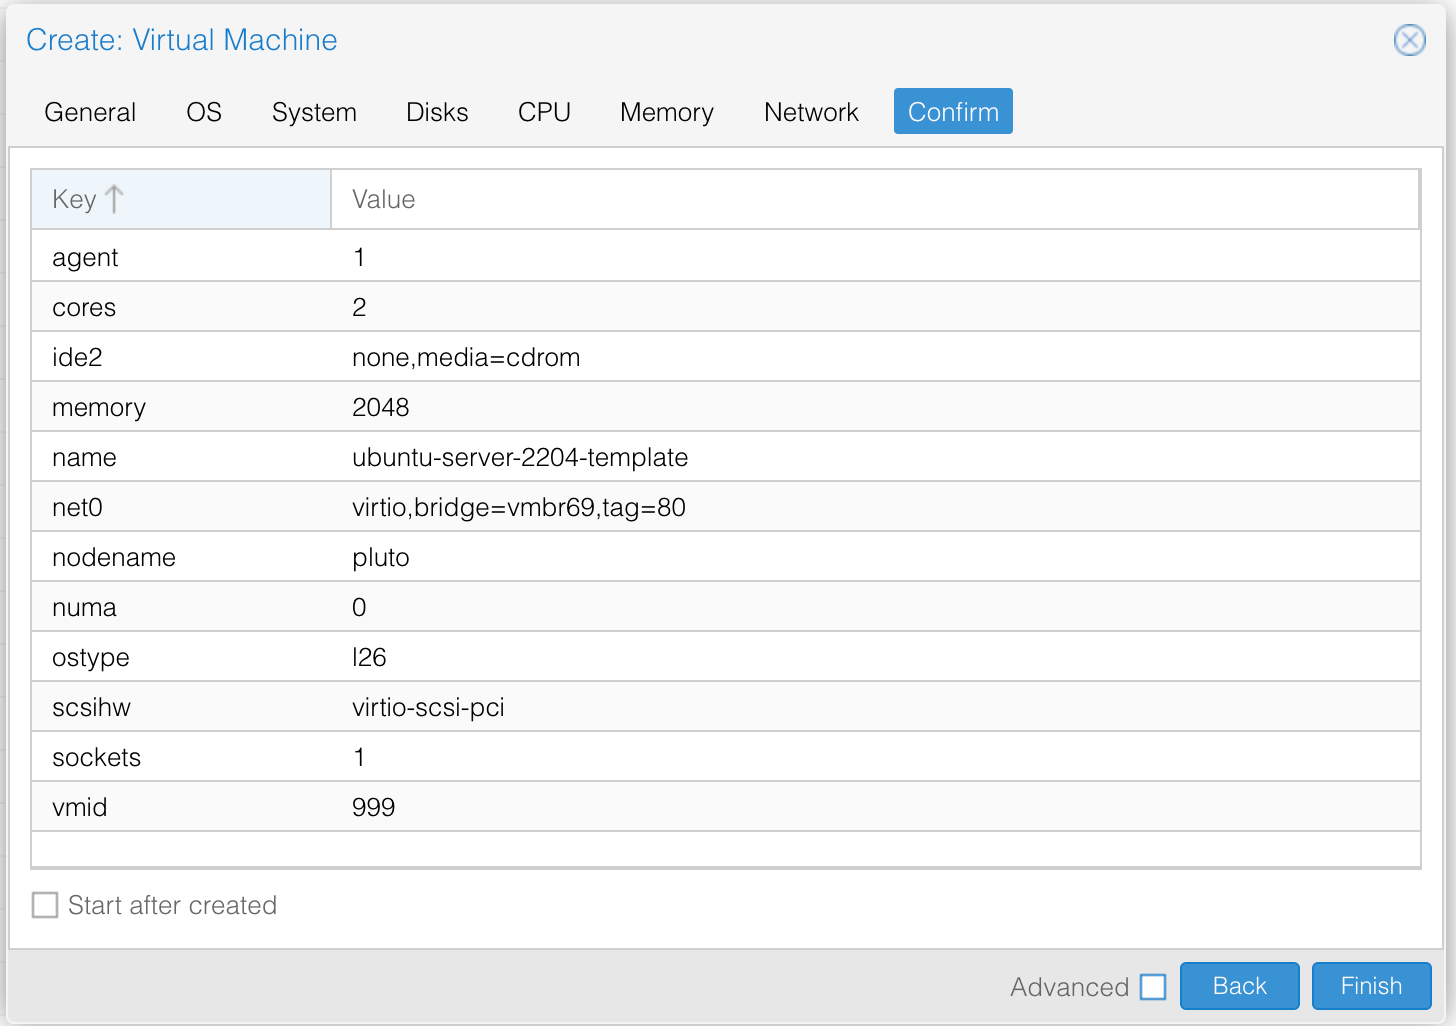
Review settings and click "Finish"
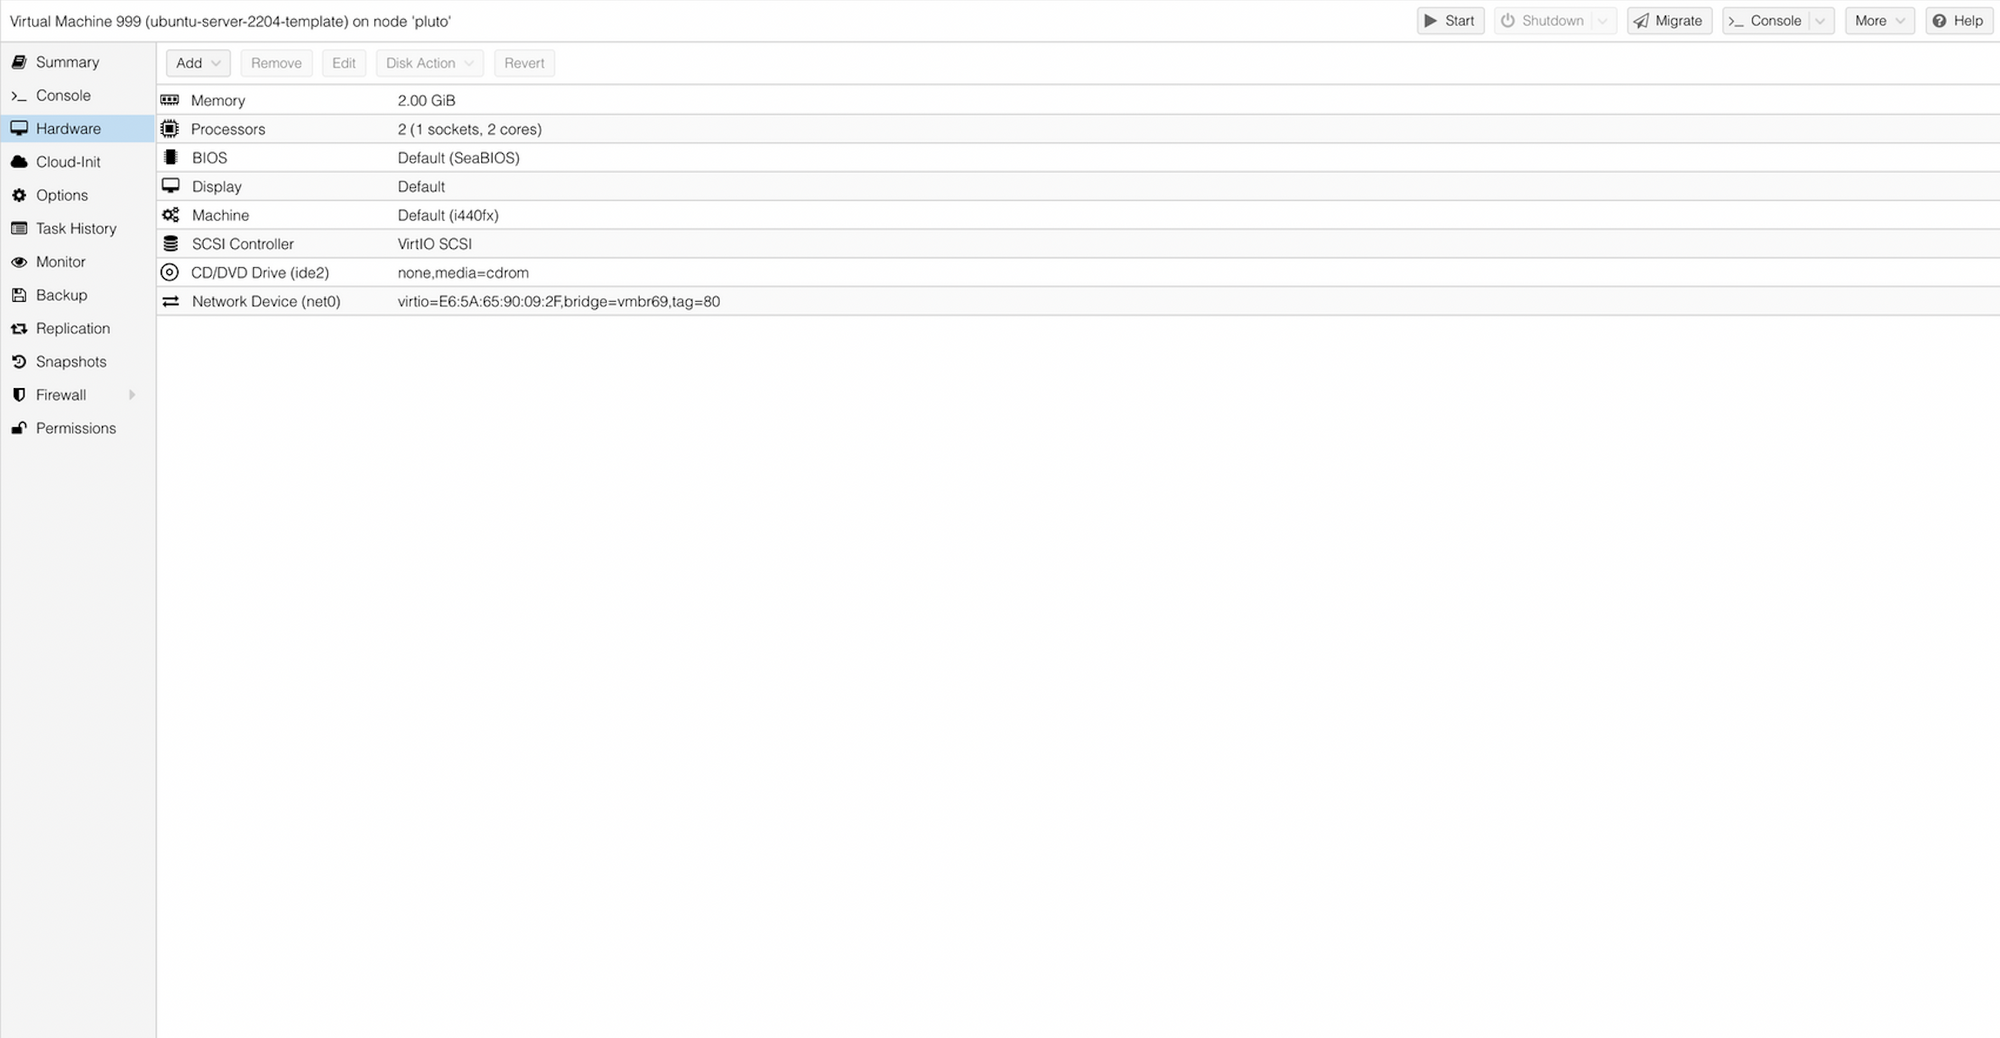
The VM should now show up in the left hand panel with the rest of your VM inventory. Select it and navigate to the "Hardware" tab
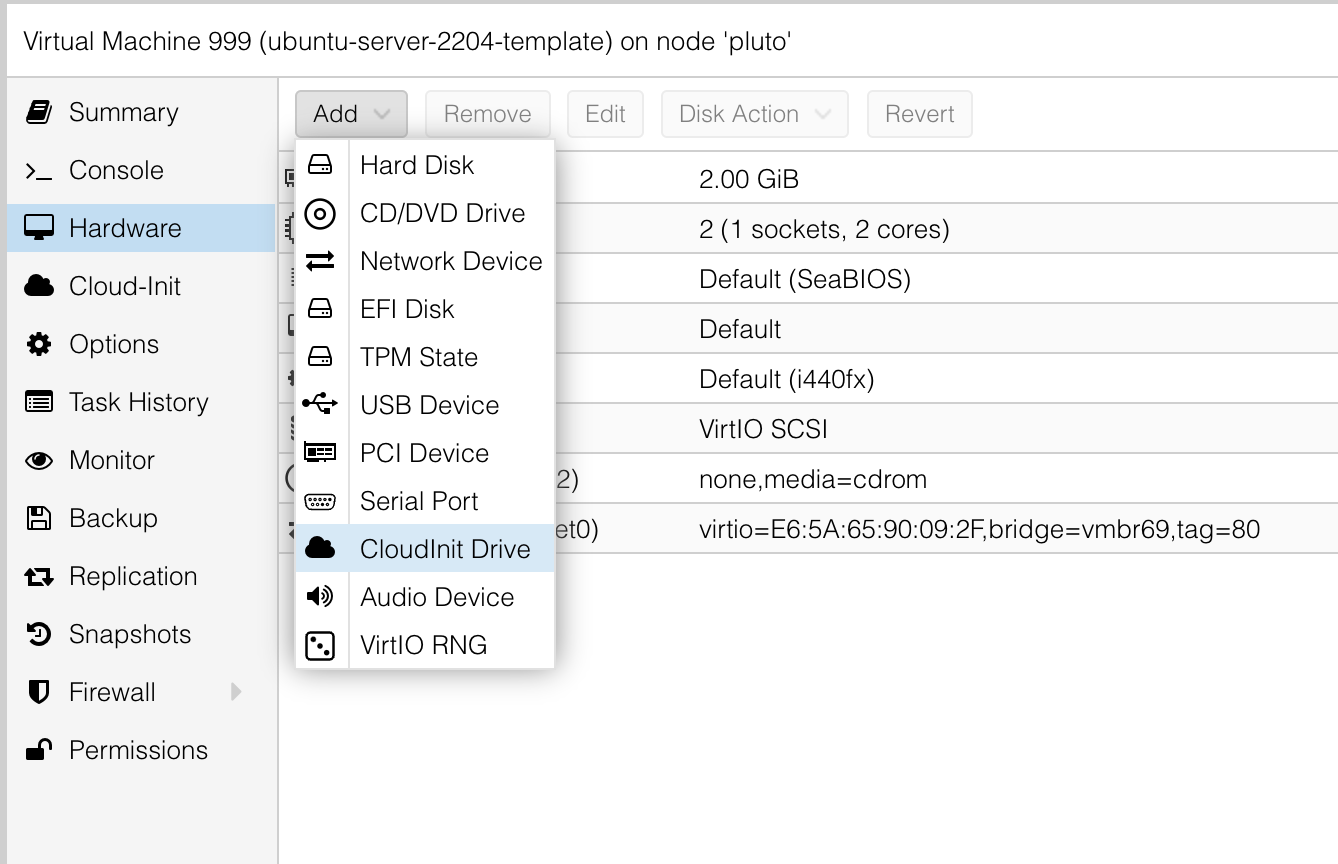
Here we will add a Cloudinit Drive

Select the name of the storage pool you would like to use
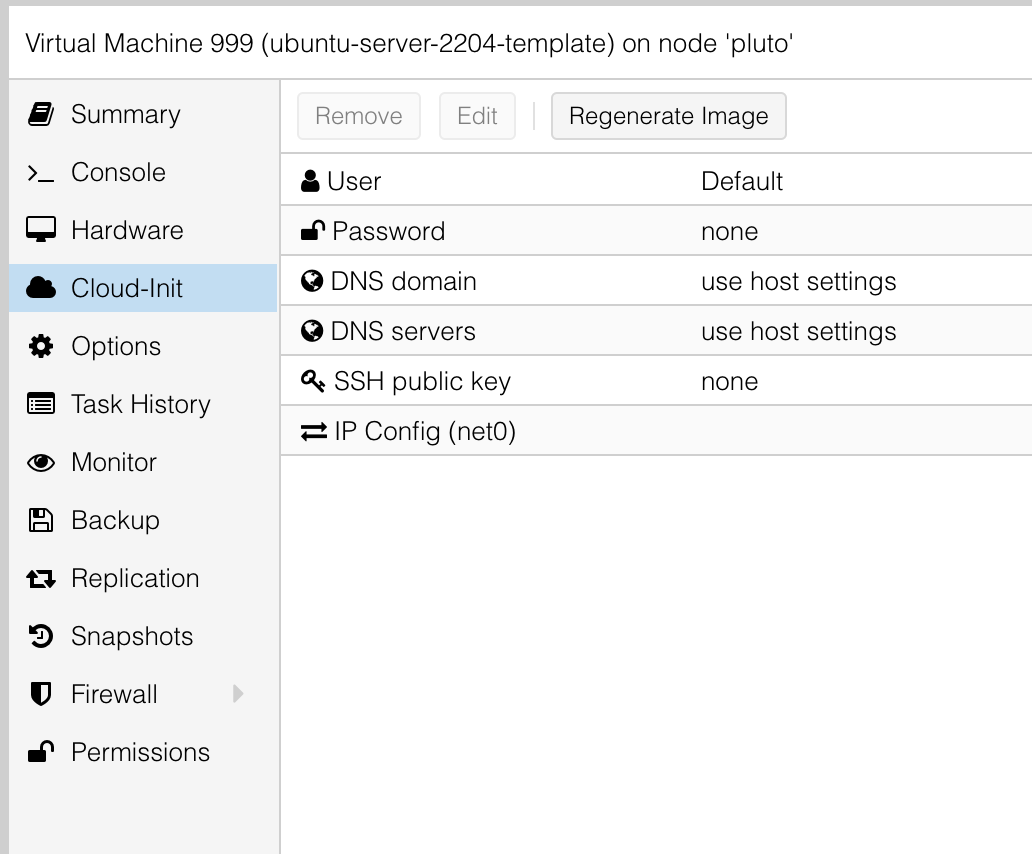
Next, navigate to the "Cloud-Init" tab for the template. Here you will be able to configure some of the default settings for the template that take advantage of cloud-init's capabilities
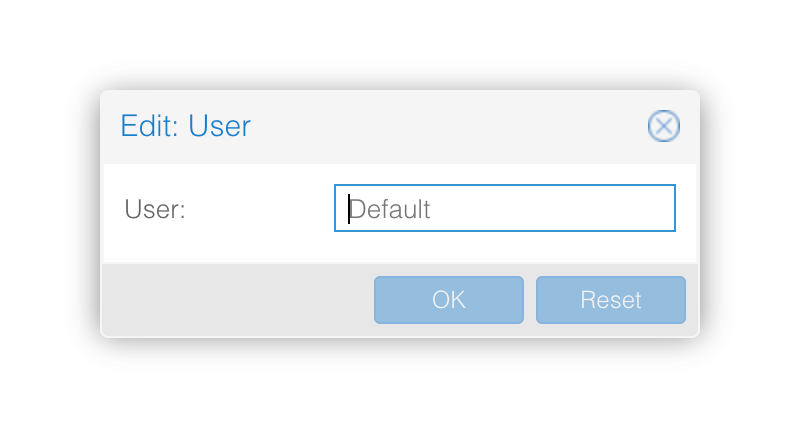
For my purposes, I am adding a default user to be created when a new VM is spun up. You can populate this field with whatever you'd like your default user to be named
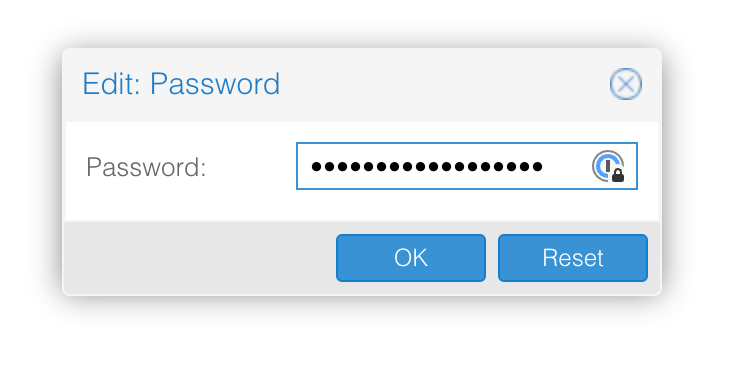
With your username defined, you will also want to configure a password for your account. It is important to ensure this is spelled correctly.

It is also a great idea to paste your public key value in the "SSH public key" section of the cloud-init settings.
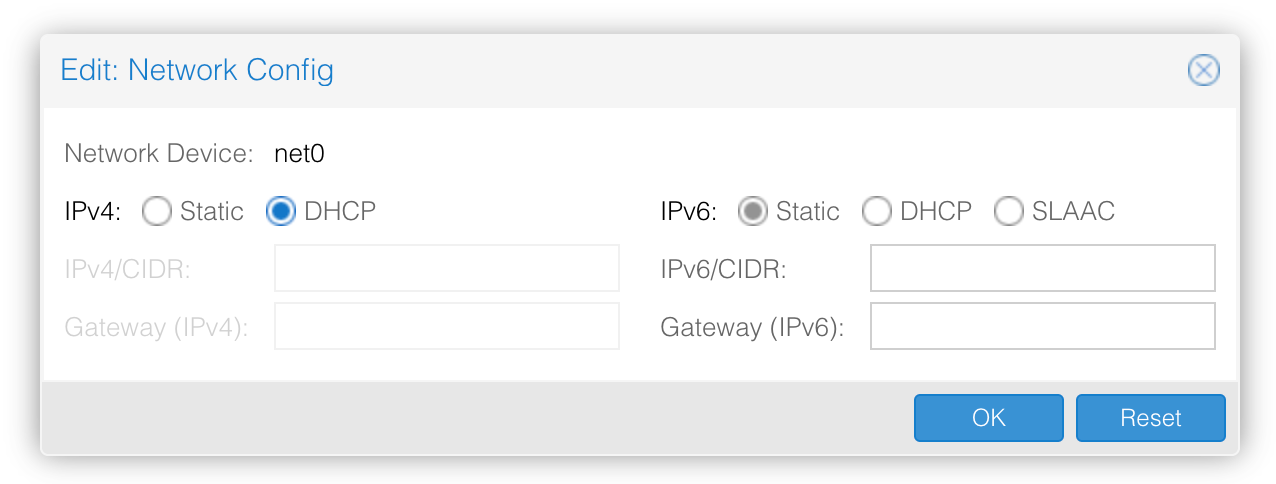
For my network config, rather than relying on the default settings, I have configured the template to use DHCP.
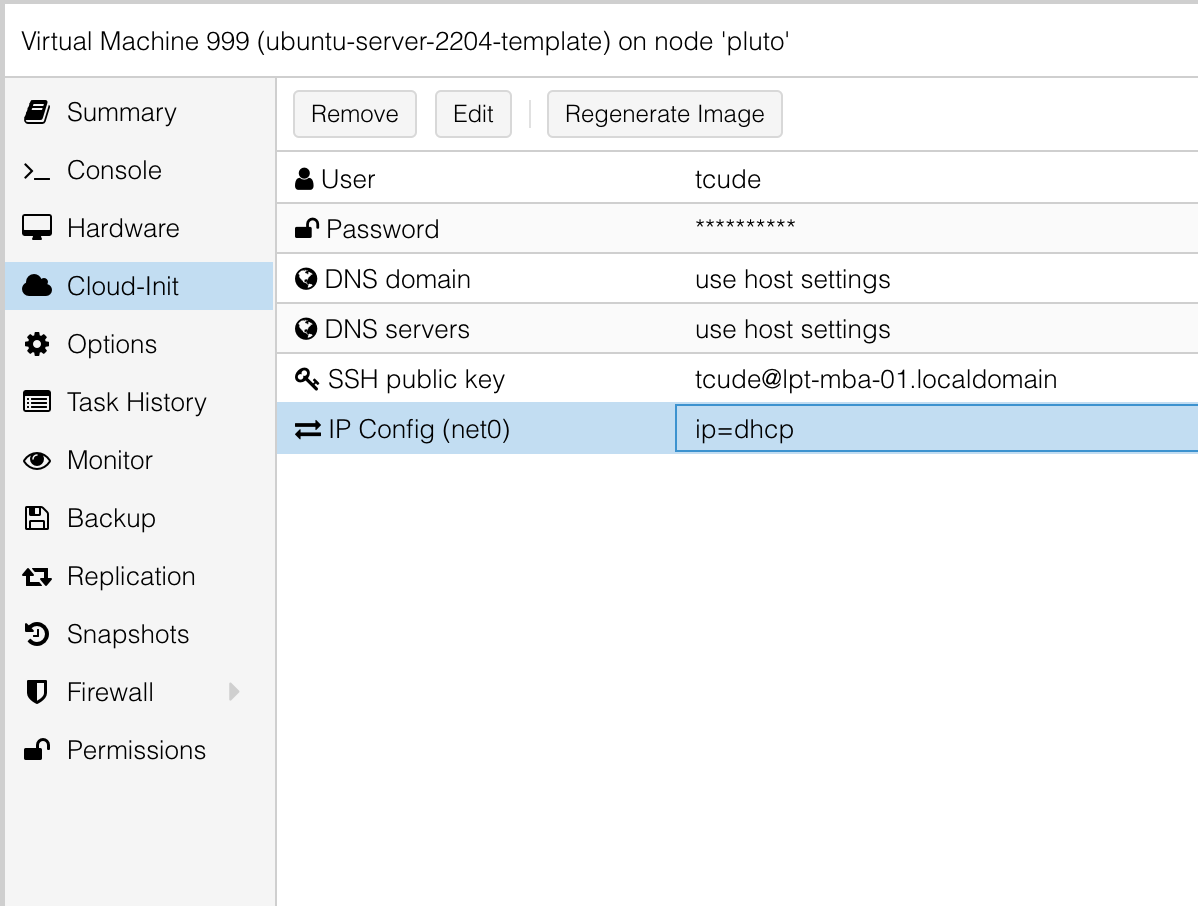
With that, you should now have all settings configured for Cloud-init.
Once done, click the "Regenerate Image" button shown in the image above.
Command Line Configuration
At this point, you will now need to do a bit of work in the command line. You can do so by SSH'ing into your Proxmox host.
To start, you will need to download the cloud image of Ubuntu 22.04 from the following link:
https://cloud-images.ubuntu.com/releases/jammy/release/
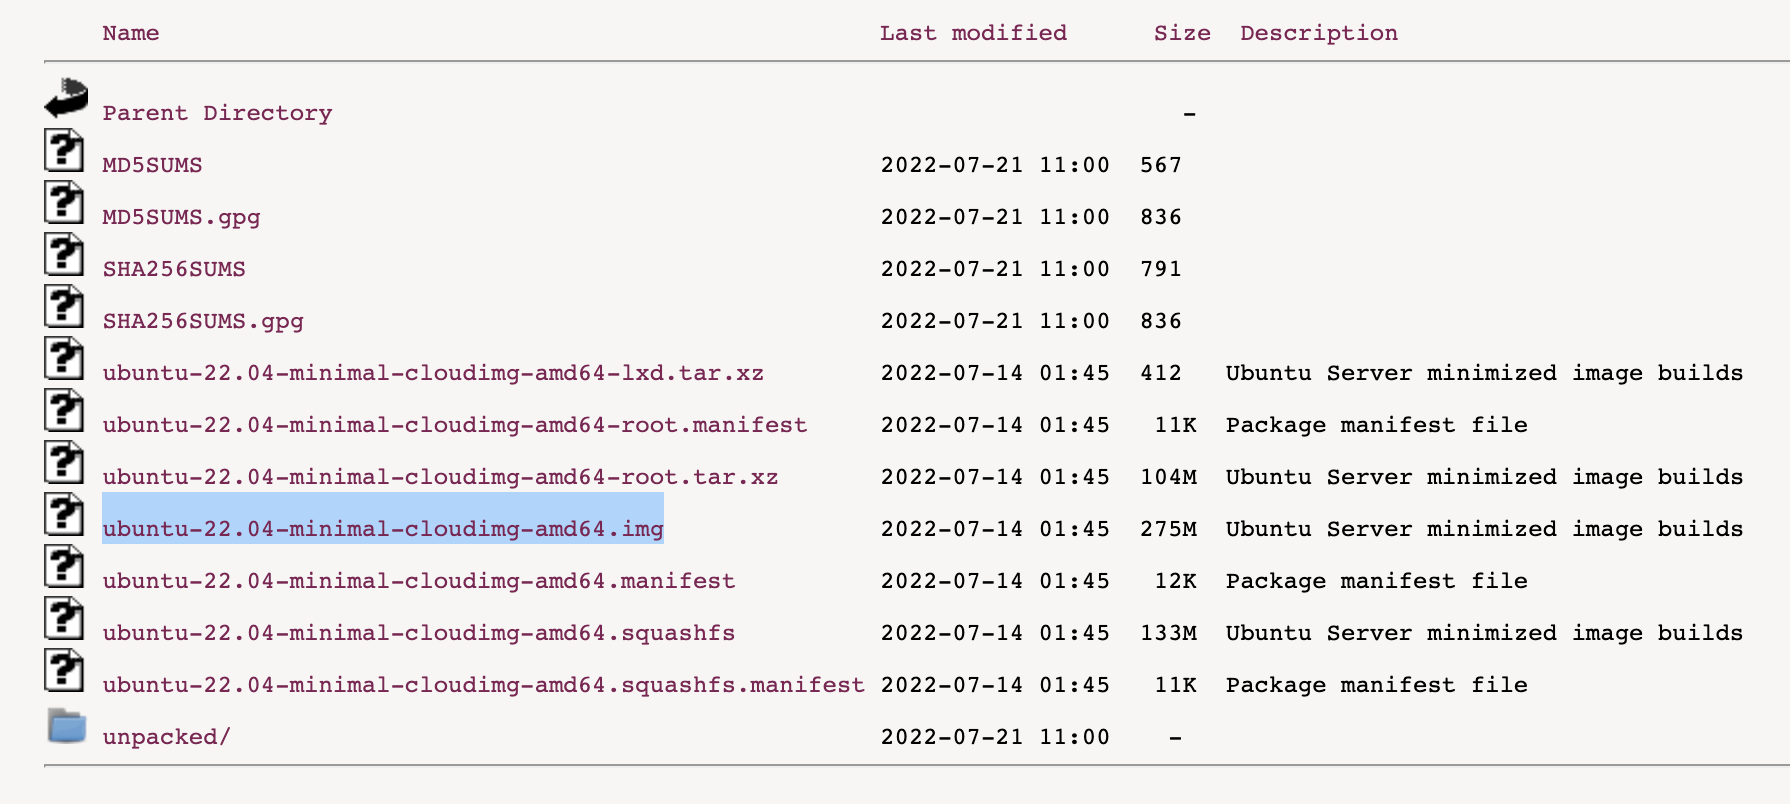
Right click the .img and click "copy link address"
Now, while SSH'd into your Proxmox server, you will wget the file with the link you just copied:
wget https://cloud-images.ubuntu.com/releases/jammy/release/ubuntu-22.04-server-cloudimg-amd64.img
wget is a command line tool that allows you to download things through the terminal
Running ls -l, you should be able to see the file you just downloaded
root@pluto:~# ls -l
total 281548
-rwxr-xr-x 1 root root      1288 Jul 13 17:09 qm_migrate.sh
-rw-r--r-- 1 root root 288292864 Jul 13 20:45 ubuntu-22.04-server-cloudimg-amd64.img
root@pluto:~#
Rename your newly downloaded image in the following way:
# mv ubuntu-22.04-server-cloudimg-amd64.img ubuntu-22.04-server.qcow2
root@taz:~# ls -l
total 642892
-rw-r--r-- 1 root root       797 Aug  4 22:43 interfaces_backup
-rwxr-xr-x 1 root root      1301 Aug  4 14:12 qm_migrate.sh
-rw-r--r-- 1 root root 658309120 Sep  1 21:40 ubuntu-22.04-server.qcow2
The .qcow2 file extension is required for Proxmox.
Enabling GUI Console Access
This command is necessary to be run to ensure the Proxmox GUI has console access to the VM. If not, you will likely not be able to see anything through the console page.
qm set <vm_id> --serial0 socket --vga serial0
Change <vm_id> to the number that corresponds with your template. For me, it would look like:
qm set 999 --serial0 socket --vga serial0
Another required command
Here you will set the disk size for your VM.
root@pluto:~# qemu-img resize ubuntu-22.04-server.qcow2 50G
Image resized.
root@pluto:~#
Then import the disk
qm importdisk 999 ubuntu-22.04-server.qcow2 zfs
Modify the previously shown command to fit your needs:
qm importdisk <vm_id> ubuntu-22.04-server.qcow2 <storage_name>
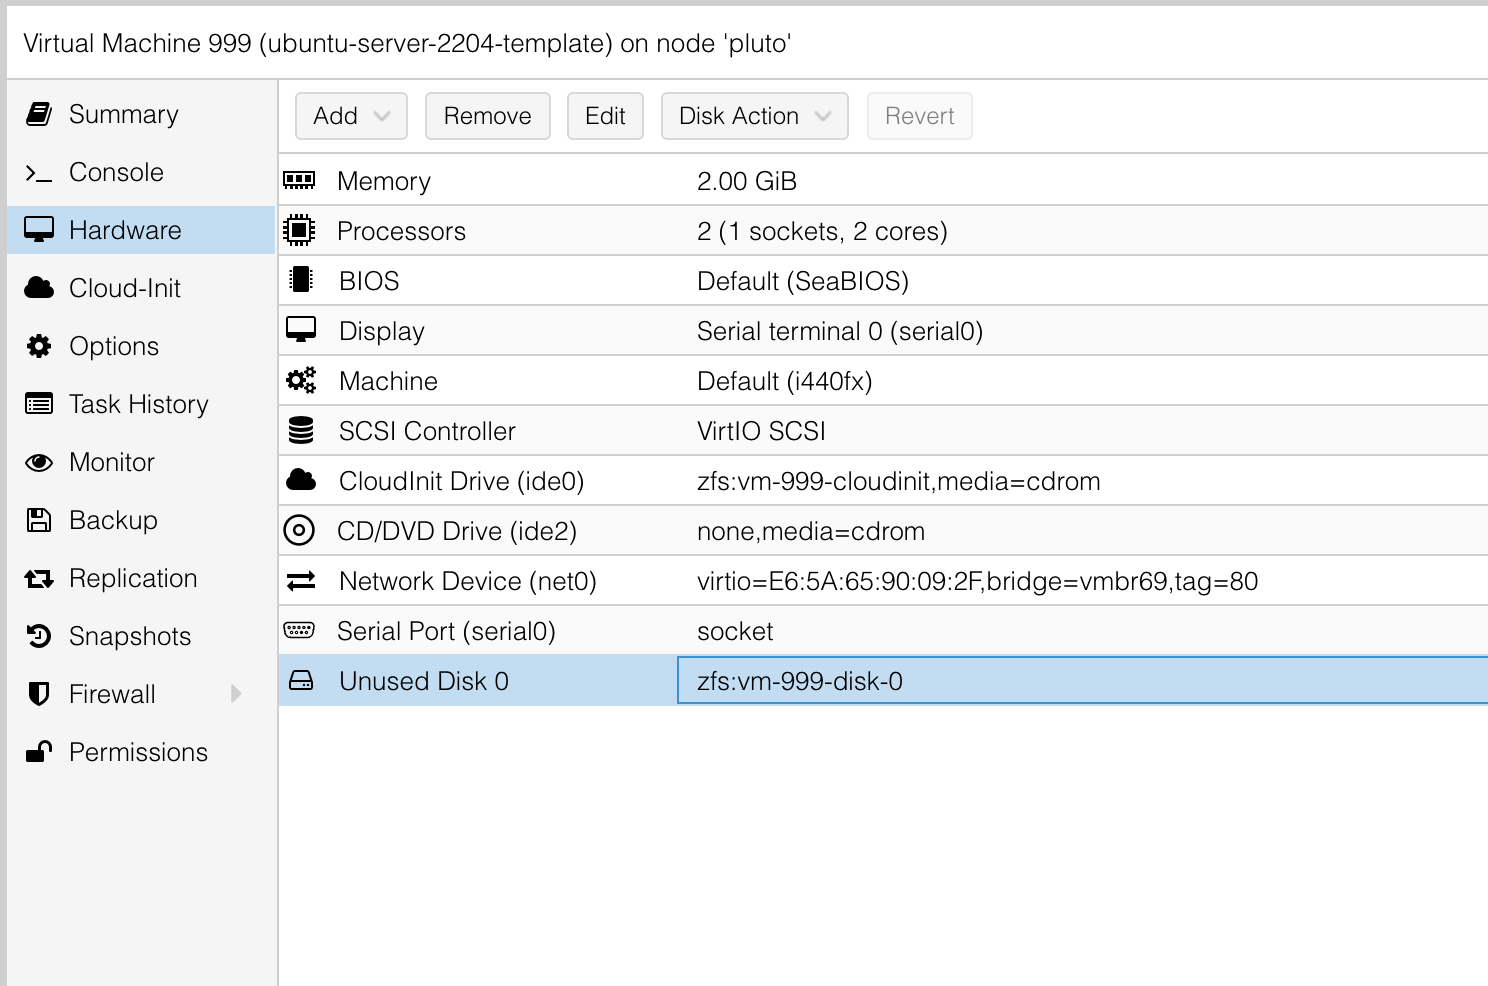
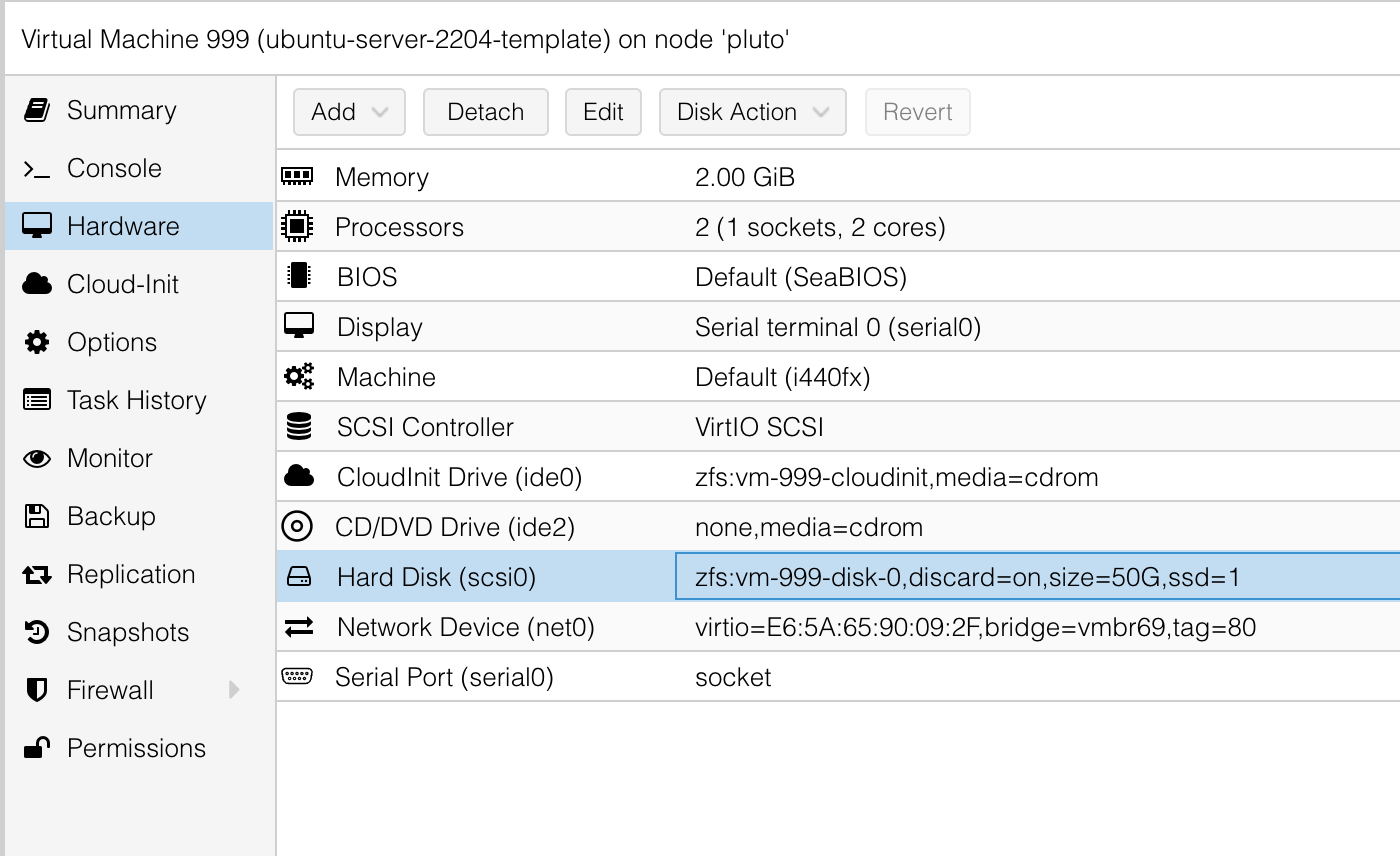
After running the command, you should see the change added successfully within the Hardware tab of the VM, as shown above.
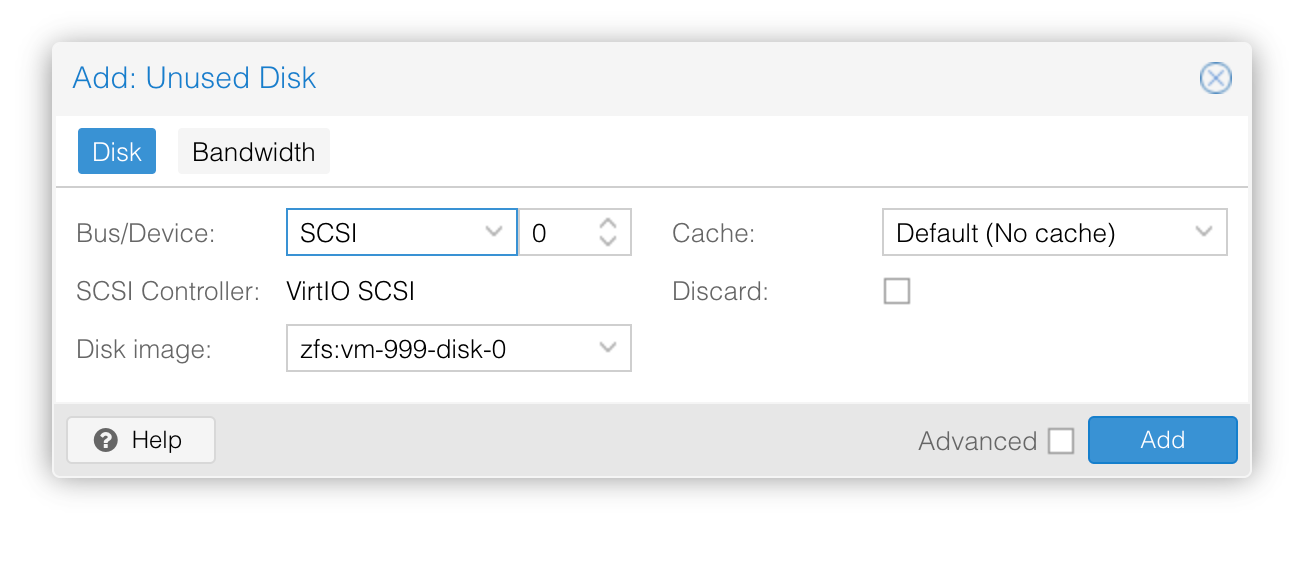
With the disk selected, you will now need to click Edit in order to add the disk
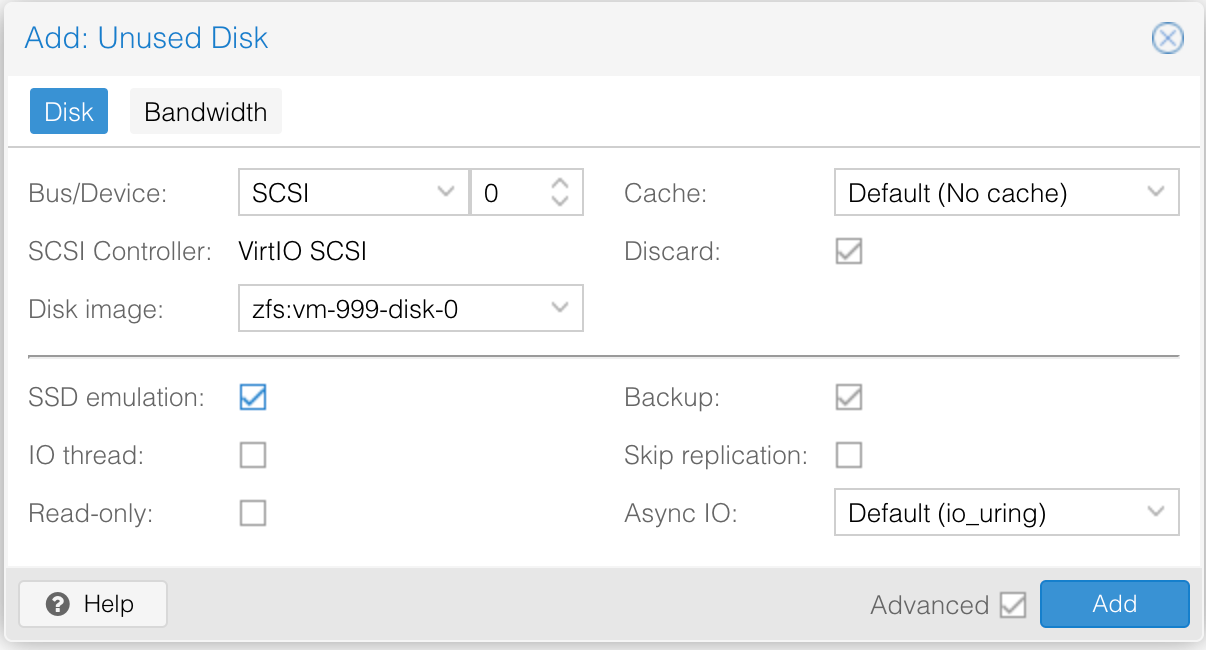
Before adding, I went ahead and enabled SSD emulation, as well as checking Discard to enable thin provisioning
Now we can see the previously unused disk is successfully set up to be utilized by the VM/template
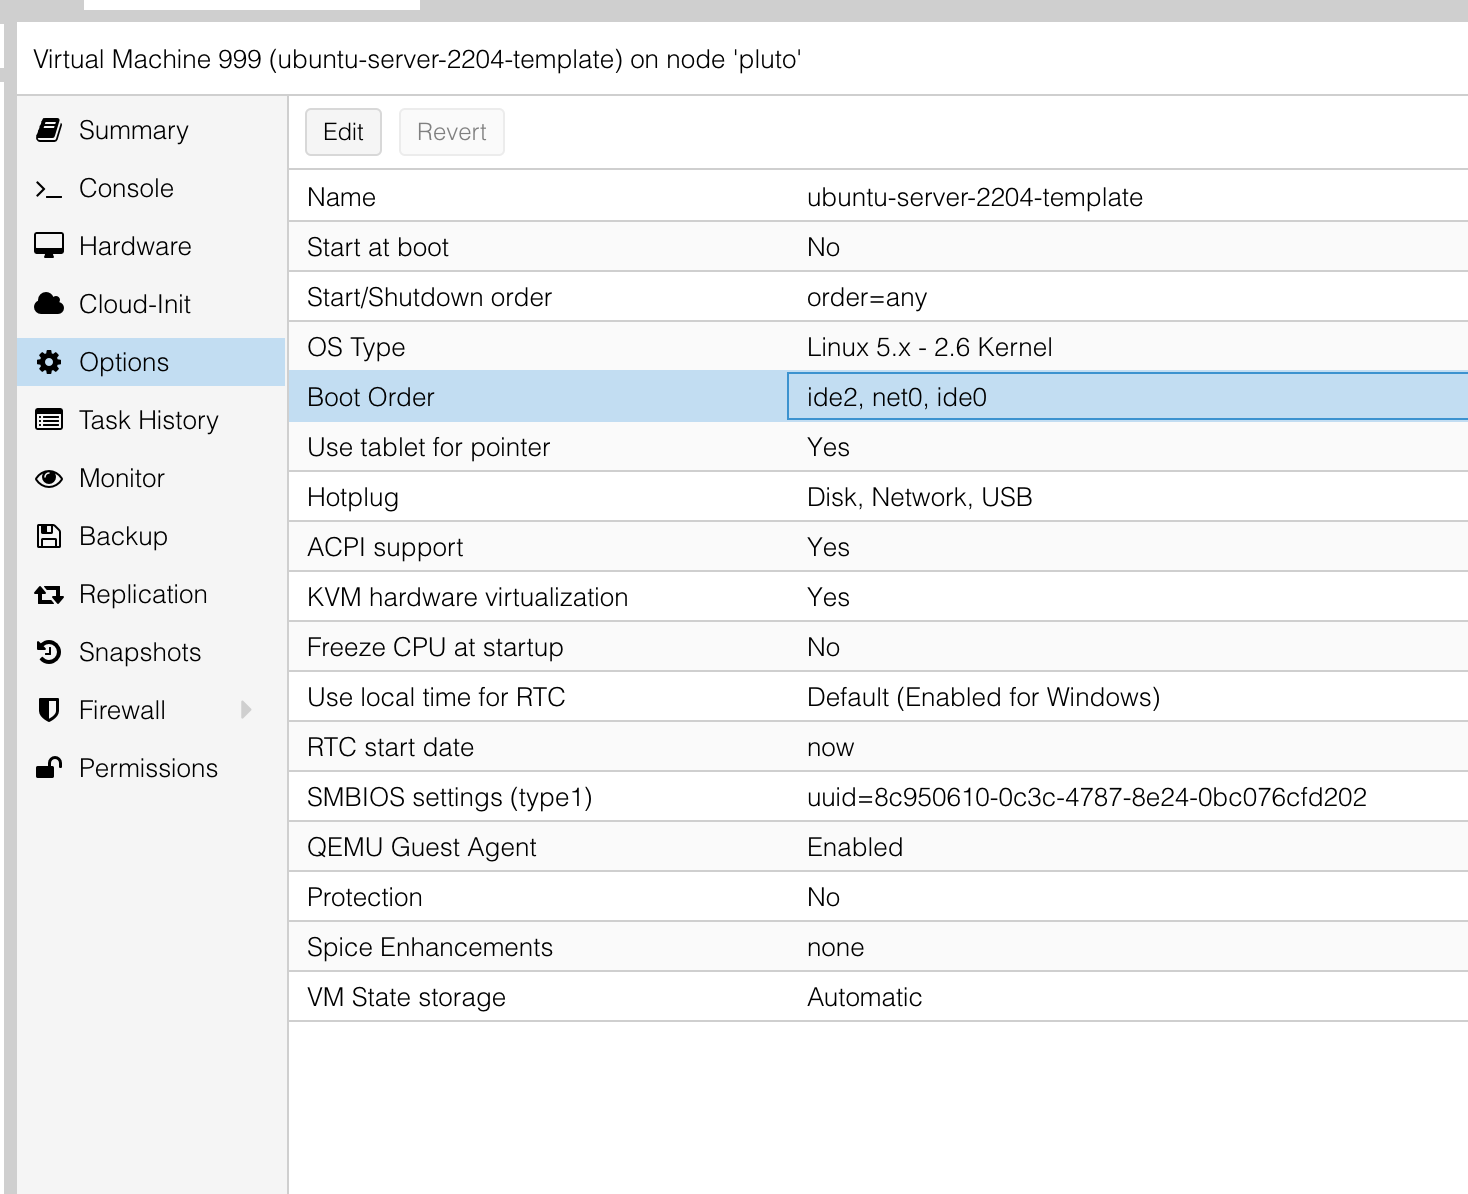
Next, under the Options tab, you will need to modify the Boot Order
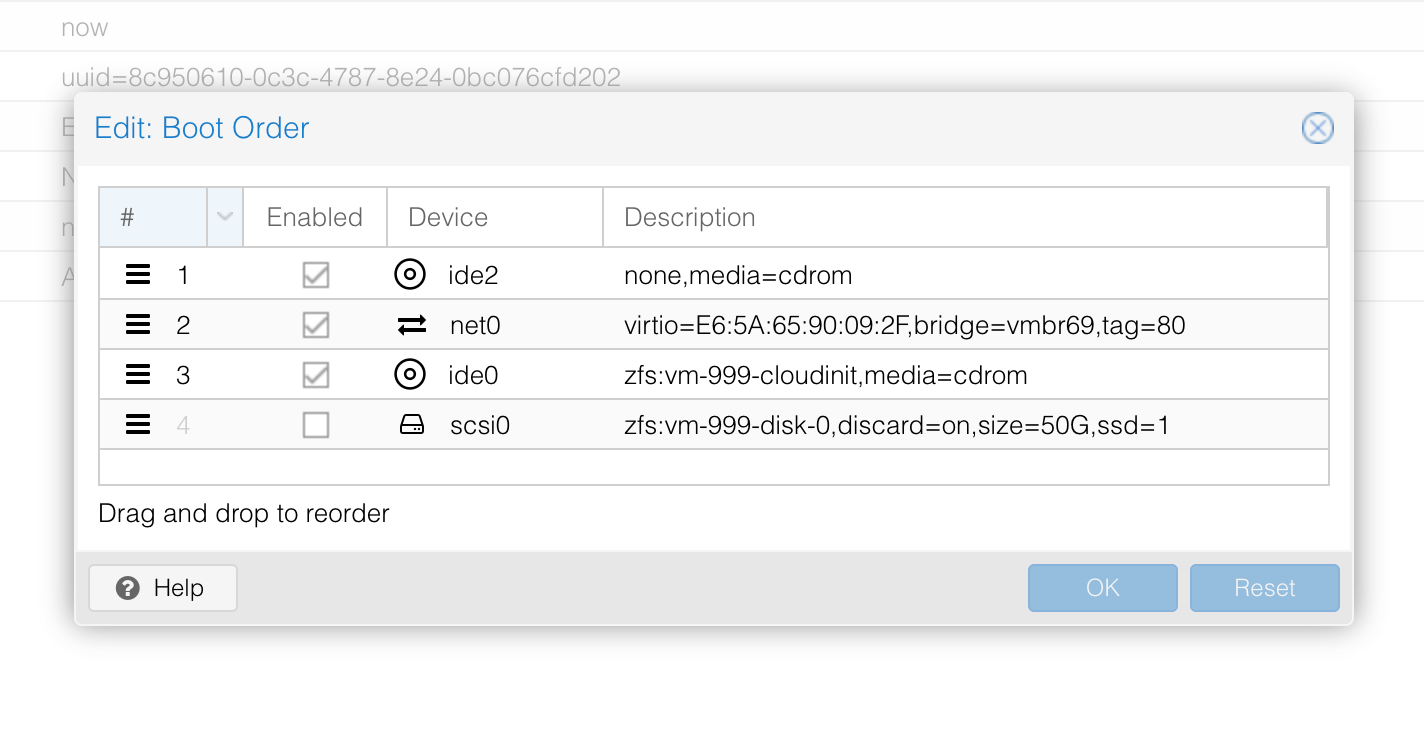
As you can see, your new device, shown above as scsi0, is not enabled.
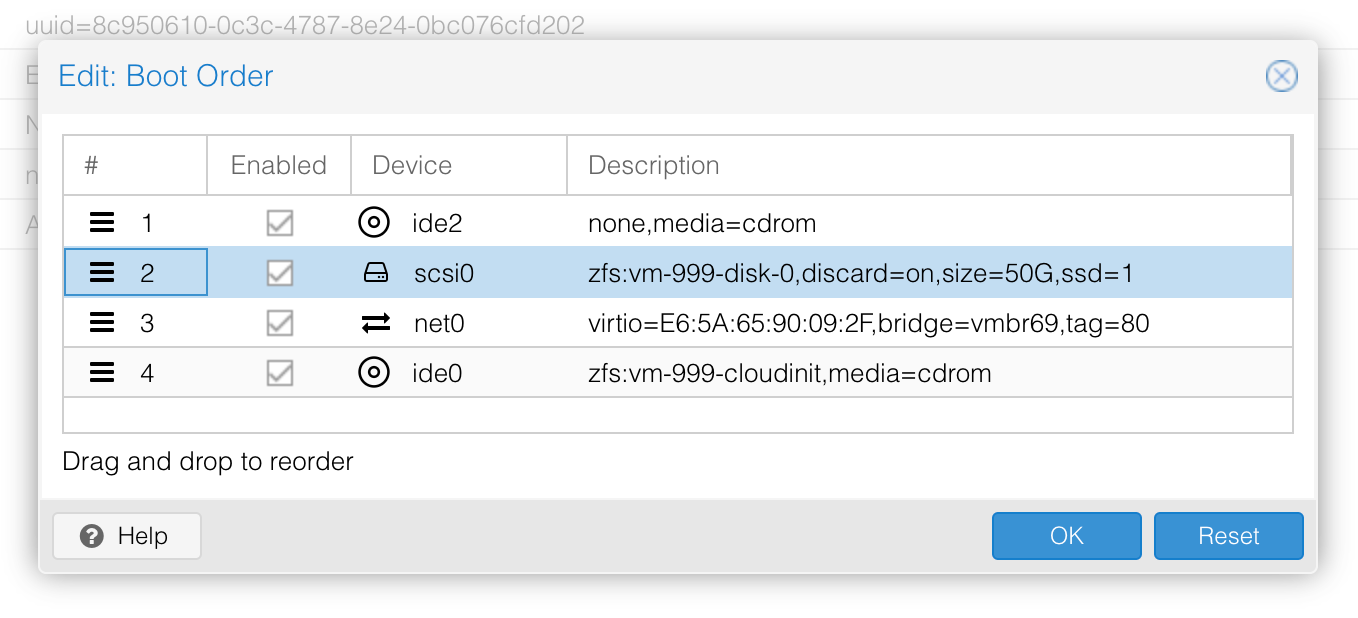
I have gone ahead and enabled mine and also moved it up to the second boot option
Adding the QEMU Agent
Now that your template has been set up, the last step before actually converting it to a proper template (which is an irreversible process), is to add the qemu-guest-agent. You can do this with the following steps:
- Power up the template/VM you have created
- Install the agent with
sudo apt update && sudo apt upgrade -y && sudo apt install qemu-guest-agent - Enable the agent with
sudo systemctl enable qemu-guest-agent - Reset the machine-id with
cat /dev/null > /etc/machine-id - Another command to reset the machine-id:
cat /dev/null > /var/lib/dbus/machine-id - Run
cloud-init clean - Finally, run
shutdown -h now
Converting to a Template
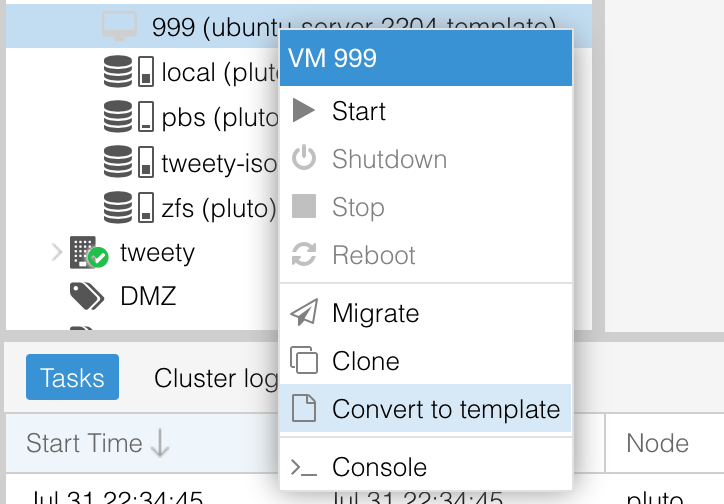
We are now ready to convert our VM to a template! To do so, simply right click the VM and click Convert to template

You should now be able to see that the icon of what used to be a VM has changed, indicating that it is now a template
Creating a VM using the Template

Creating a new VM is now a breeze. Right click on the template and select Clone
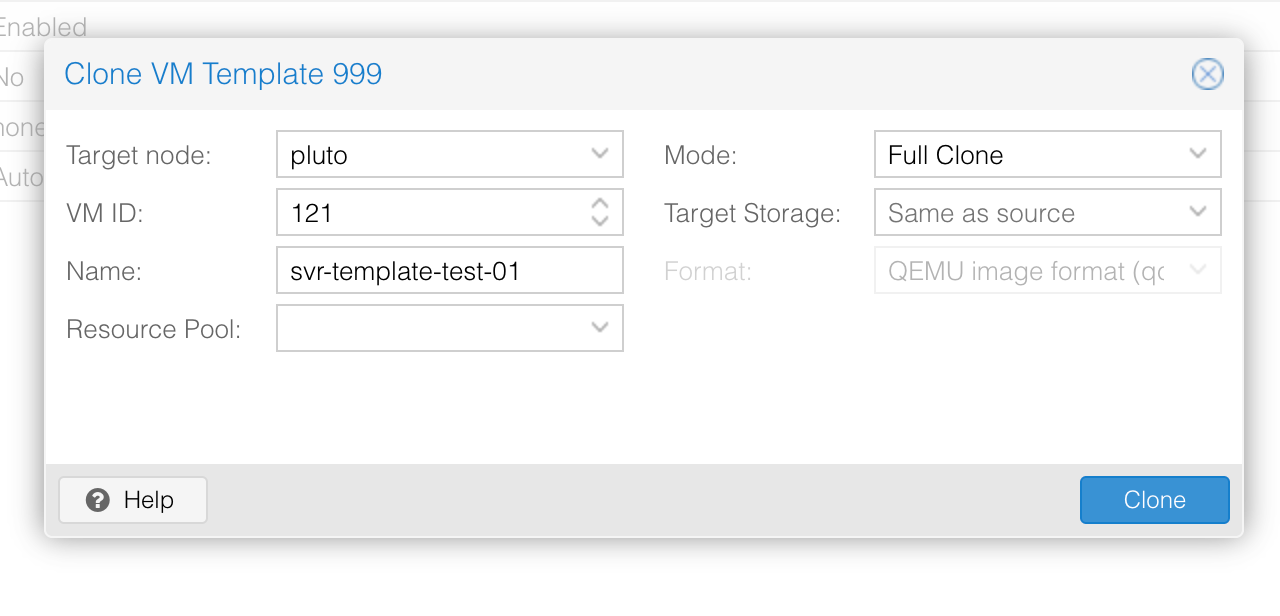
Here, you can configure a few options for your VM before cloning it. I have given mine a name, as well as having changed the Mode to Full Clone.
You can view the differences between a full clone and a linked clone here: https://pve.proxmox.com/wiki/VM_Templates_and_Clones
It is also worth noting that you can change where the VM will be stored using the Target Storage drop down menu.
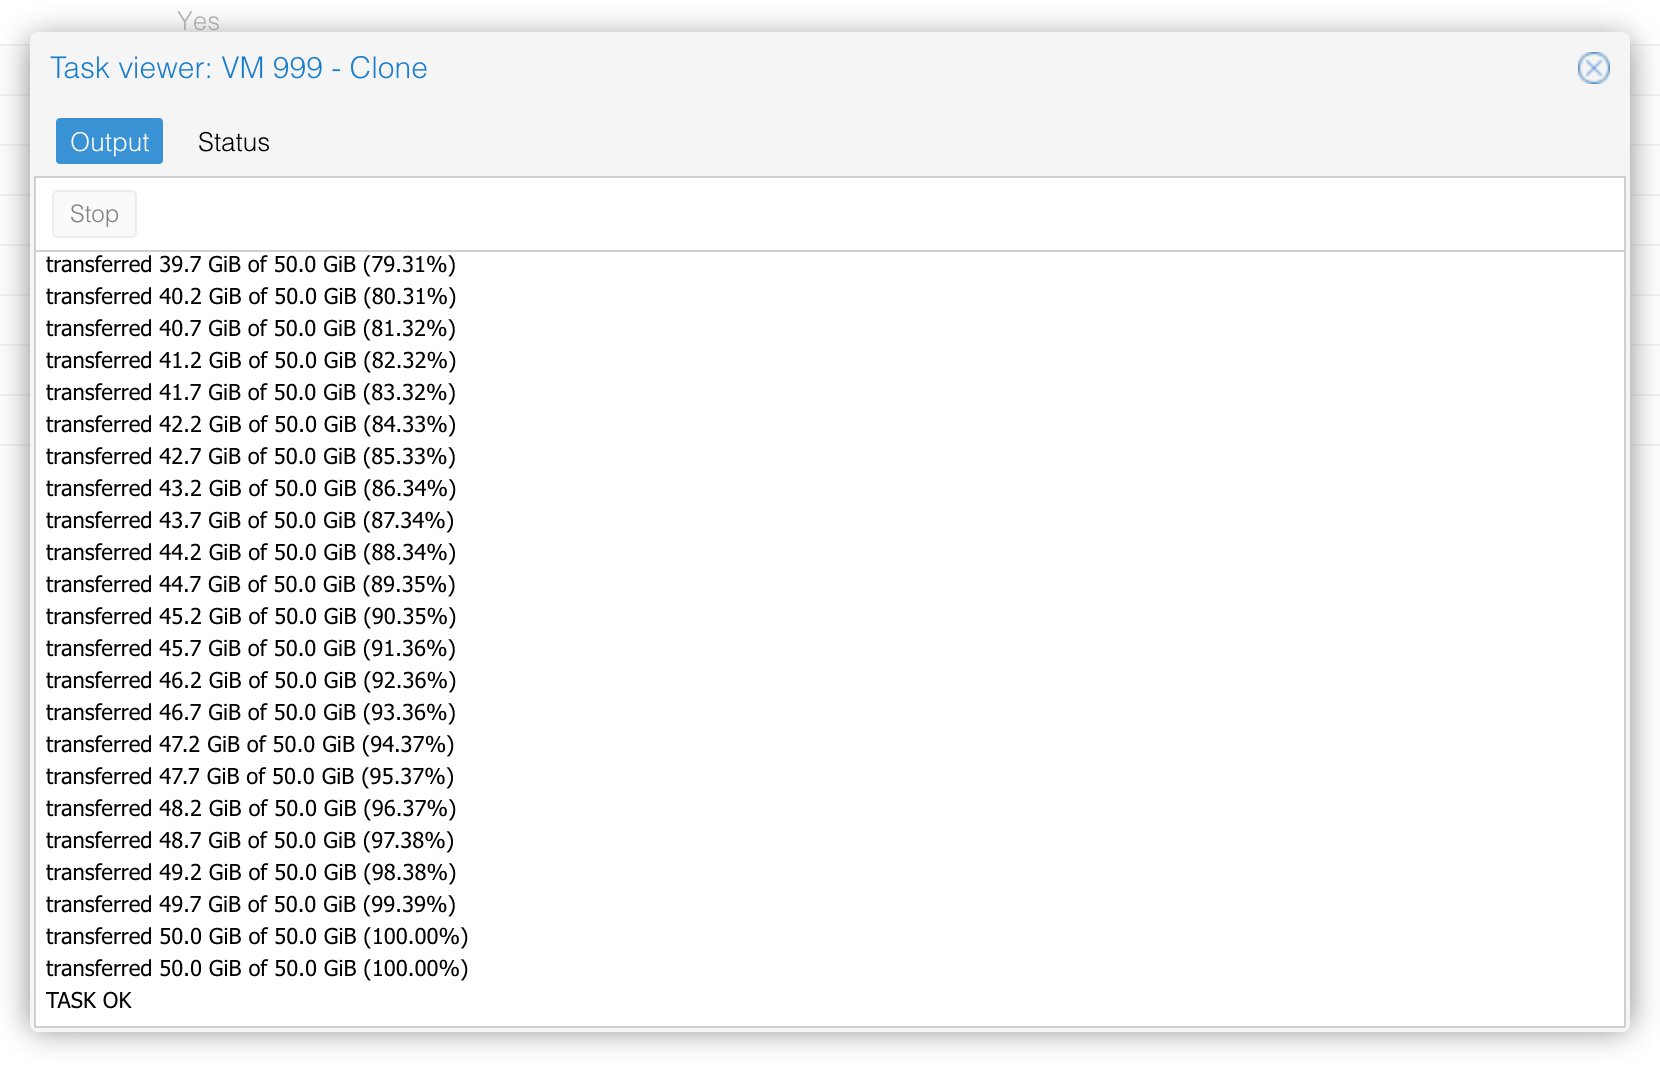
After clicking Clone, Proxmox will proceed with cloning the template into a new VM.
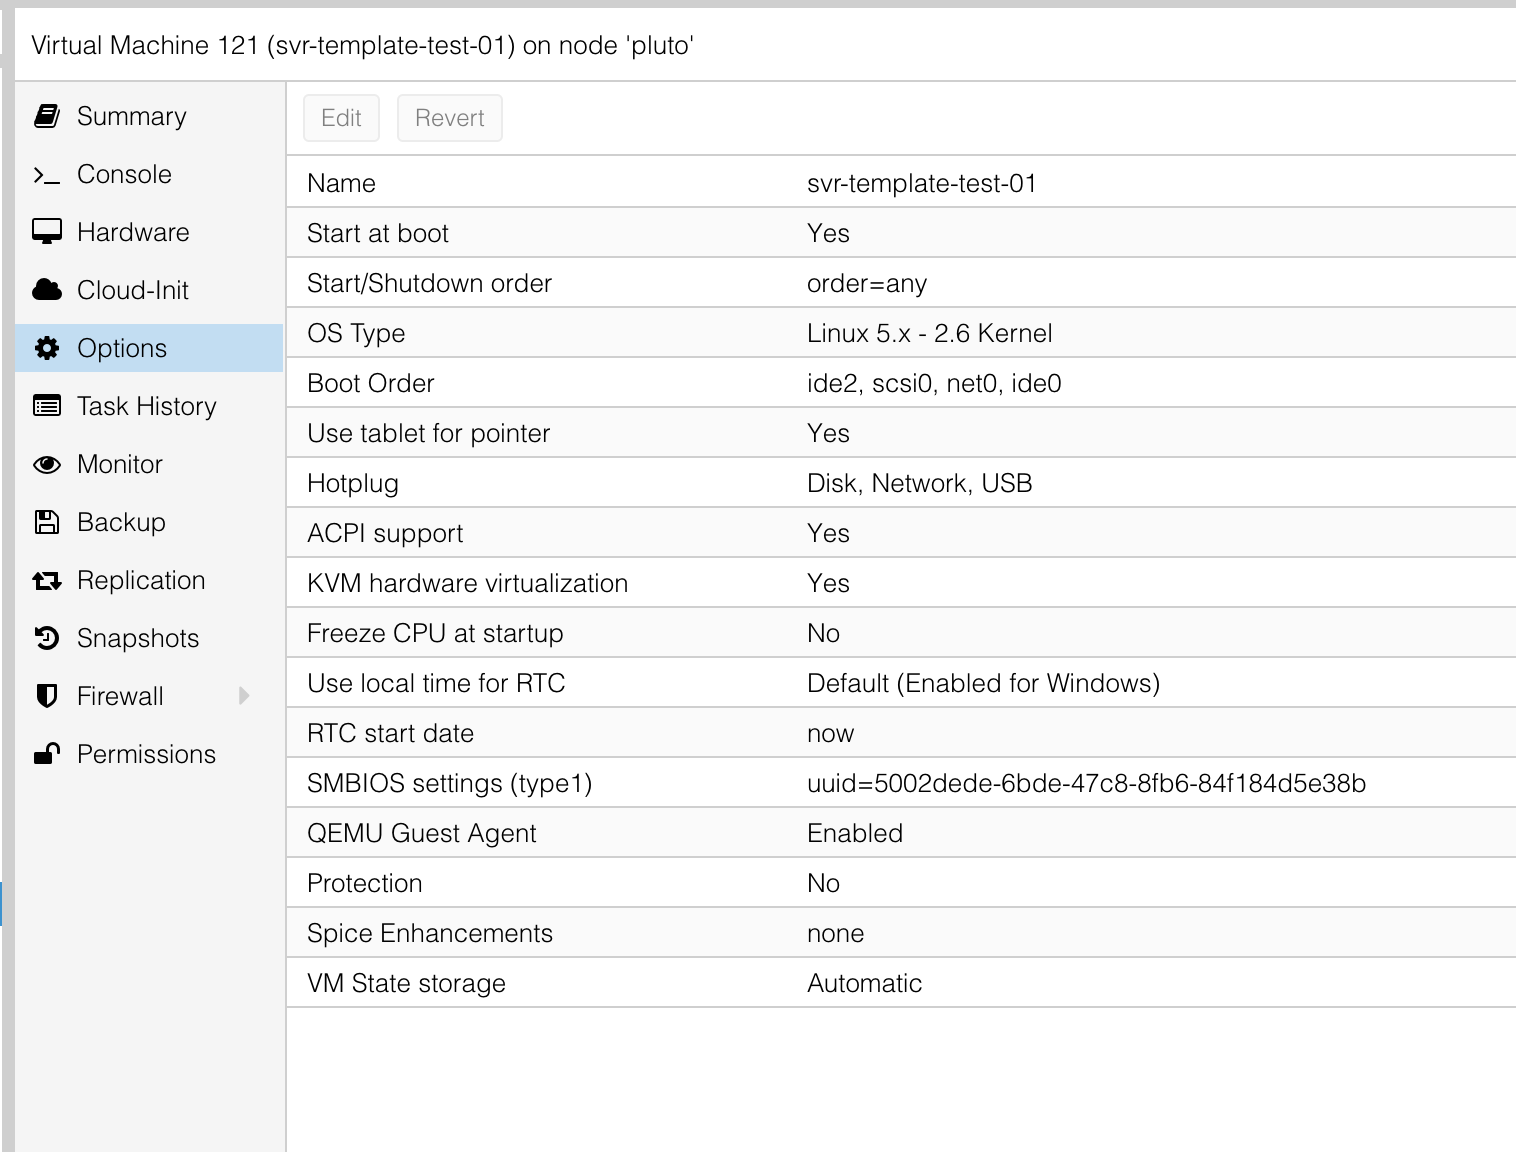
Here we can see the newly created VM based off of the template.
Let's power it on!
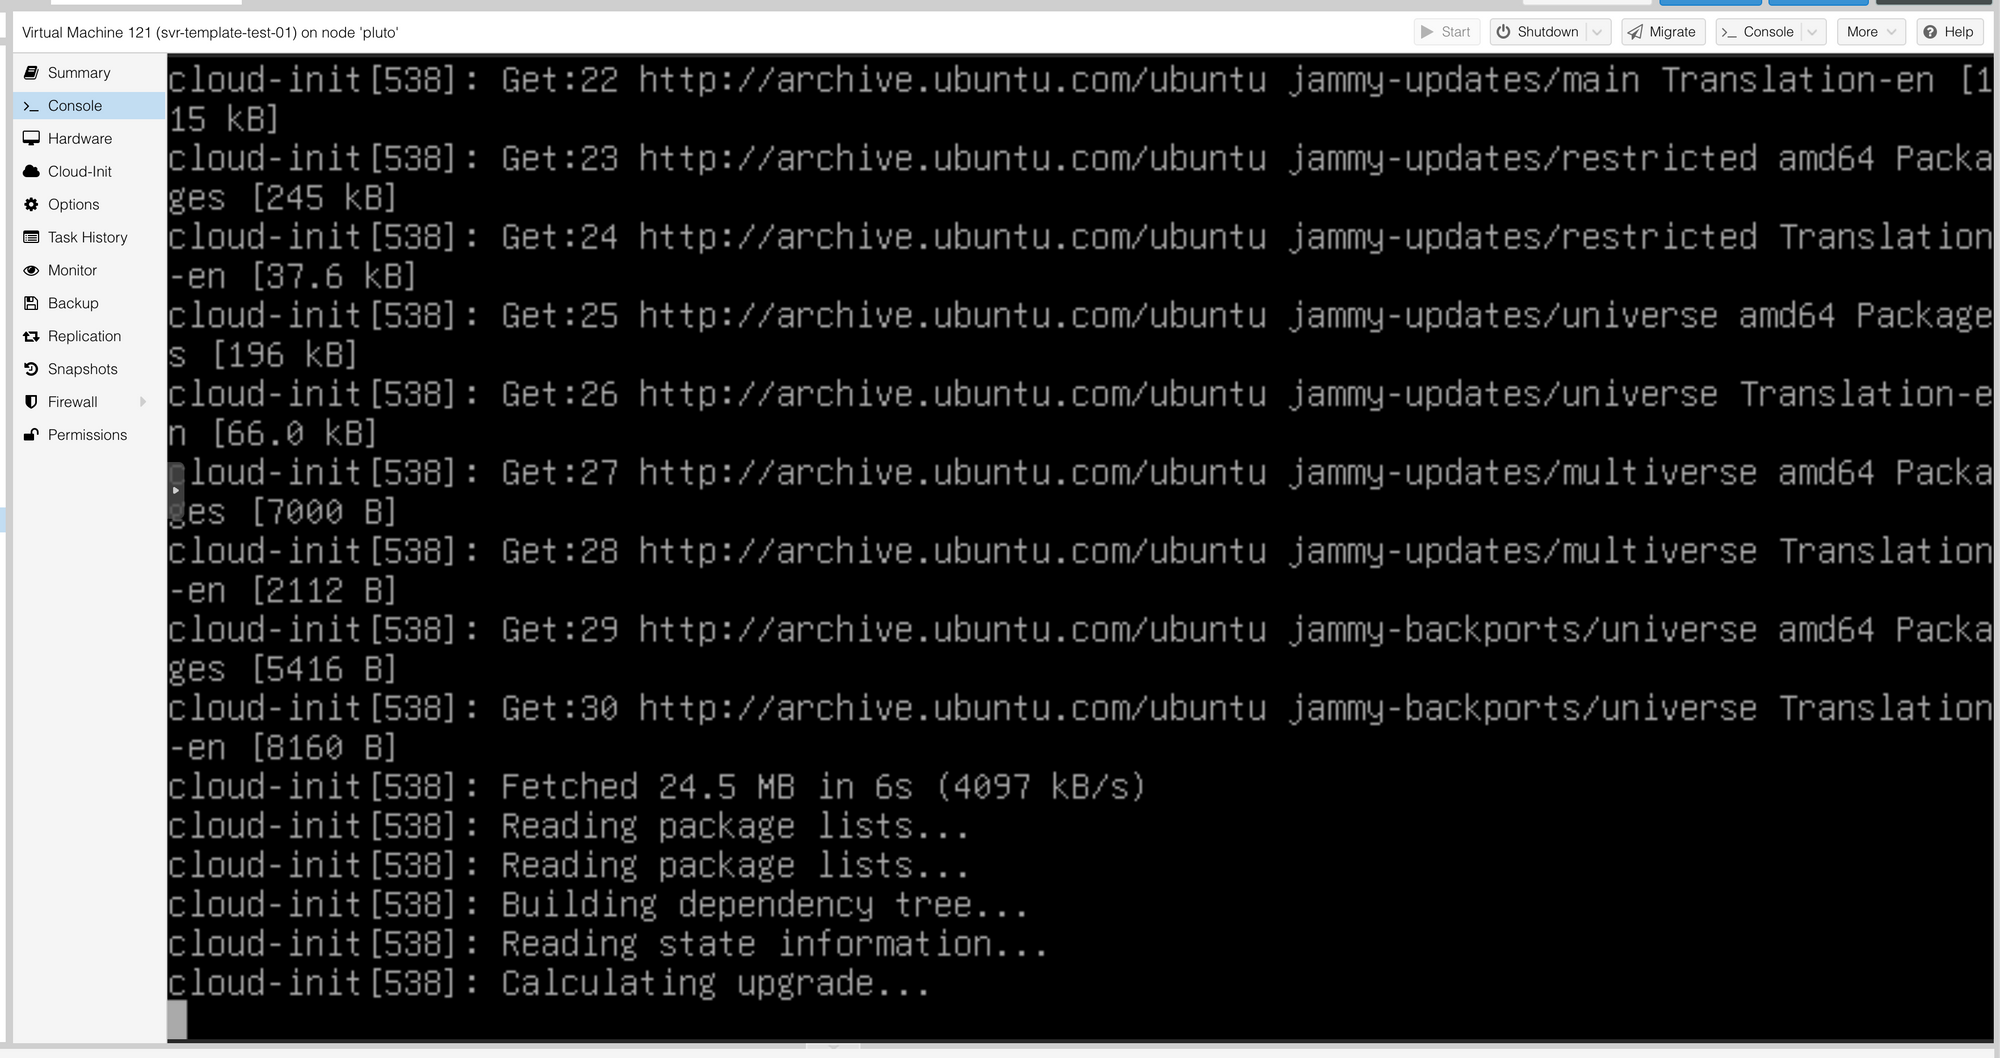
Cloud-init will now do its thing. Give it some time as it sets up the new VM.

Once your SSH key has been imported (as shown above) and Cloud-init stops, you can now log in to your new VM
Note that you will likely have to press Enter before seeing the <hostname> login: prompt shown above

And with that, you should now be logged into your new VM! The process to get here was a bit lengthy but in my opinion, strongly worth it. No longer having to manually spin up Ubuntu VMs has saved me a significant amount of time as I've built up and torn down VMs within Proxmox over the last few months.
I hope you find this tutorial helpful. Consider subscribing to my RSS feed if you do!
https://tcude.net/rss