Migrating of Linux VMs from ESXi to Proxmox: A Comprehensive Guide

In light of recent developments at VMware following their acquisition, many in the tech community are exploring alternatives for their hypervisor needs. If you're among those searching for a reliable and versatile option, you might want to consider Proxmox.
Having run a combination of ESXi and Proxmox in my lab over the last few years, I've fully transitioned to Proxmox and have not looked back. During this migration journey, I noticed a lack of straightforward resources on how to move VMs from ESXi to Proxmox. This gap inspired me to develop a tool—a bash script—that facilitates this process. While my solution primarily addresses the migration of Linux VMs, specifically designed with Ubuntu Server VMs in mind, it holds the potential to assist with a variety of other distributions as well.
 tcude
tcudeIt's important to note that this post focuses exclusively on migrating Linux VMs from ESXi to Proxmox. If you're looking to migrate Windows VMs, stay tuned! I will be covering that topic in an upcoming blog post, ensuring you have all the information you need to make a smooth transition, regardless of your VM's operating system.
Prerequisites
Before diving into the migration process, you'll need to set up some temporary storage on your Proxmox host. This is essential for accommodating the VMs during the transition. Here's a step-by-step guide to get you prepared:
Setting Up Temporary Storage
- Select Temporary Storage: The migration script is designed to utilize a temporary storage device mounted at
/mnt/vm-migration. This storage can be an additional SSD, a USB-connected SSD, or an external hard drive, depending on what's available and convenient for you. The choice of storage device is flexible, allowing you to use whatever additional storage solution fits your setup best. - Create a Mount Point:
- Execute
mkdir -p /mnt/vm-migrationon your Proxmox host to establish a dedicated directory for VM migration storage.
- Execute
- Mount the Storage Device:
- Use SSH to access your Proxmox host and run
lsblkto spot the newly attached disk. - Mount the disk with
mount /dev/sdb1 /mnt/vm-migration, replacingsdb1with your disk's identifier you gained fromlsblk. - Discover your disk's UUID by executing
blkid. - To ensure the disk mounts on boot, add it to
/etc/fstabwith a line likeUUID=your-device-uuid /mnt/vm-migration ext4 defaults 0 2. - Finalize the setup by mounting the device with
mount -o ro,noexec /dev/sdb1 /mnt/vm-migration.
- Use SSH to access your Proxmox host and run
Required Software
Ensure the following packages are installed on your Proxmox host for a smooth migration process:
- ovftool: A utility from VMware for handling OVF files. Install it by downloading from VMware's official site, then follow these steps:
wget <download_link>unzip file.zipcd ovftoolchmod +x ovftool- Add ovftool to your PATH with
echo 'export PATH=$PATH:/root/ovftool' >> ~/.bashrcand refresh your shell usingsource ~/.bashrc. - Verify the installation with
ovftool --version.
- jq: A lightweight command-line JSON processor, installable via
apt. - libguestfs-tools: Useful tools for accessing and modifying VM disk images. Also installable via
apt.
With these prerequisites in place, your Proxmox host will be ready to handle the VM migration process
Getting Started with the Script
Now that you have set up your temporary storage at /mnt/vm-migration, you're one step closer to successfully migrating your Linux VMs to Proxmox. To begin the migration, access my GitHub repository and download the linux_migration.sh script:
tcudePreparing Your Proxmox Host
This script is intended to be run on the Proxmox host you are wanting to migrate the VMs to. To ensure a smooth operation, please configure the following ESXi server details within the script:
ESXI_SERVER="default_esxi_server" # Your ESXi server hostname or IP address
ESXI_USERNAME="root"              # Your ESXi server username
ESXI_PASSWORD="your_esxi_password" # Your ESXi server password
After setting up the necessary credentials, proceed to make the script executable:
chmod +x linux_migration.shTailoring the Script to Your Setup
Upon running the script, you'll be prompted to input specific details about the VM you intend to migrate. These details include:
Enter the name of the VM to migrate []:
Enter the VLAN tag [80]:
Enter the VM ID you would like to use in Proxmox []:
Enter the storage type (local-lvm or local-zfs) [local-lvm]:
Does the VM use UEFI firmware? (yes/no) [no]:
Default values are indicated in brackets
Assuming the script completes without errors, your VM will now be imported into Proxmox. This includes the installation of qemu-guest-agent and the application of all specified settings during the prompt stage. A successful run of the script should look something like:
root@chico:~# ./linux_migration.sh
Using hardcoded details for VM migration
Enter the name of the VM to migrate []: jenkins01
Enter the VLAN tag [80]: 70
Enter the VM ID you would like to use in Proxmox []: 999
Enter the storage type (local-lvm or local-zfs) [local-lvm]: nvme
Does the VM use UEFI firmware? (yes/no) [no]: no
Exporting VM from VMware directly to Proxmox...
Enter login information for source vi://10.10.10.17/
Username: root
Password: ********
Opening VI source: vi://[email protected]:443/jenkins01
Opening OVA target: /mnt/vm-migration/jenkins01.ova
Writing OVA package: /mnt/vm-migration/jenkins01.ova
Transfer Completed
Completed successfully
Extracting OVF from OVA...
jenkins01.ovf
jenkins01.mf
jenkins01-disk1.vmdk
jenkins01-file1.nvram
Found OVF file: /mnt/vm-migration/jenkins01.ovf
Finding .vmdk file...
Found .vmdk file: /mnt/vm-migration/jenkins01-disk1.vmdk
Converting .vmdk file to raw format...
Installing qemu-guest-agent using virt-customize...
[   0.0] Examining the guest ...
[   7.9] Setting a random seed
[   8.0] Installing packages: qemu-guest-agent
[  18.5] Finishing off
Creating VM in Proxmox with seabios firmware, VLAN tag, and SCSI hardware...
Enabling QEMU Guest Agent...
update VM 999: -agent 1
Importing disk to nvme storage...
importing disk '/mnt/vm-migration/jenkins01.raw' to VM 999 ...
  WARNING: You have not turned on protection against thin pools running out of space.
  WARNING: Set activation/thin_pool_autoextend_threshold below 100 to trigger automatic extension of thin pools before they get full.
  Logical volume "vm-999-disk-0" created.
  WARNING: Sum of all thin volume sizes (<1.61 TiB) exceeds the size of thin pool nvme/nvme and the size of whole volume group (<1.46 TiB).
transferred 0.0 B of 55.0 GiB (0.00%)
...
transferred 55.0 GiB of 55.0 GiB (100.00%)
Successfully imported disk as 'unused0:nvme:vm-999-disk-0'
Attaching disk to VM and setting it as the first boot device...
update VM 999: -boot c -bootdisk scsi0 -scsi0 nvme:vm-999-disk-0
Enabling discard functionality
update VM 999: -scsi0 nvme:vm-999-disk-0,discard=on
Cleaning up /mnt/vm-migration directory...
Skipping EFI disk creation for non-UEFI firmware type.
Now that the VM has been imported into Proxmox, the quemu-guest-agent installed on the VM, and all user input applied, there are likely a couple of tweaks you should make before your VM is fully up and running
Completing Your Migration: Post-Script Adjustments
Now that the script has been run, it's time to power on the newly migrated VM in Proxmox.
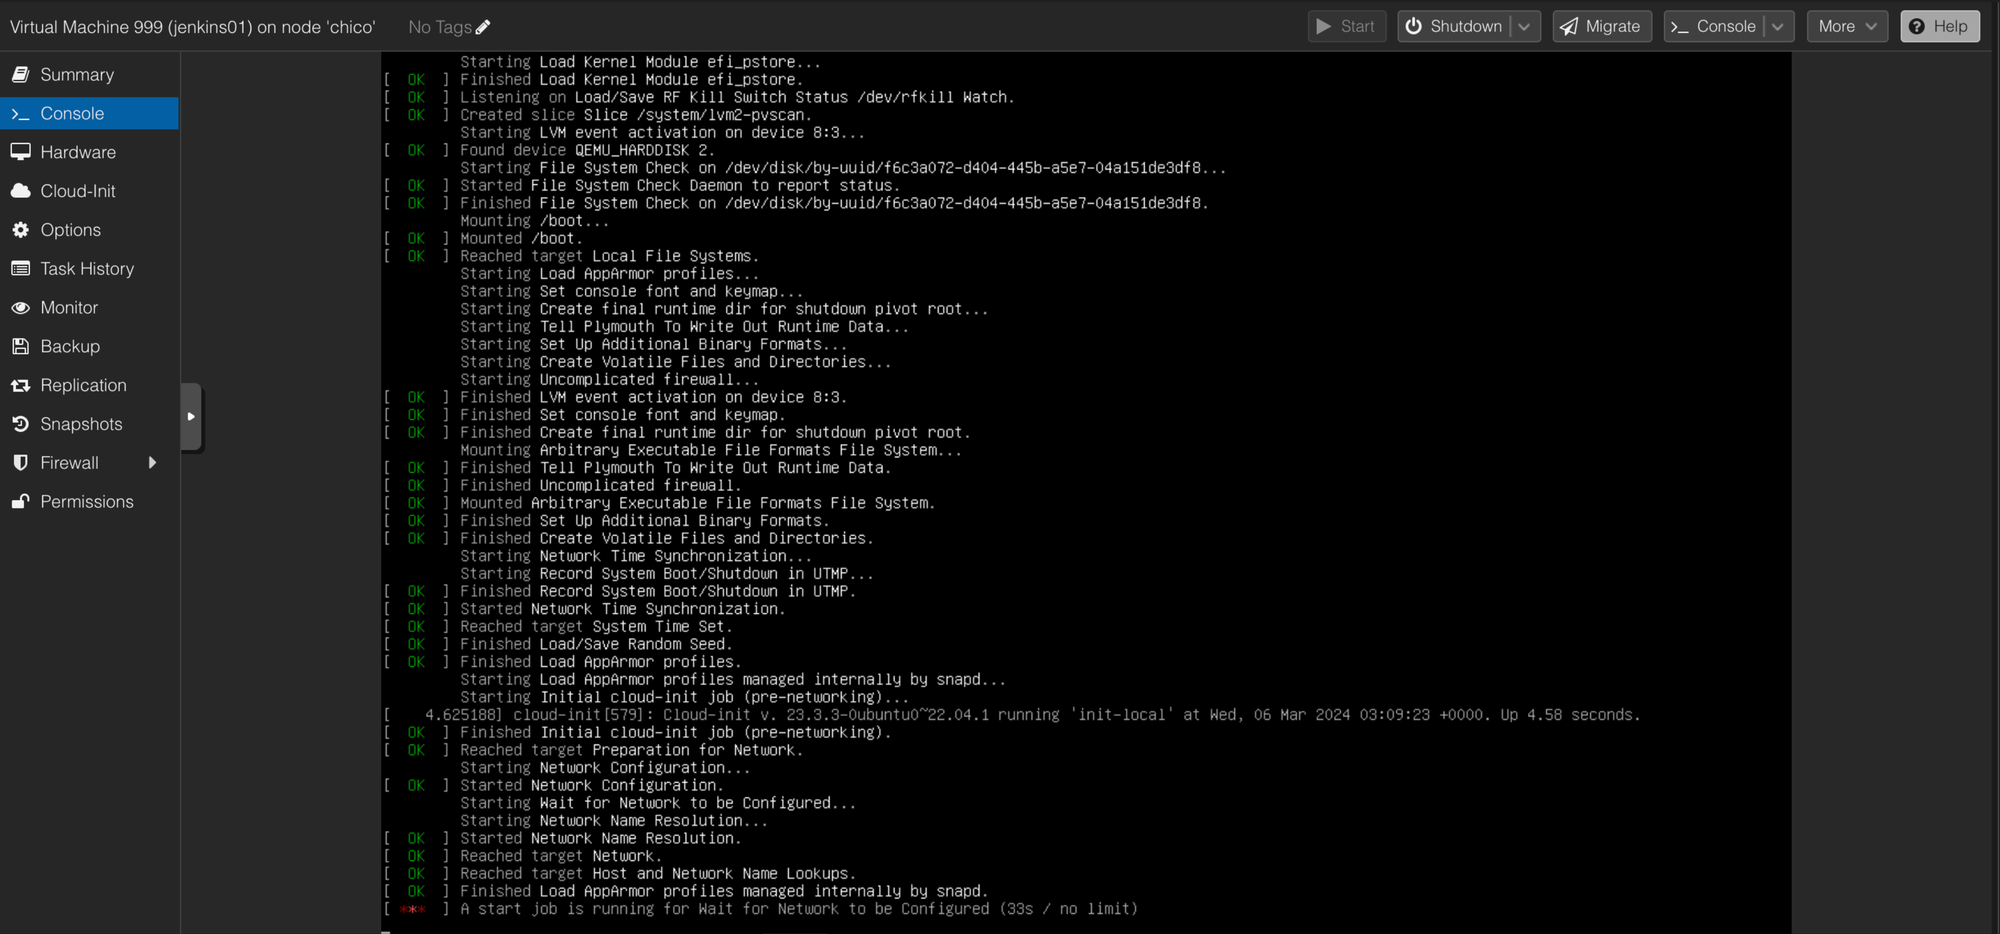
You are likely to encounter something like this, with the VM taking a bit longer to start up due to it waiting for the networking to be configured. It should ultimately give up within a couple of minutes and then move on in the boot up process.
The reasoning in this problem, should you experience it, is a result of the network interface changing in the process of migrating the VM. Luckily, the process for fixing this is very simple. I will demonstrate the process for my Ubuntu VM.
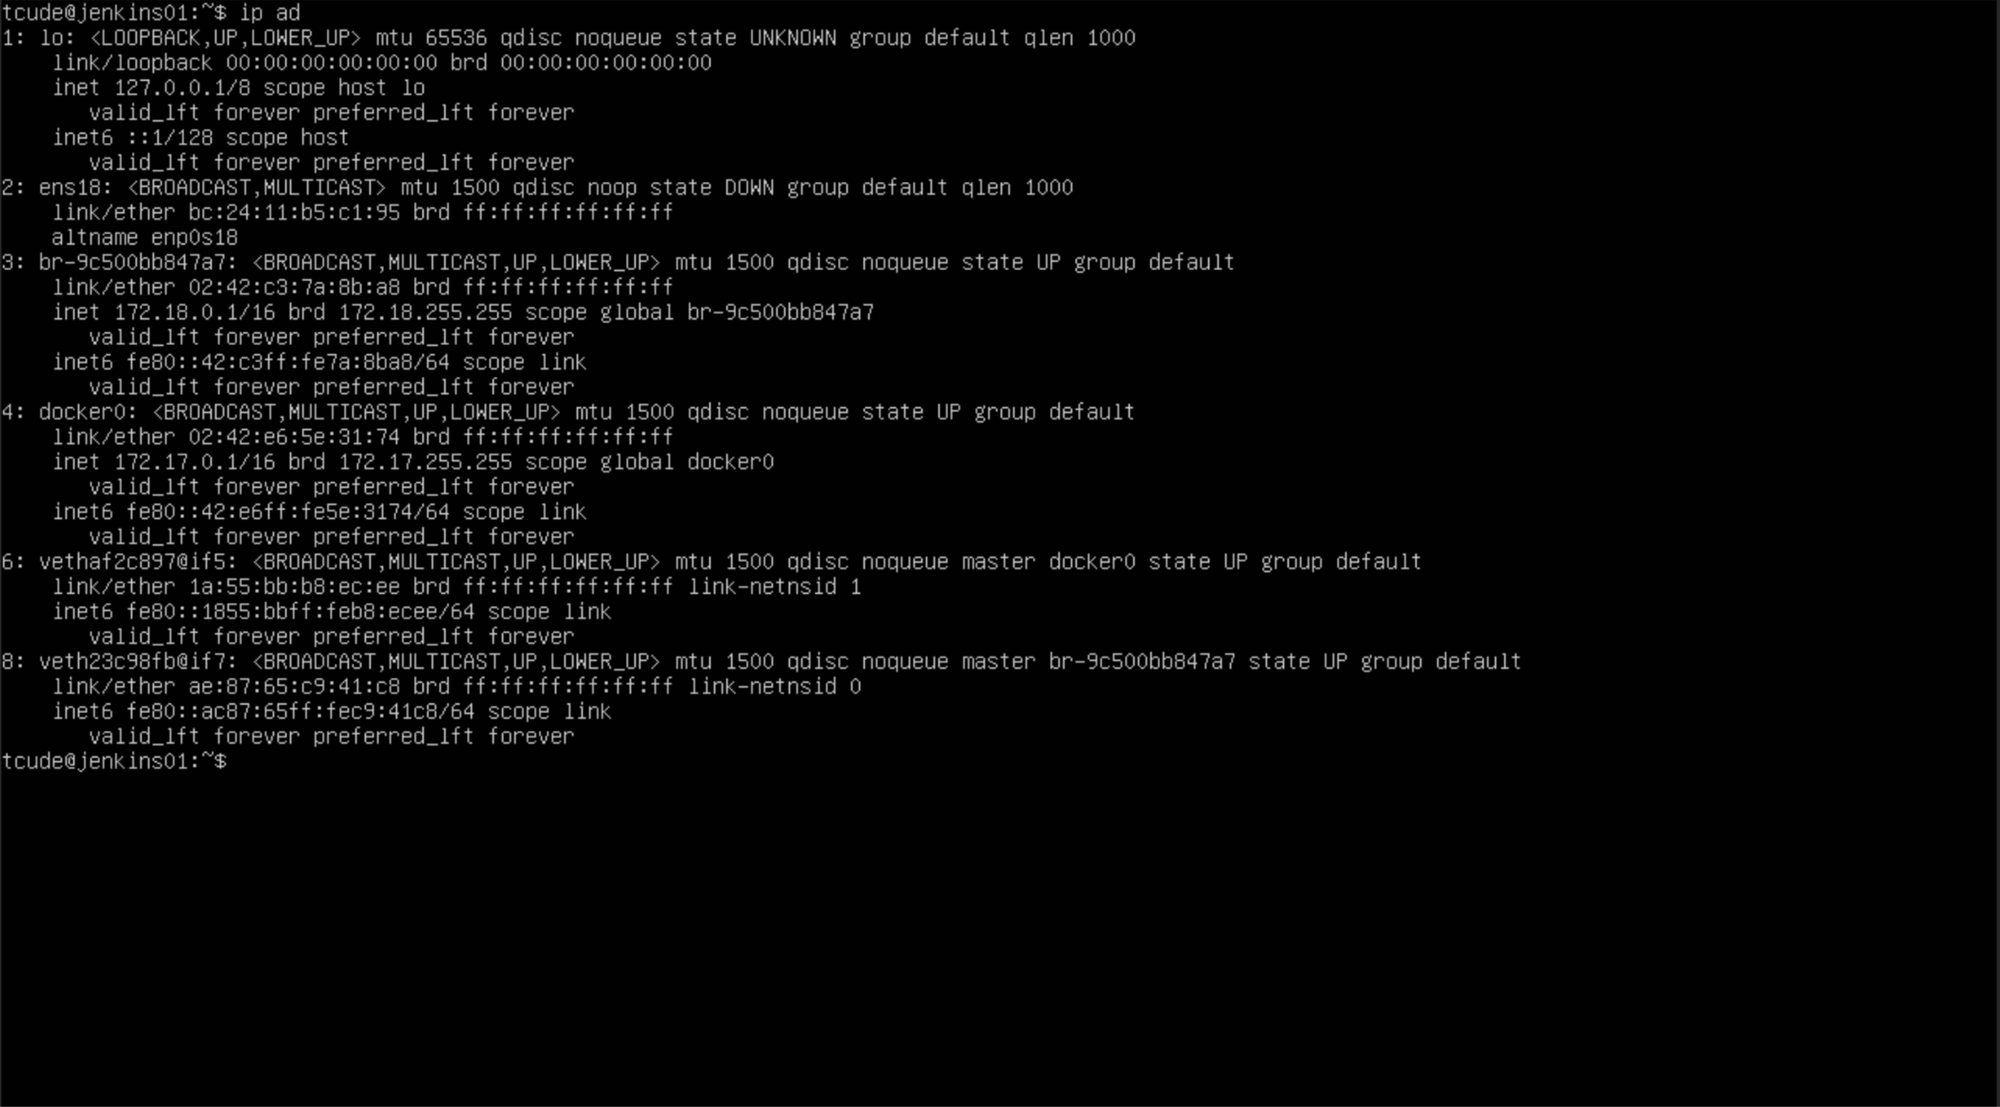
Start by running ip ad and make note of the interface name. In this instance, you can see that it is ens18.
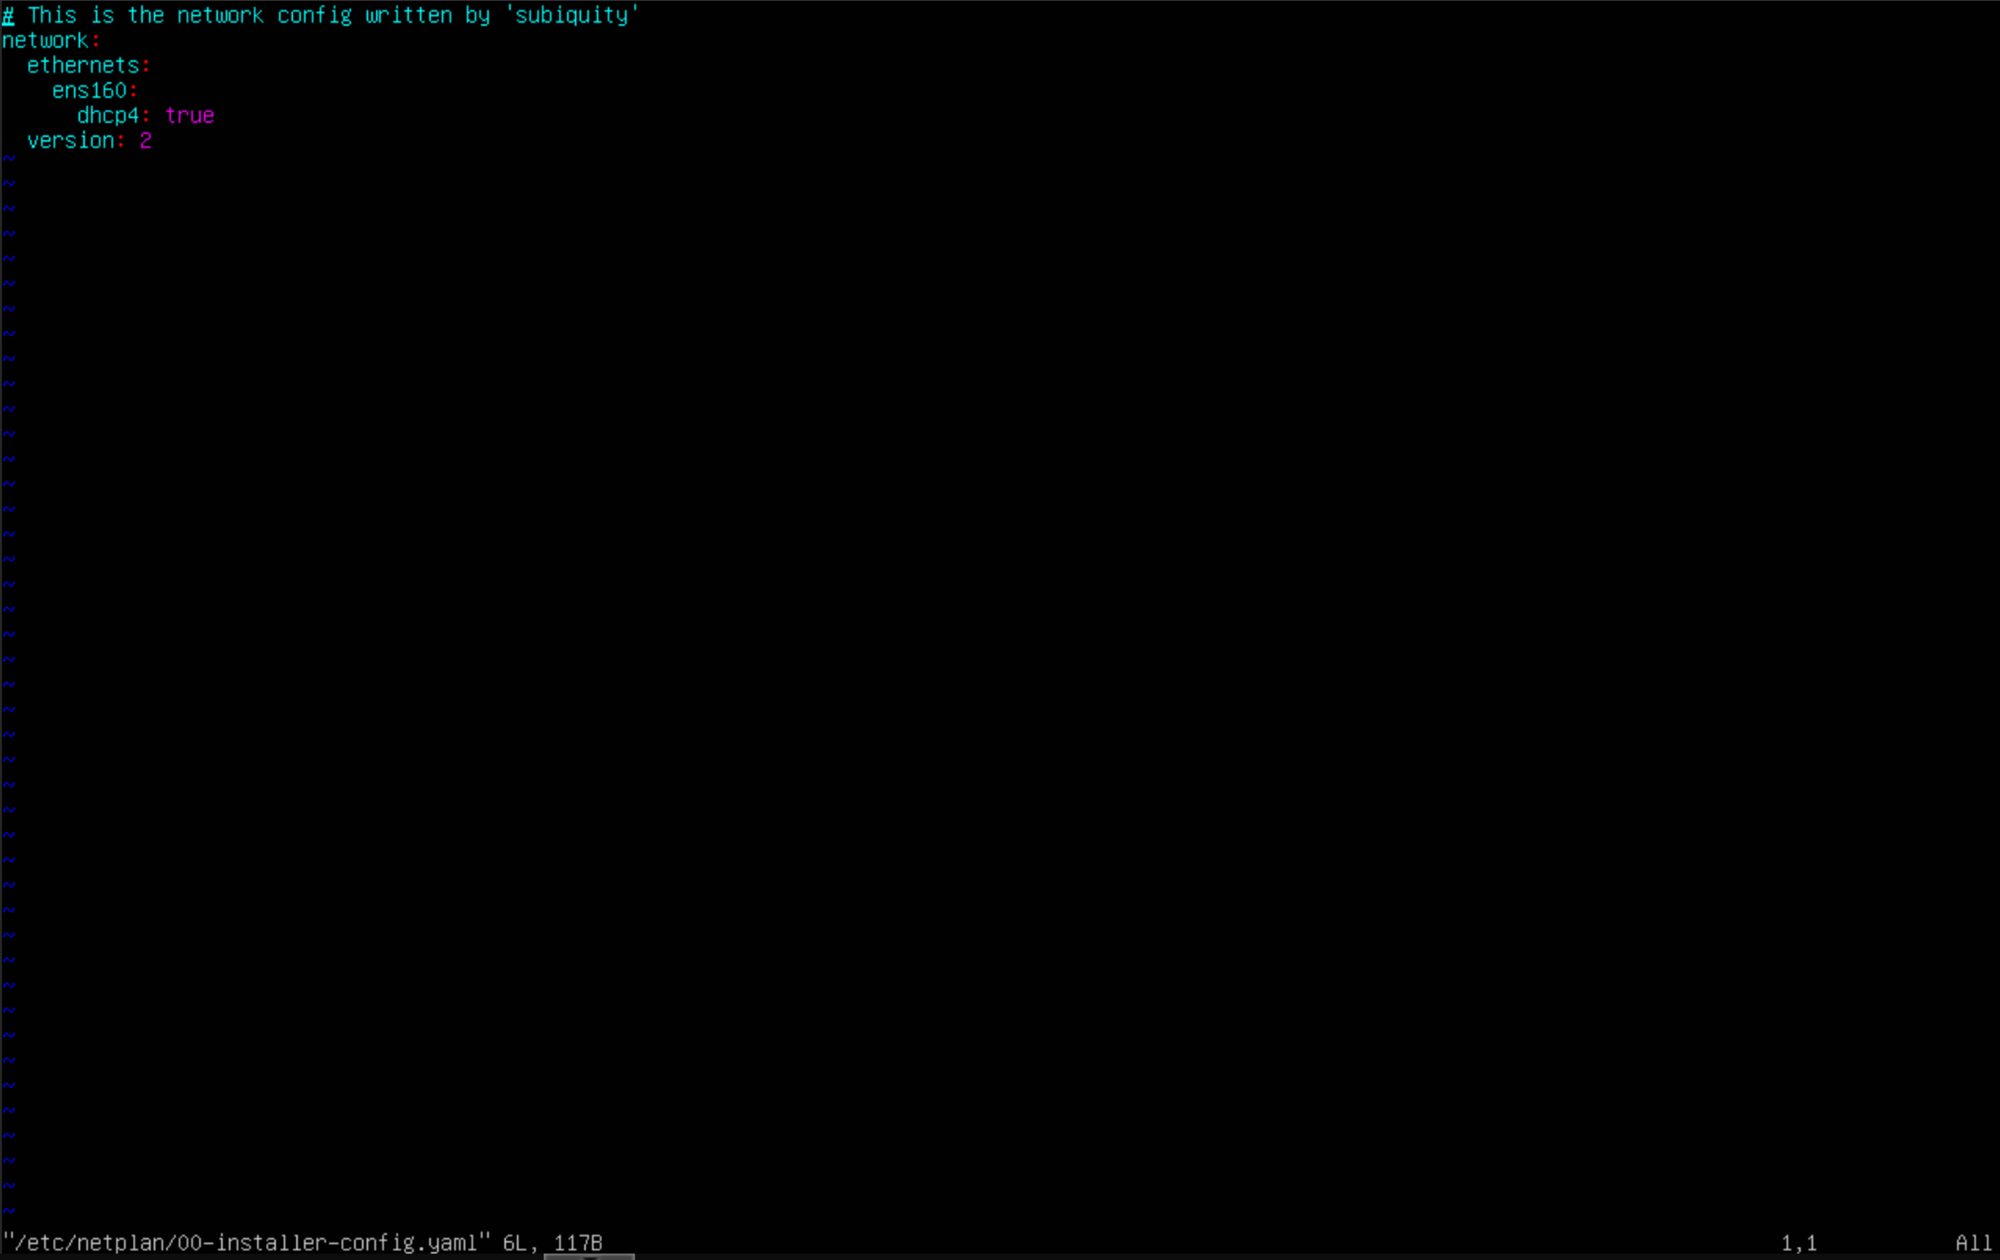
Next, using the text editor of your choice, you will need to modify netplan to make use of the proper interface name. For my VMs, this has always been under /etc/netplan/00-installer-config.yaml. Once this file is open, it's simply a matter of changing out the set interface name with the one you got from the ip ad command.
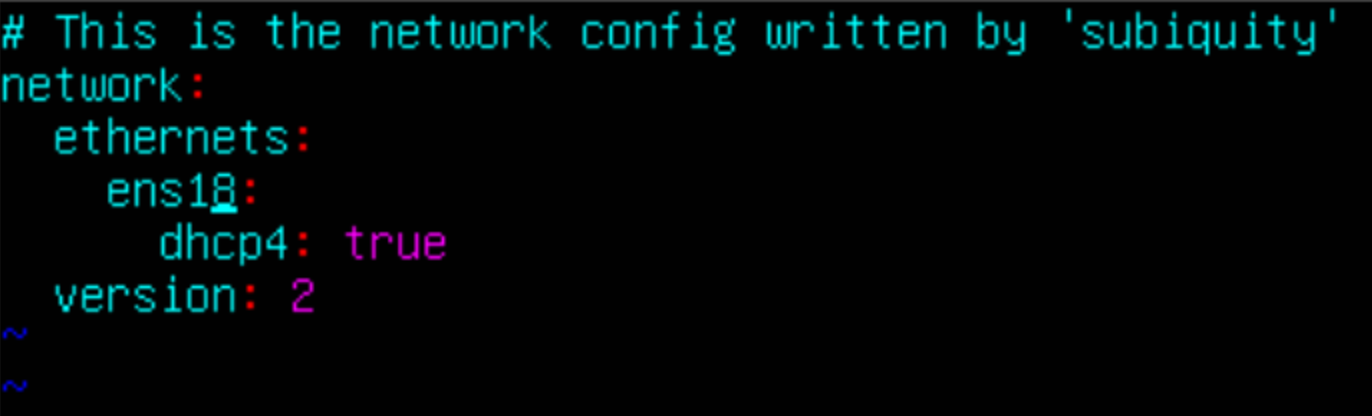
Here you can see that I changed the interface name to ens18. Once you have done this, ensure you save your changes.
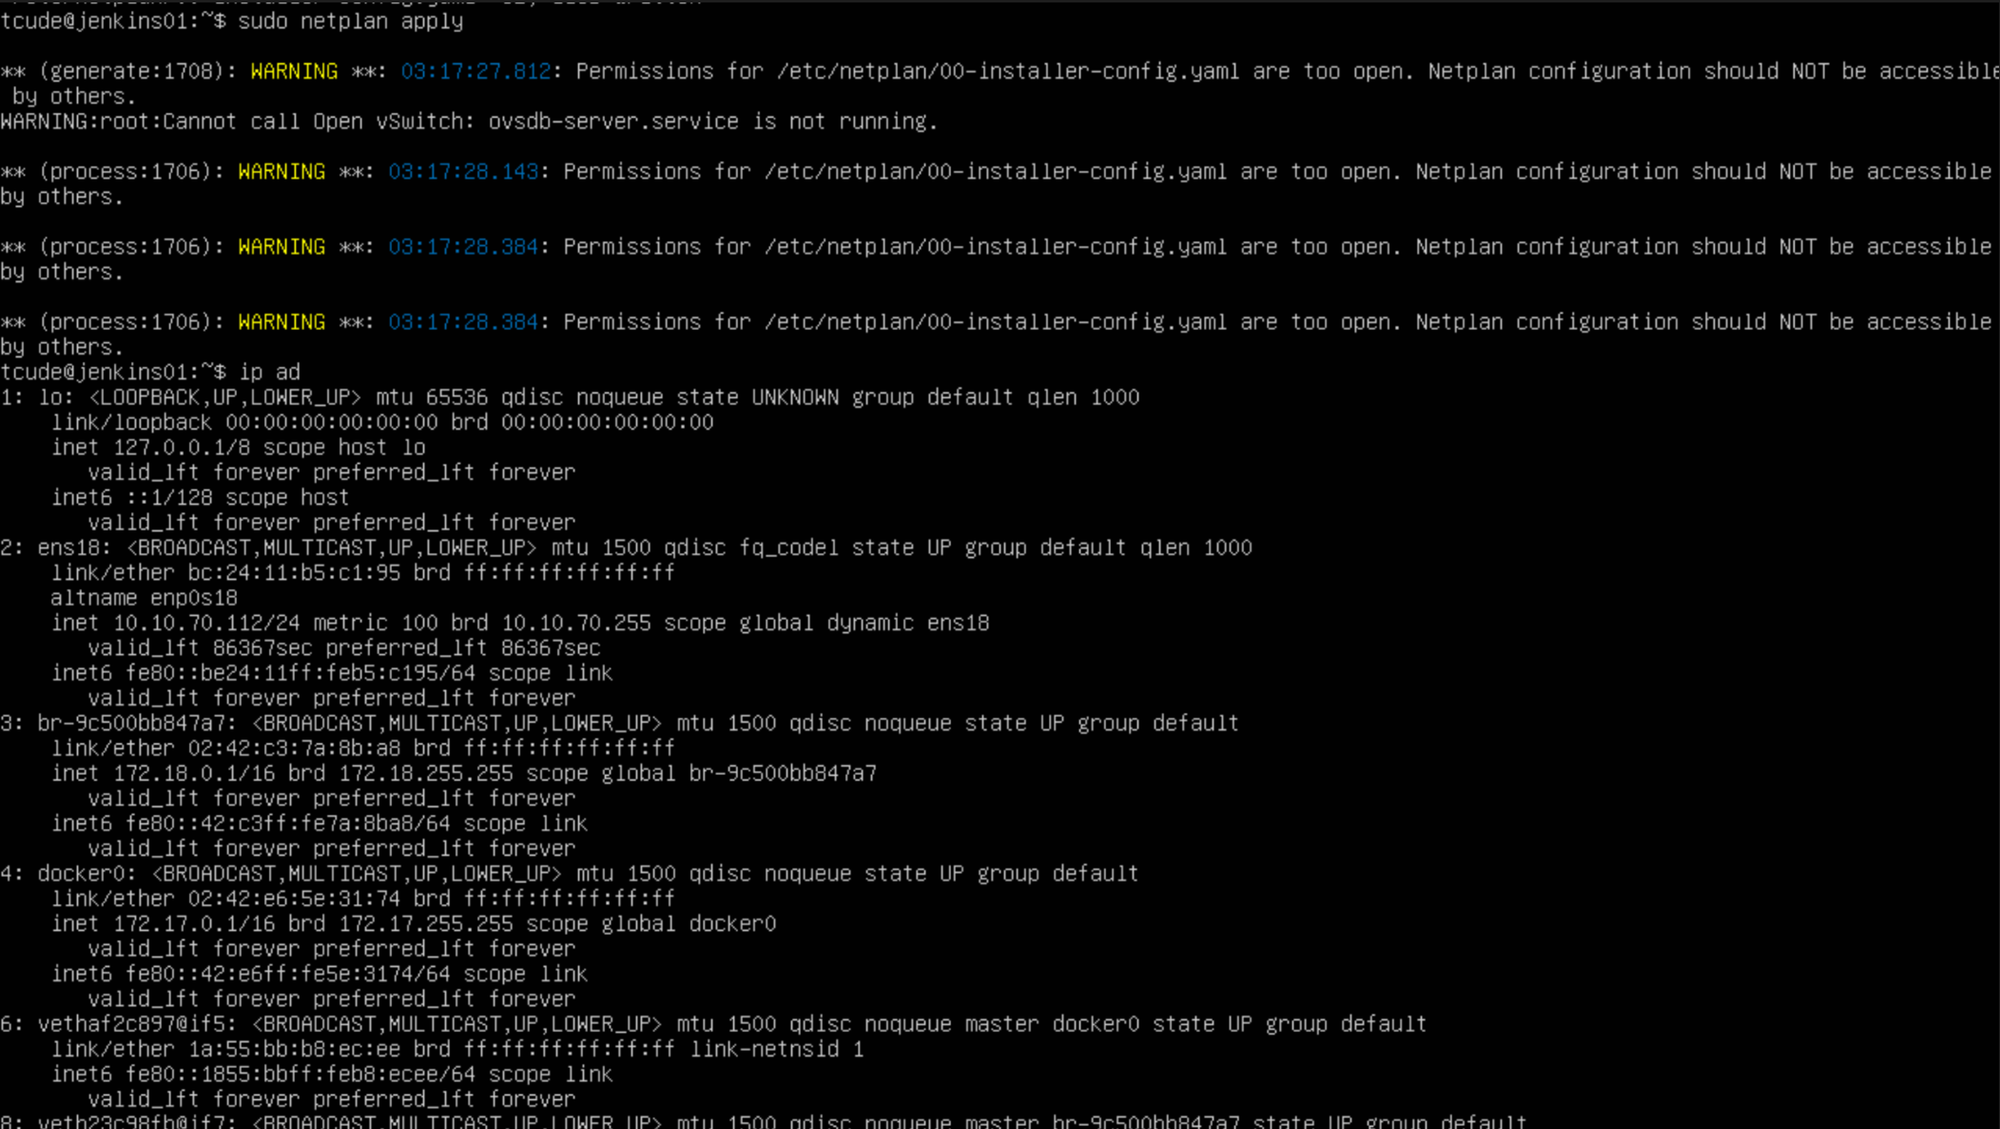
Lastly, run sudo netplan apply to make the changes go into effect. In the image above you can see this happen, then me running ip ad again, followed by the VM pulling an IP of 10.10.70.112 via DHCP.
Troubleshooting
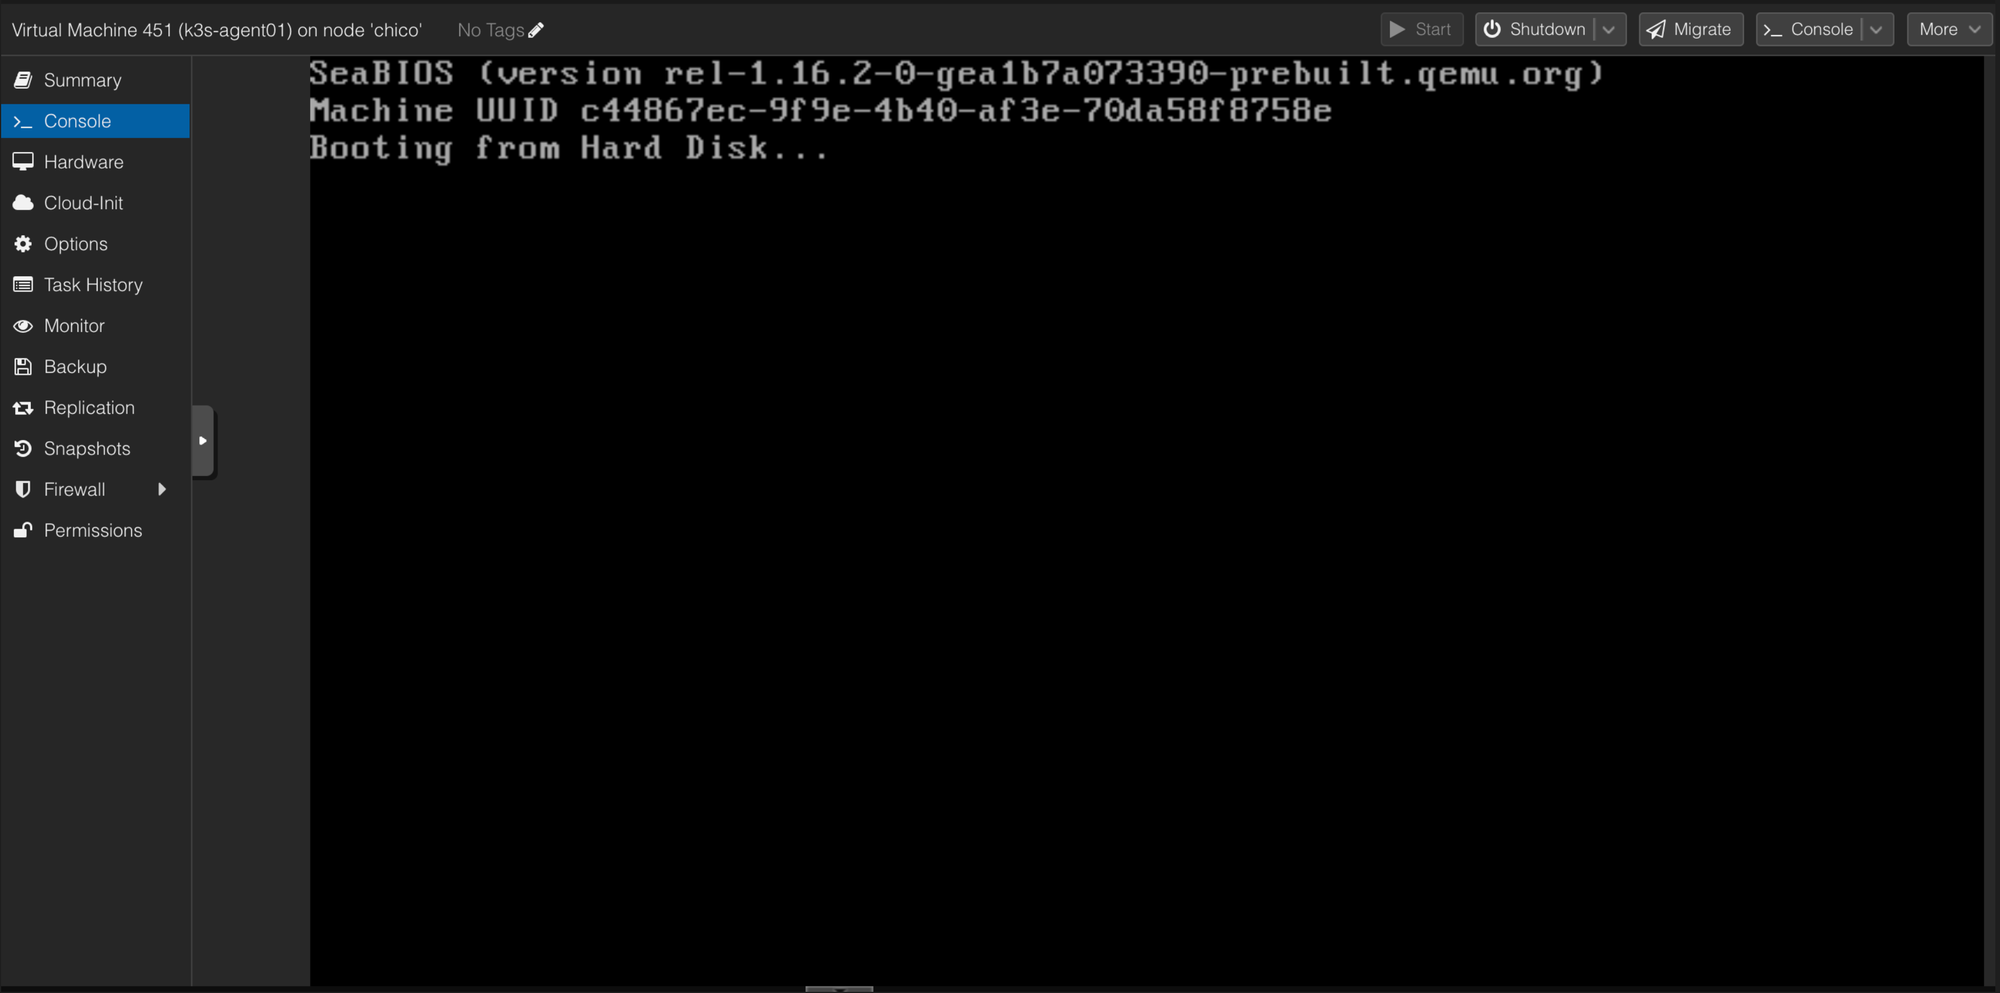
If you happen to see something like this, it is a result of the BIOS type being improperly set. In the instance above, the VM was configured to use EFI but I chose no during the Does the VM use UEFI firmware? (yes/no) step.
Shutdown button in the Proxmox GUI is not likely to work properly. The way I typically handle this is running ps -ef | grep <vm_id> and then kill the PID (Process ID) for that VM with kill <PID_NUMBER>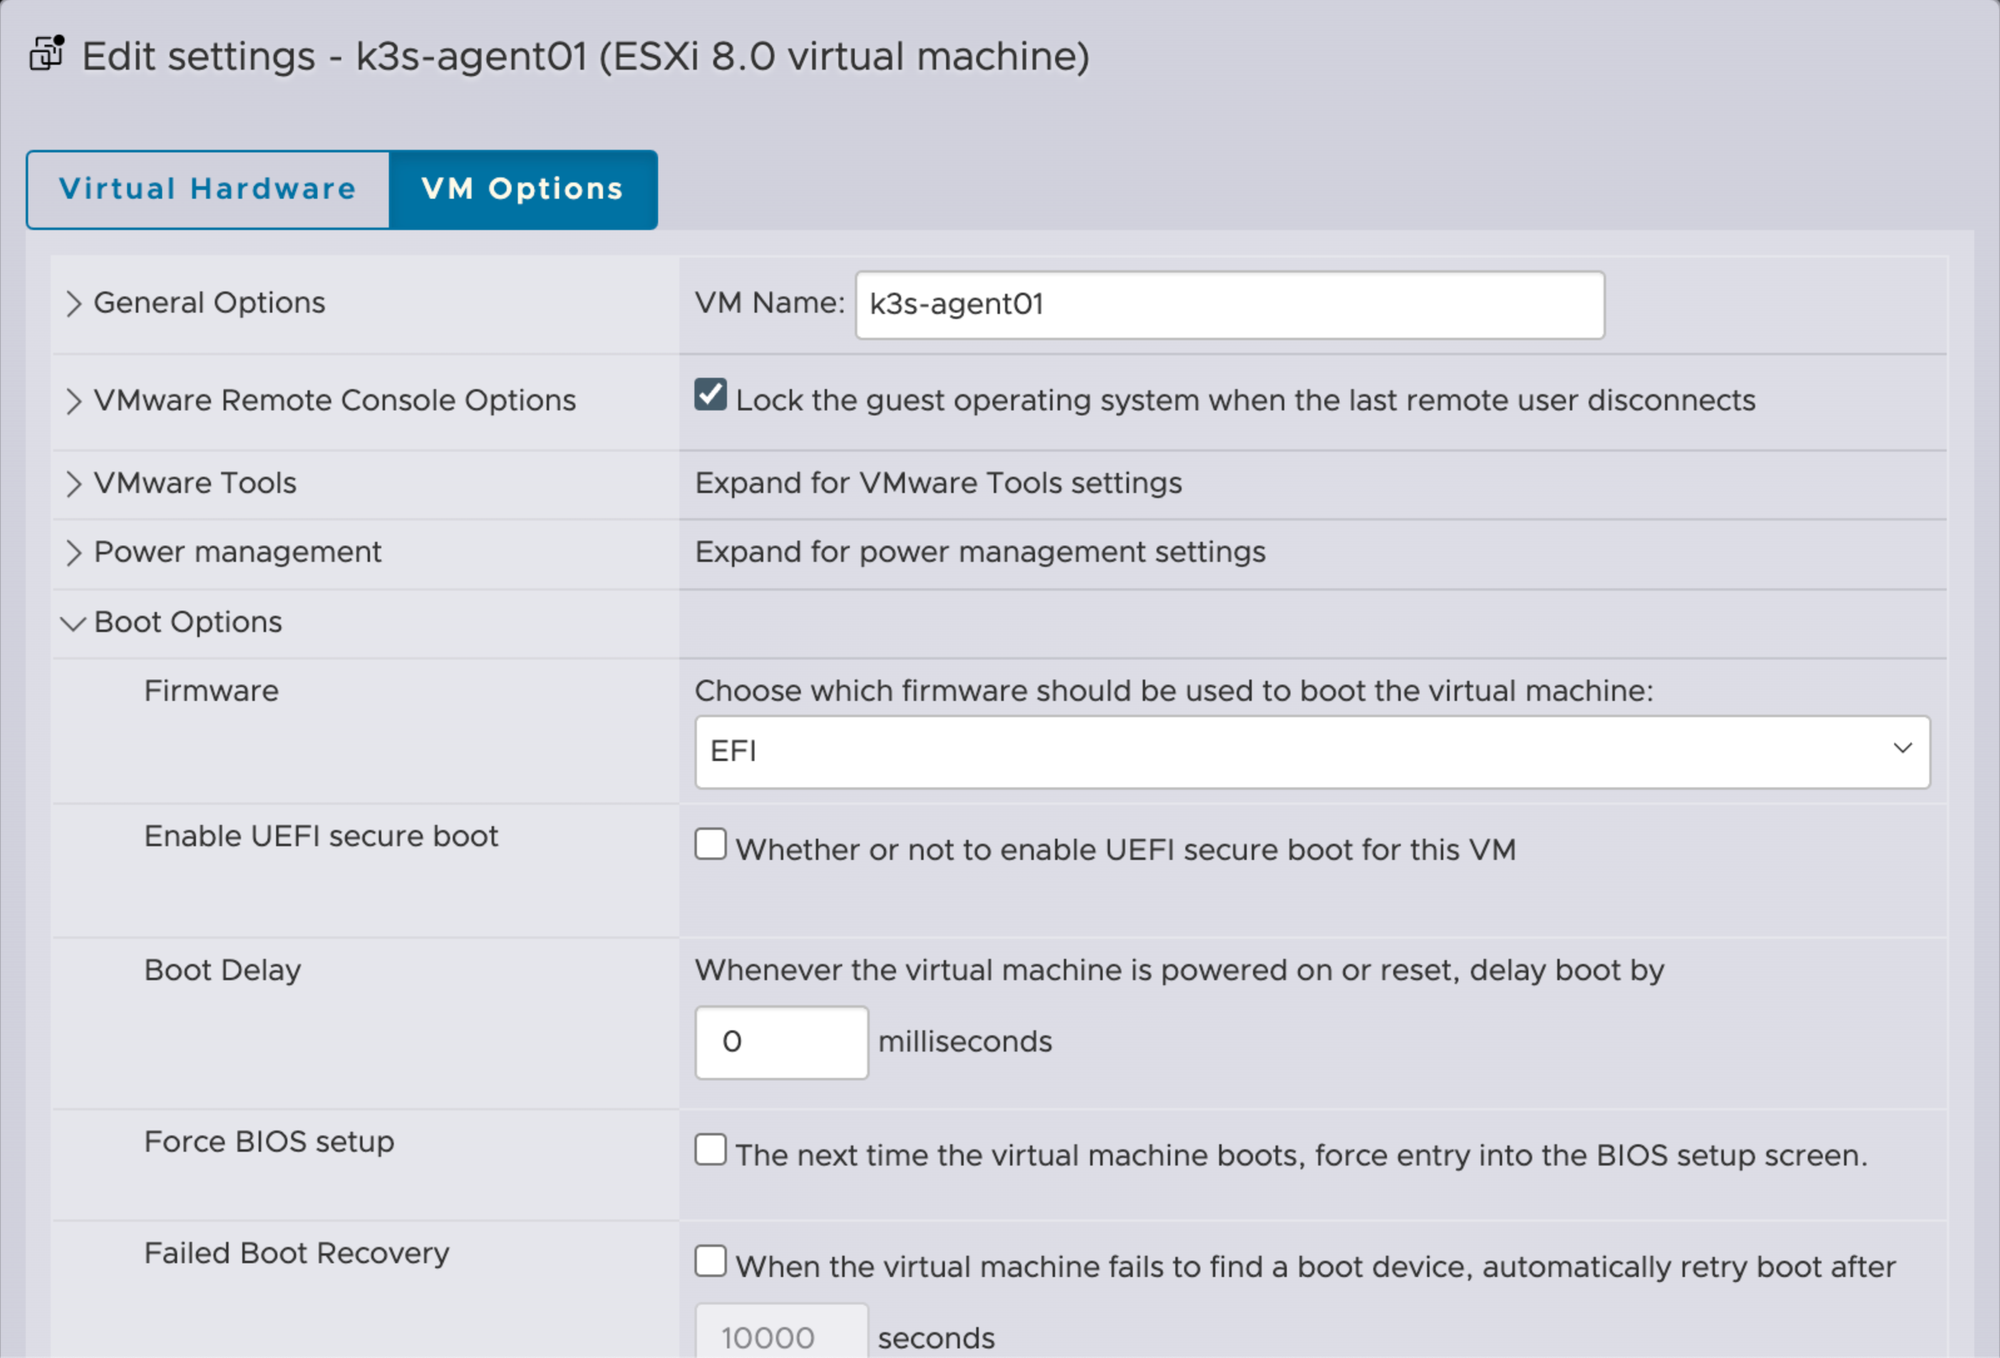
In regards to the step that asks Does the VM use UEFI firmware?, you can always double check what this value should be by going into ESXi and, in the VM settings, navigate to VM Options -> Boot Options -> Firmware
Conclusion
Using this process, I was able to quickly and easily migrate my VMs off of ESXi and onto Proxmox. While your setup is likely to differ from mine, I hope you still find this guide useful and applicable
Stay tuned for my upcoming guide on migrating Windows VMs to Proxmox