Enabling Command Autocompletion in ZSH

This guide will help you enable command autocomplete in Zsh using the zsh-autosuggestions plugin. Follow the steps below to get started, and if any issues arise, refer to the troubleshooting tips to help resolve common problems.
Prerequisites
- Ensure you have Oh My Zsh installed. This helps manage plugins and customize your Zsh experience.
- If you’re on macOS, Zsh is likely installed by default, but you may need to install Oh My Zsh separately.
To install Oh My Zsh:
sh -c "$(curl -fsSL https://raw.githubusercontent.com/ohmyzsh/ohmyzsh/master/tools/install.sh)"Step 1: Update Your .zshrc file
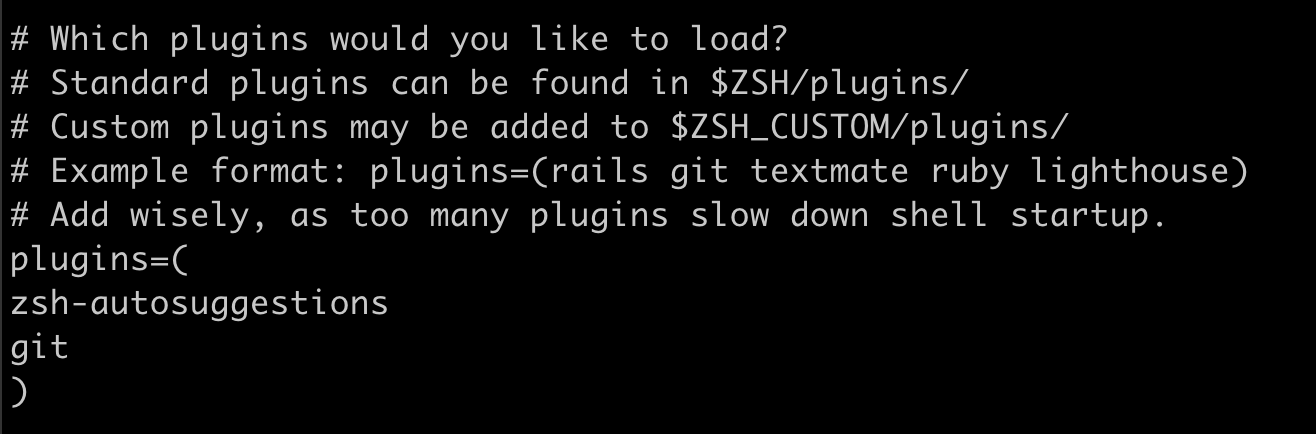
Add zsh-autosuggestions to the plugins array in your .zshrc file to enable it:
Once done, run source ~/.zshrc
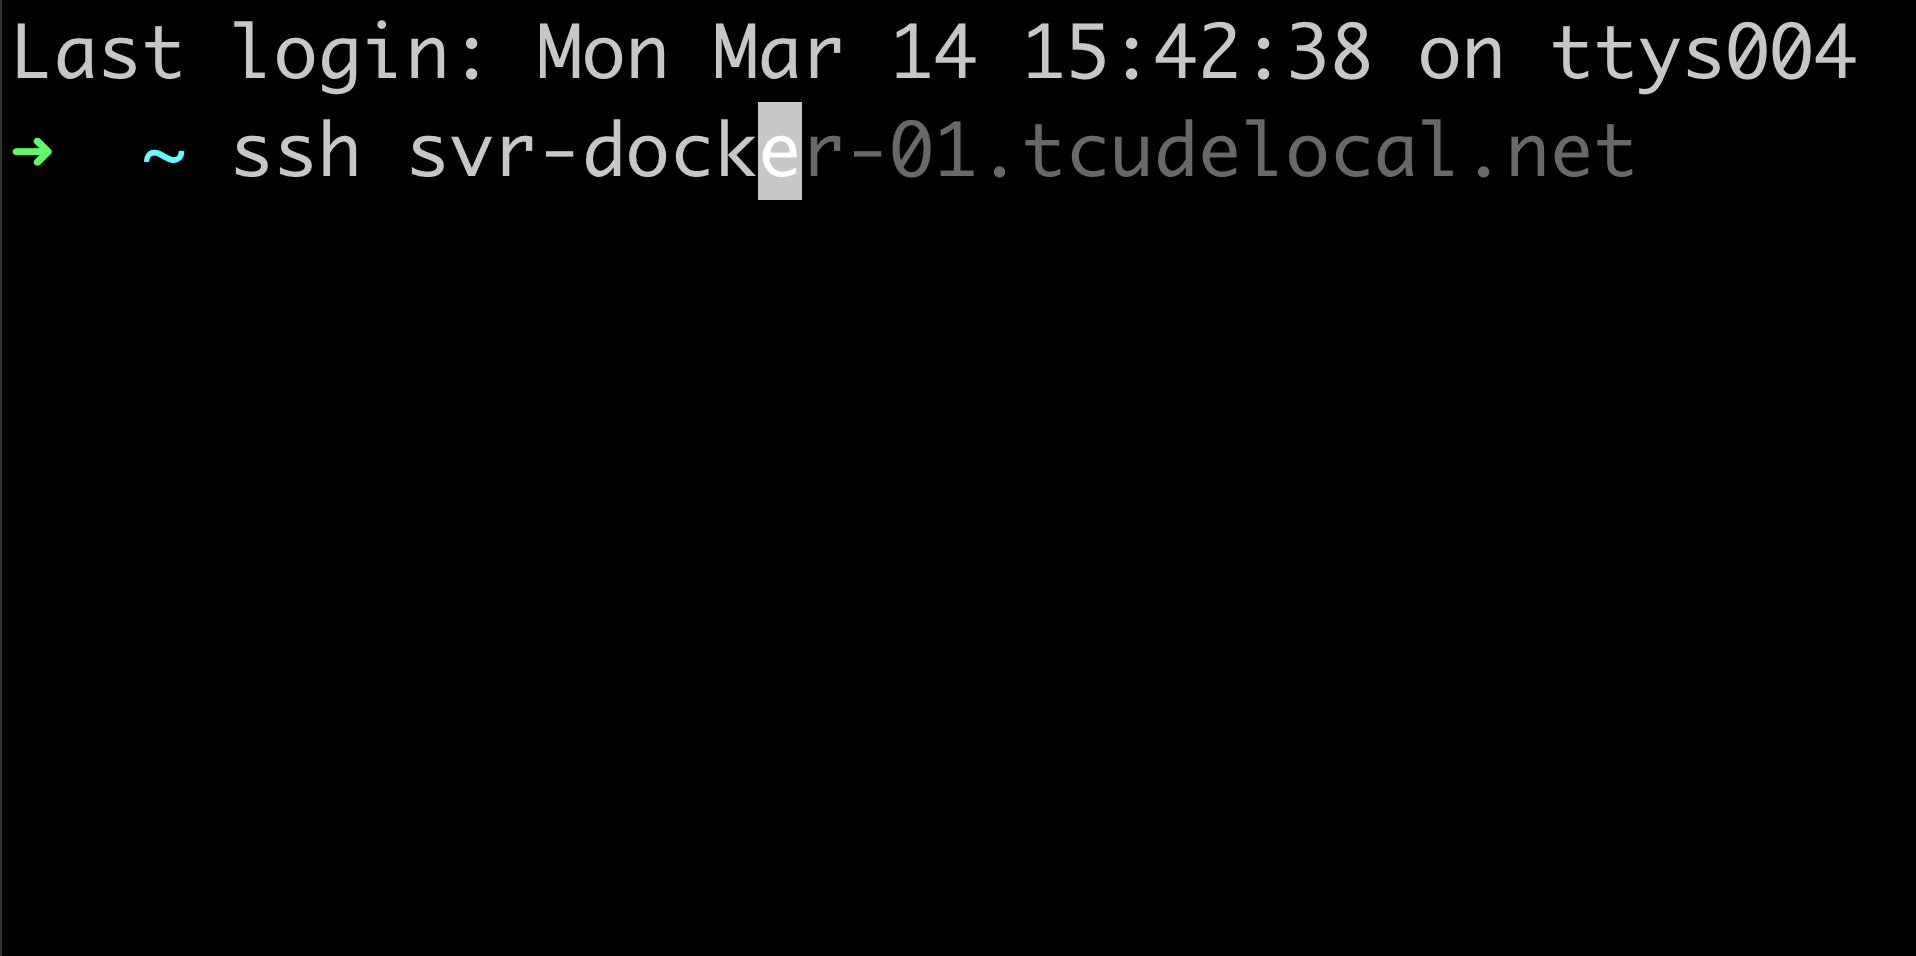
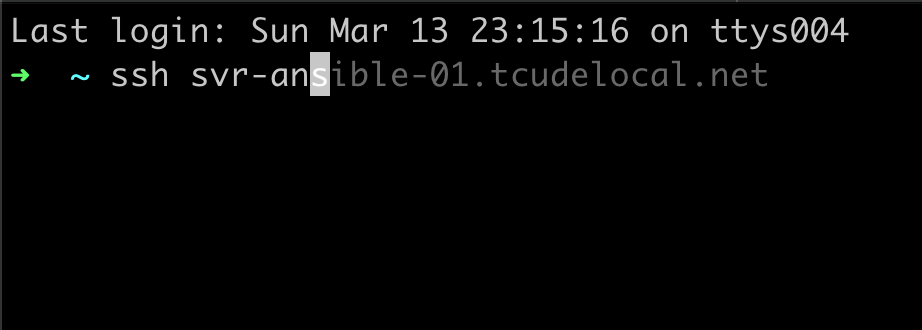
If autocomplete suggestions work, you’re all set! If you see an error like this:
[oh-my-zsh] plugin 'zsh-autosuggestions' not foundthen zsh-autosuggestions might not be installed in the correct location. Continue to the troubleshooting steps below.
Step 2: Troubleshooting: Plugin Not Found
If you encounter the “plugin not found” error, you likely need to install zsh-autosuggestions. Follow these steps to manually install it.
For Both Linux and macOS Users:
- Clone
zsh-autosuggestionsinto the Oh My Zsh custom plugins directory:
git clone https://github.com/zsh-users/zsh-autosuggestions ${ZSH_CUSTOM:-~/.oh-my-zsh/custom}/plugins/zsh-autosuggestions
- Verify the plugins array in
.zshrc: Ensurezsh-autosuggestionsis still listed in your plugins:
plugins=(
  git
  zsh-autosuggestions
)
- Reload the configuration
source ~/.zshrcThis should resolve the vast majority of any errors you might see.
Conclusion
By following these steps, you should now have zsh-autosuggestions enabled, and command autocomplete suggestions will appear as you type. If you have any other questions or run into issues not covered here, feel free to reach out in the comments!
I hope you found this guide helpful. If you did, consider adding my site to your RSS reader using the following URL: