How I Made my Blog


The blog post that you are currently reading is hosted on my own infrastructure using Ghost, an open source and free to use blogging platform. If you visit their site, they'll really try to market some paid services, where they host the blog for you but, if you have your own infrastructure to host it on, it's a fairly easy process to do so.
To preface, this post was promised a while back and is only just now coming to fruition due to some restructuring in how I had my blog installed. I was originally hosting the site in a docker container, using docker compose, but I ran into some issues being able to utilize the containerized nginx server for other sites I've started to want to host. Since it was occupying port 80/443 and I had no way of configuring it to proxy pass my other sites, I actually went through the process of re-installing my blog on another VM and migrating everything over. I now have a new nginx server running on that VM that's as configurable as I'd like for it to be, letting me host other sites off my network.
Anyway, with all of that being said, let's get back to the installation process. To start, we'll want to make sure our server is entirely up to date by running the command sudo apt update. Once we've done ensured we have everything up to date, we can really get the ball rolling.
Now that we have everything updated, we'll start by installing nginx. Nginx is what's going to be doing the actual serving of our site out to the open internet. We can install it by running
sudo apt install nginxNext, for our database, we'll be installing MySQL
sudo apt install mysql-serverIf you're installing this on Ubuntu 18.04 or newer, you'll be required to configure your database with a password. You can do so with the following commands:
# To set a password, run
sudo mysql

# Now update your user with this password
# Replace 'password' with your password, but keep the quote marks!

ALTER USER 'root'@'localhost' IDENTIFIED WITH mysql_native_password BY 'password';

# Then exit MySQL
quit

# and login to your Ubuntu user again
su - <user>
You will now need to install Node.js, system-wide. You can do this by running these two commands:
# Add repo for Node.js
curl -sL https://deb.nodesource.com/setup_12.x | sudo -E bash

# Install Node.js
sudo apt-get install -y nodejs
Next, we'll want to install the latest command-line tool for the Ghost installation process.
sudo npm install ghost-cli@latest -gPrior to installing Ghost, we'll want to make the directories that our blog will reside in. You can do that with the following commands.
# I named my directory `ghost` but you can name it whatever you want to.
sudo mkdir -p /var/www/ghost

# Replace <user> with the name of your user who will own this directory
sudo chown <user>:<user> /var/www/ghost

# This command will set the correct permissions for the directory
sudo chmod 775 /var/www/ghost

# Navigate into the install directory
cd /var/www/ghostFinally, you'll be able to initiate the install process with the following command:
ghost installOnce this command is run, the ghost installer will ask you multiple questions about how you'd like to configure your site. Let's review some of these and provide some clarity on how you might want to answer them.
- Blog URL
- You will want to enter the exact URL of the site you want your blog to be available at. Obviously, this needs to be a domain that you already own. Ensure you provide an "https://" at the beginning if you intend on using SSL, which I highly advise. For me, my input on this question looked like "/"
- MySQL Hostname
- This will be the hostname of where your database resides. If you're following this guide exactly, you should be able to use the default value of "localhost"
- MySQL Username and Password
- Again, if you have a pre-existing database, use those credentials here, otherwise, you'll use the default username of "root" and whatever you set as the password earlier in the guide.
- Set up Ghost MySQL User
- This step allows you to create a new MySQL user that is restricted to only accessing your Ghost db. I answered yes to this one.
- Set up nginx
- This setting allows Ghost to automatically setup nginx for you
- Set up SSL
- If you specified "https://" at the beginning of this setup process with the intent of using SSL for your blog, which I again highly advise, you'll want to answer yes to this question. Here, SSL will be setup using Let's Encrypt. If you have any issues with this on the first go-around, you can try again later with the command "ghost setup ssl"
- Set up systemd
- In an earlier blog post, we covered what systemd is and how it makes our lives a lot easier, by automatically ensuring that services are running automatically on bootup. I answered yes to this one.
With all of that being said, you should now have a functional blog running on your domain! You should now be able to set up your initial user profile by visiting https://(your_domain)/ghost
From here, you'll be given loads of articles covering how to do various things within the Ghost blog platform and will be on your way to running a blog just like mine!
-- Update
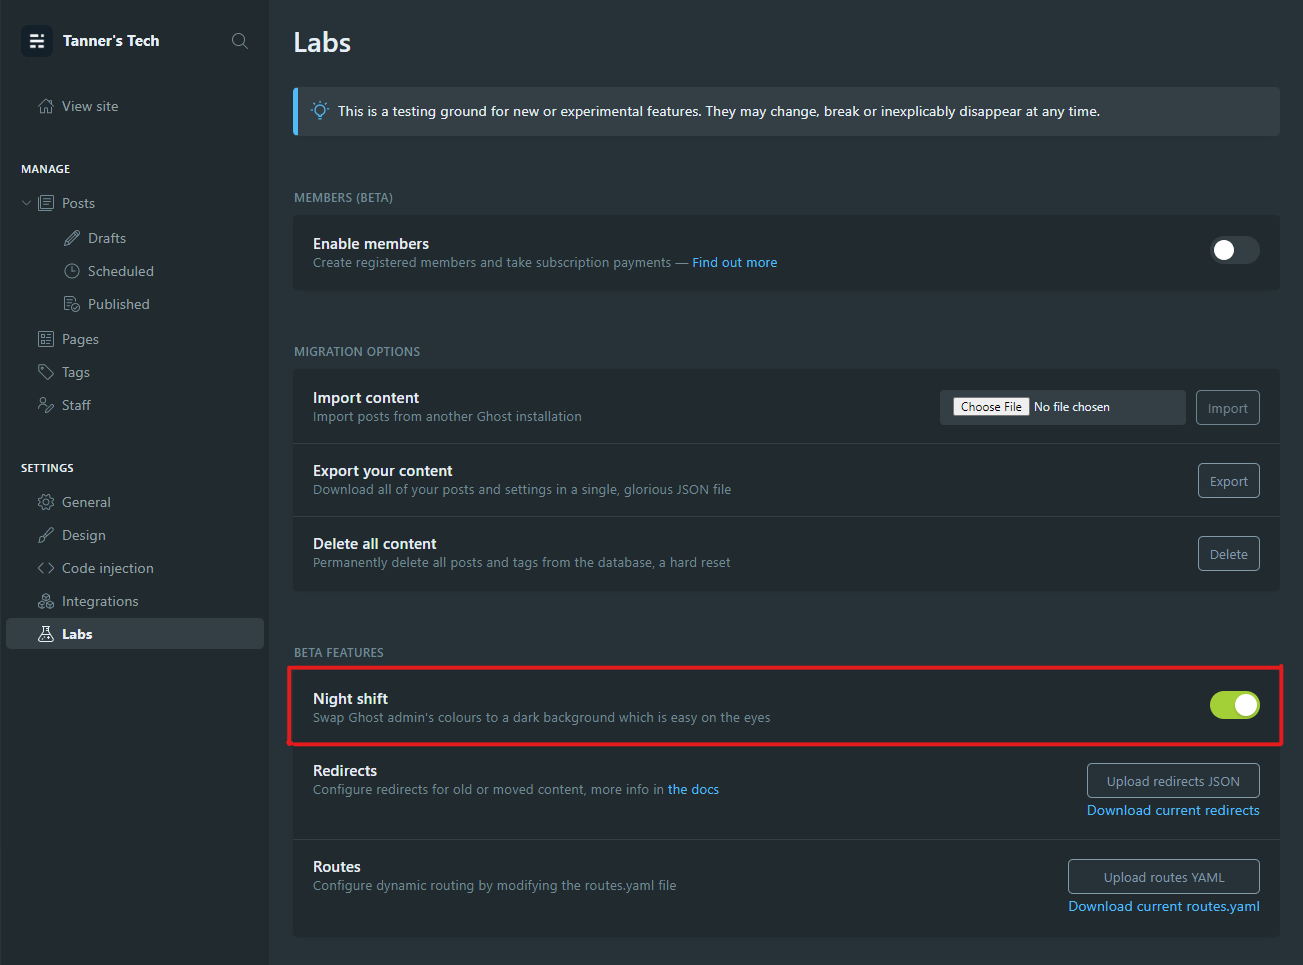
One final thing, once you're set up and running on your new blog, I highly suggest you take a look at the "Labs" tab in the Ghost configuration panel. Here, you'll see an option to enable "Night shift", which will allow your blog to detect if a user's device is using dark-mode and will automatically enable dark-mode for that user.