How to Self Host a VPN with PiVPN


Self-hosted VPNs are an extremely helpful tool when it comes to having a homelab. Whether you're at a coffee shop and on public wifi, like I am right now, wanting to securely tunnel back to your own network before accessing a more sensitive site, or even just wanting to be able to SSH into some of the servers you host, without having to expose SSH to the entire world, a self-hosted VPN will get the job done and do it well.
When doing research on how I wanted to set up my VPN, I stumbled upon PiVPN, a simple tool that gets you up and running with a Wireguard or OpenVPN connection. While the name implies that it's meant to be run on a Raspberry Pi, you are not limited running it on that particular series of devices. For my setup, I'm running it in an ESXi VM on my Dell R720xd.
Prerequisites
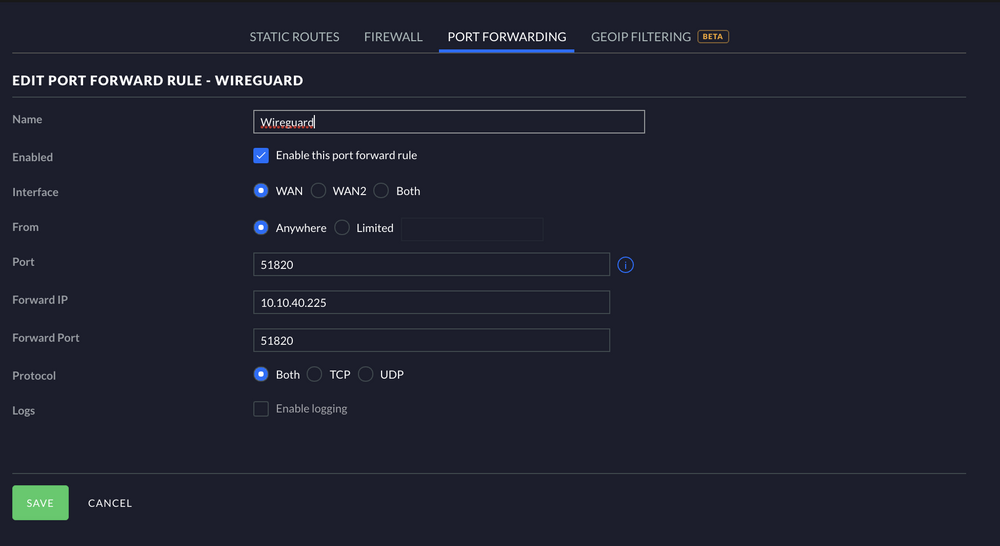
Prior to beginning the install process, you will need to decide which device you will want to host your VPN on and set up port forwarding rules for it. Wireguard traditionally runs on 51820 and OpenVPN typically runs on port 1194 but you are free to select your own, unused port to operate the VPN on.
Installation
Now that you have your port forward rule configured, you're ready to begin the installation process of PiVPN.
To start, visit https://www.pivpn.io/ and grab the following command:
curl -L https://install.pivpn.io | bashAfter running the curl command, you will be presented with a TUI that looks like this:


After hitting "Ok" on the previous screen, you will be informed that your PiVPN needs to be running on a server with a static IP address, rather than dynamic. With us having set up a port forward rule specifically for one IP address, if the IP of the server changes, the VPN would stop working.

Next, you will be prompted to select which user on the server you'd like to install the service under. For this demo server, I only have a single user set up.
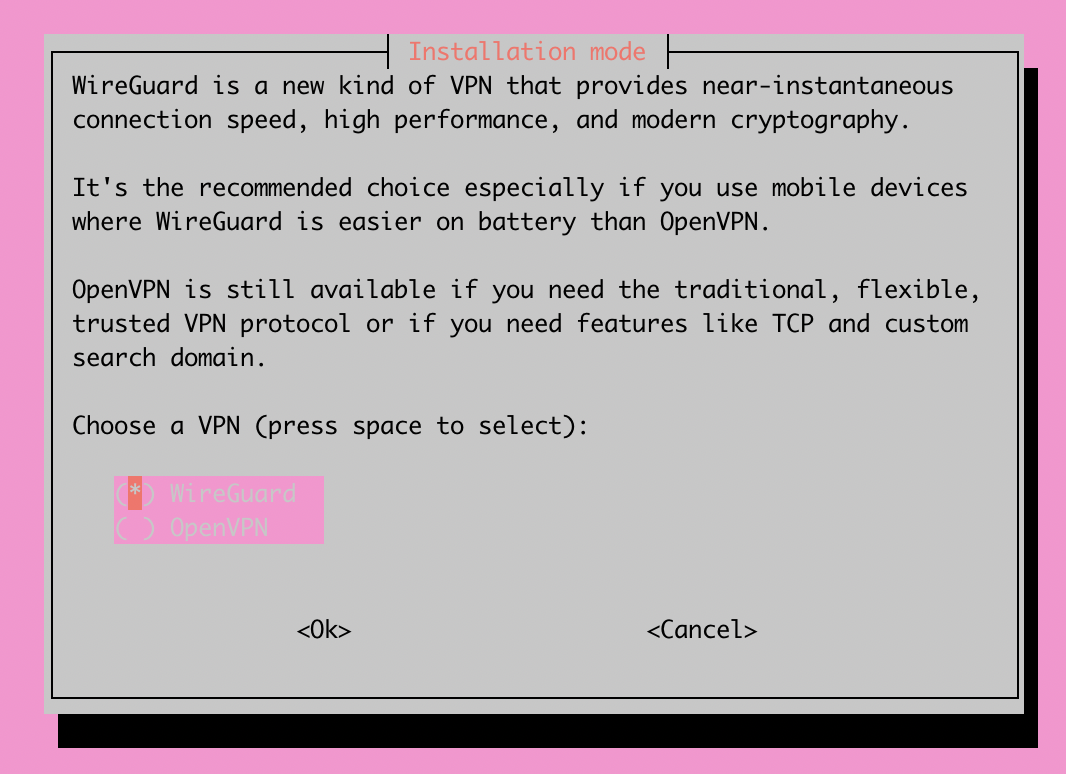
Now you will be prompted to choose between the two different VPN options: Wireguard or OpenVPN. Personally, I chose Wireguard but I encourage you to do research on your own to see what fits you best.
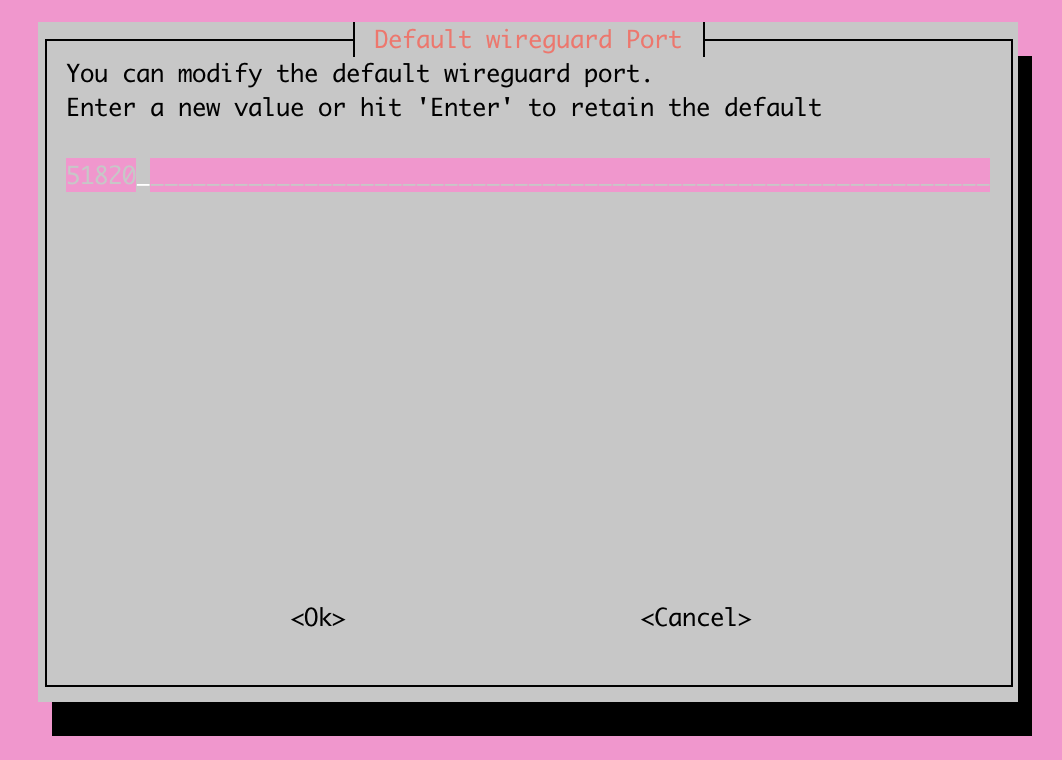
After selecting the VPN type that you'd like to install, you're now able to select which port you'd like to run your VPN on. For this step, we will reference back to the Prerequisites section of this article, where we set up a port forwarding rule. The port we opened up in that step will need to line up with what we enter here.
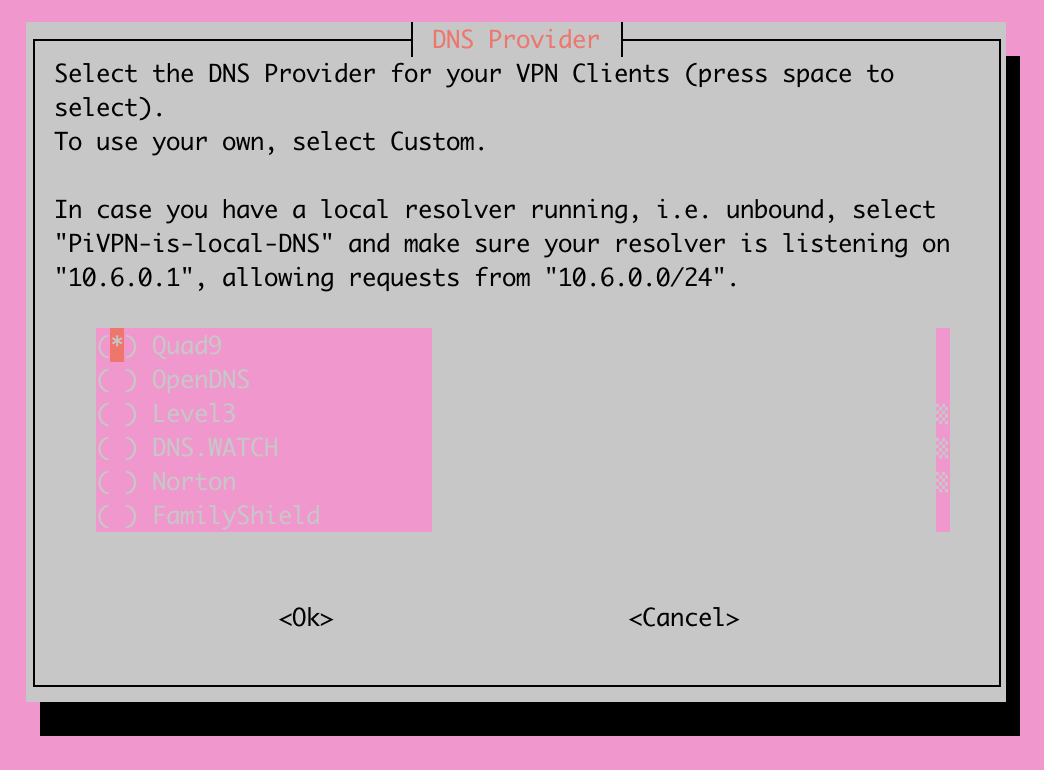
In this step, you will be prompted to choose the DNS provider you'd like to use for your VPN. Personally, I self host my internal DNS through a domain controller. If that's the setup you're currently utilizing, I highly encourage you to use the "Custom" option on this step of the installation process and provide the IP address(es) of your domain controllers running DNS. It will be much more useful later on if you're attempting to remotely access your lab through your VPN.
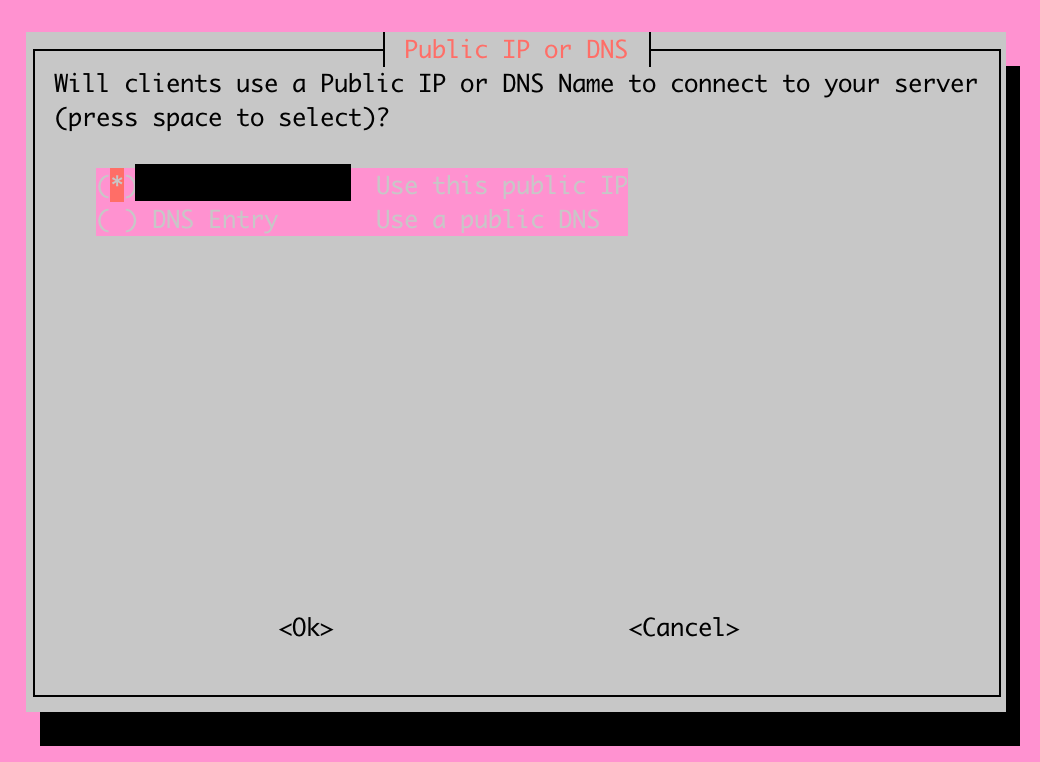
You will now be able to select between using your current public IP or using a DNS Entry. For my setup, I'm fortunate to have a static IP address, so I'll be sticking with the first option. If you don't have a static public IP address, you're able to utilize a dynamic DNS service and utilize the second option shown above.

This step allows you to enable unattended upgrades on your server. With a VPN being a critical entry point to your network, I highly encourage you to turn unattended upgrades on. This will ensure that your server is running the latest security package updates, protecting your server and network as a whole.
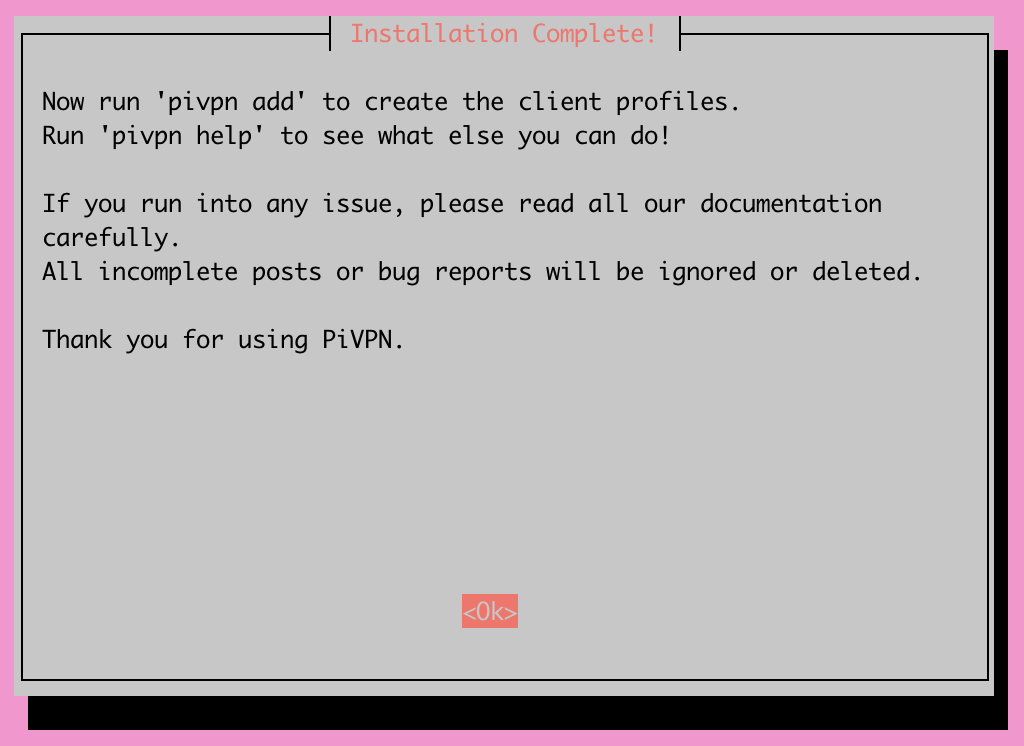
And with that, you should now have a functional PiVPN! All that's left to do is generate client profiles for the devices you'd like to connect to your new VPN. It is important to generate one client profile for each device and not share them among multiple devices. Doing so would be a security liability.
Connecting Devices to your PiVPN
Now that our VPN is created, we'll create our first client profile by running the command pivpn add.
You will be prompted to enter a name for the client you'd like to add and then see an output like this:
Enter a Name for the Client: tcude-laptop
::: Client Keys generated
::: Client config generated
::: Updated server config
::: WireGuard reloaded
======================================================================
::: Done! tcude-laptop.conf successfully created!
::: tcude-laptop.conf was copied to /home/tcude/configs for easy transfer.
::: Please use this profile only on one device and create additional
::: profiles for other devices. You can also use pivpn -qr
::: to generate a QR Code you can scan with the mobile app.
======================================================================
The profile should be stored in your home directory under /configs
~/configs$ ls -l
total 4
-rw-r----- 1 tcude tcude 321 Aug 14 20:03 tcude-laptop.conf
To use your profile, you'll need to export the profile via a method of your choosing and then import it into your VPN client. I would suggest using the scp command (or something like WinSCP if on Windows) to grab the files off your server.
Conclusion
That's all there is to it! You should now have a functional VPN running on your own server infrastructure, allowing you to securely connect back to your own network.
I hope you found this guide helpful. If you did, consider adding my site to your RSS reader using the following URL: