How to Set Up vMotion in ESXi


VMware's vSphere as a whole has been an awesome addition to my homelab but vMotion, in particular, is one of my favorite features that it has to offer.
In short, vMotion allows a user to easily transfer a virtual machine between two different ESXi hosts without the virtual machine needing to be powered down, lose connectivity, or encounter any other situation that might cause some sort of downtime for the VM you are transitioning.
This uptime can be extremely helpful when it comes to performing tasks like maintenance on one of your servers. Rather than having to take all of the virtual machines down with your physical ESXi host when powering the server off, you can simply vMotion them onto another ESXi host until you're ready to bring the original host back online.
In today's guide, I'll be showing you how to quickly get vMotion up and running.
Prerequisites
Prior to getting into ESXi and performing the steps needed in order to get vMotion up and running, I went ahead and created a VLAN for vMotion to operate on.
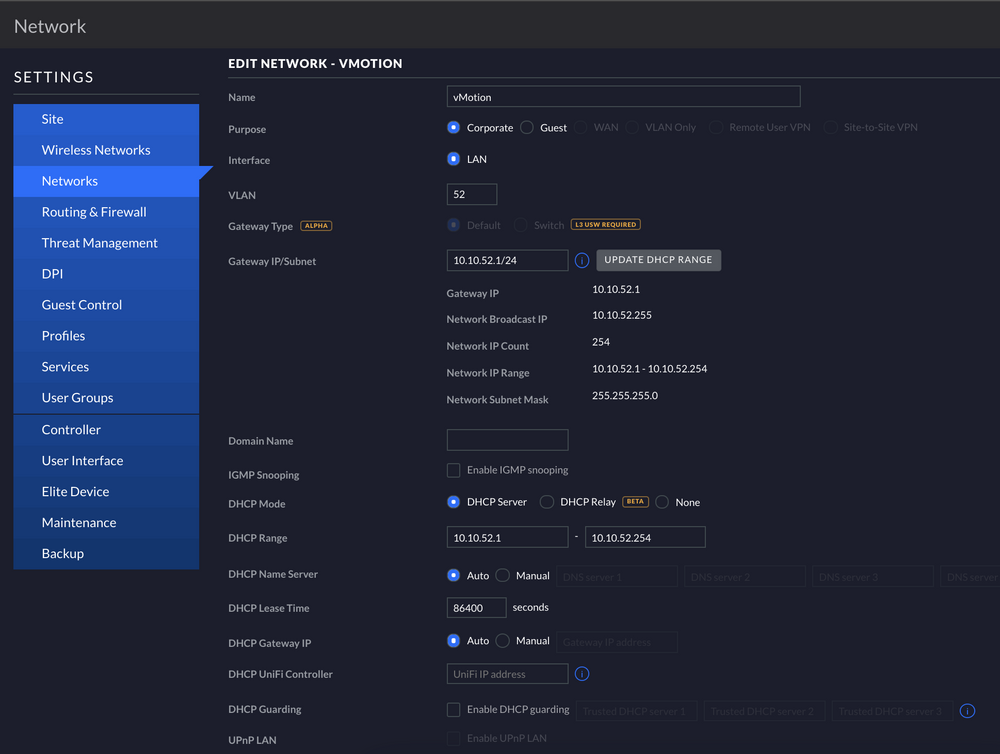
For reference, here is my vMotion VLAN set up within the Unifi control panel, operating on VLAN 52
Port Group Configuration
Now that the VLAN that vMotion will operate on is created, it's time to take a look at ESXi, specifically in the networking section. You can find this in the top left corner of the ESXi dashboard. Upon clicking on it, you should be presented with a screen similar to the following:
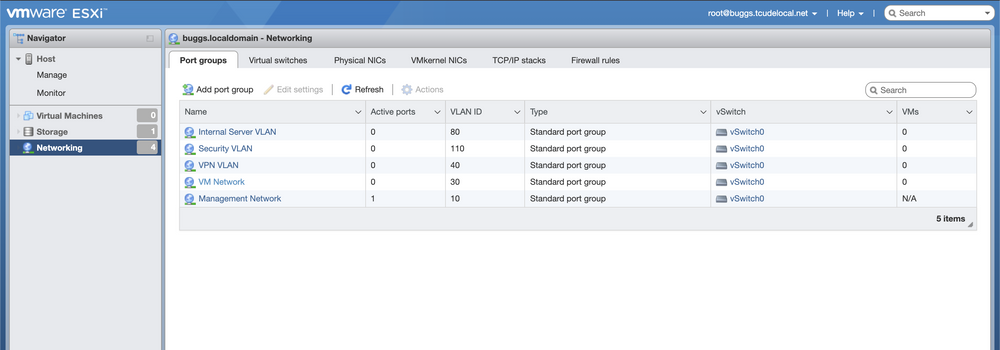
Note that if you haven't configured anything in this page previously, you may only see one network labeled "VM Network".

It is now time to create the port group that vMotion will use. To do this, simply click on "Add port group" to be presented with the screen shown above. Give your new port group an appropriate name and tie it to the VLAN you created previously.
For my purposes, I did not need to set the virtual switch to anything but the default vSwitch0 or configure any security settings.
VMkernel NIC Configuration
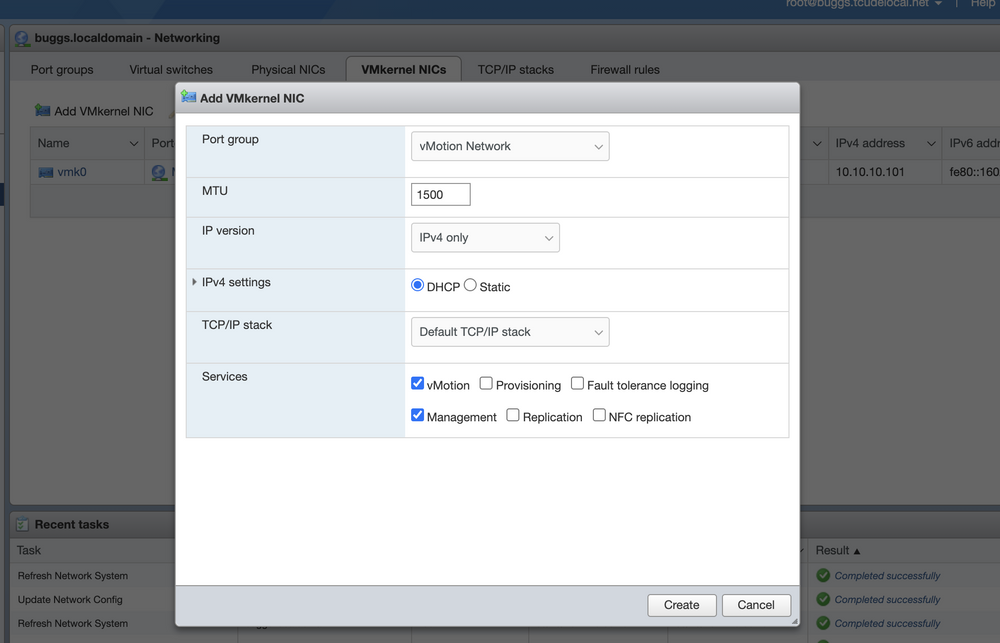
For your next step, you will need to configure the VMkernel NIC that vMotion will operate on. To start, navigate to the "VMkernel NICs" tab at the top of the previous page and click on "Add VMkernel NIC".
From here, you'll want to configure it similarly to what is shown above, with your vMotion Network (from the port group step) selected, as well as having "vMotion" and "Management" selected in the "Services" section.
Once done, click "Create".
Conclusion
After completing the steps listed above (on two or more hosts), you should now be ready to vMotion between your ESXi hosts. To do so, log into vCenter, right click on a VM you'd like to vMotion, and click on "migrate".
Doing so will walk you through a process of selecting where you'd like the VM to be moved to. The process is fairly straight forward.
That's all there is to it!
I hope you found this guide helpful. If you did, consider adding my site to your RSS reader using the following URL: