Enabling HTTPS for Your Internal Sites with Cloudflare + Let's Encrypt
Introduction
In a previous post, I covered the process of creating an instance of Nginx to help you more conveniently access your internally hosted apps and services. Assuming you followed that guide, you might have encountered something like this when trying to access an internal site:

This is your browser letting you know that the site you are trying to access likely either does not have SSL/TLS enabled or has an invalid/expired cert. In some cases, it can also mean something far more nefarious.
SSL, or Secure Sockets Layer, is an encryption based Internet security protocol and is the predecessor to TLS encryption, which is what is used today. These protocols ensure privacy, authentication, and data integrity in Internet communications.
Simply put, a site that uses SSL/TLS will have https prefixed to it, versus simply having http.
Today's guide will show you not only how to get rid of the pesky warning messages when trying to access your internal sites, but also add an additional level of security for the web traffic running in your lab.
Creating Your Cloudflare API Token
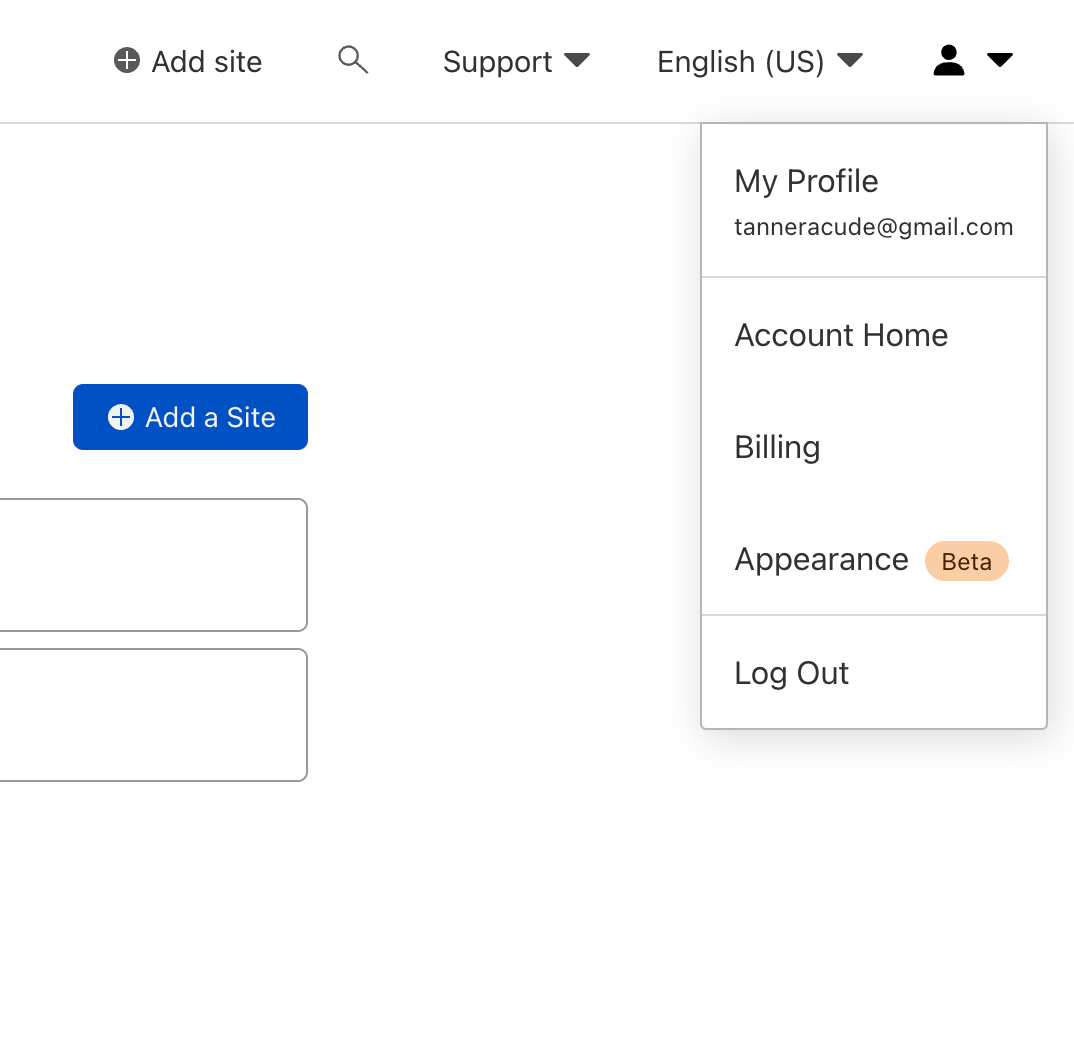
To start, you will need to navigate to your cloudflare dashboard and then select "My Profile"
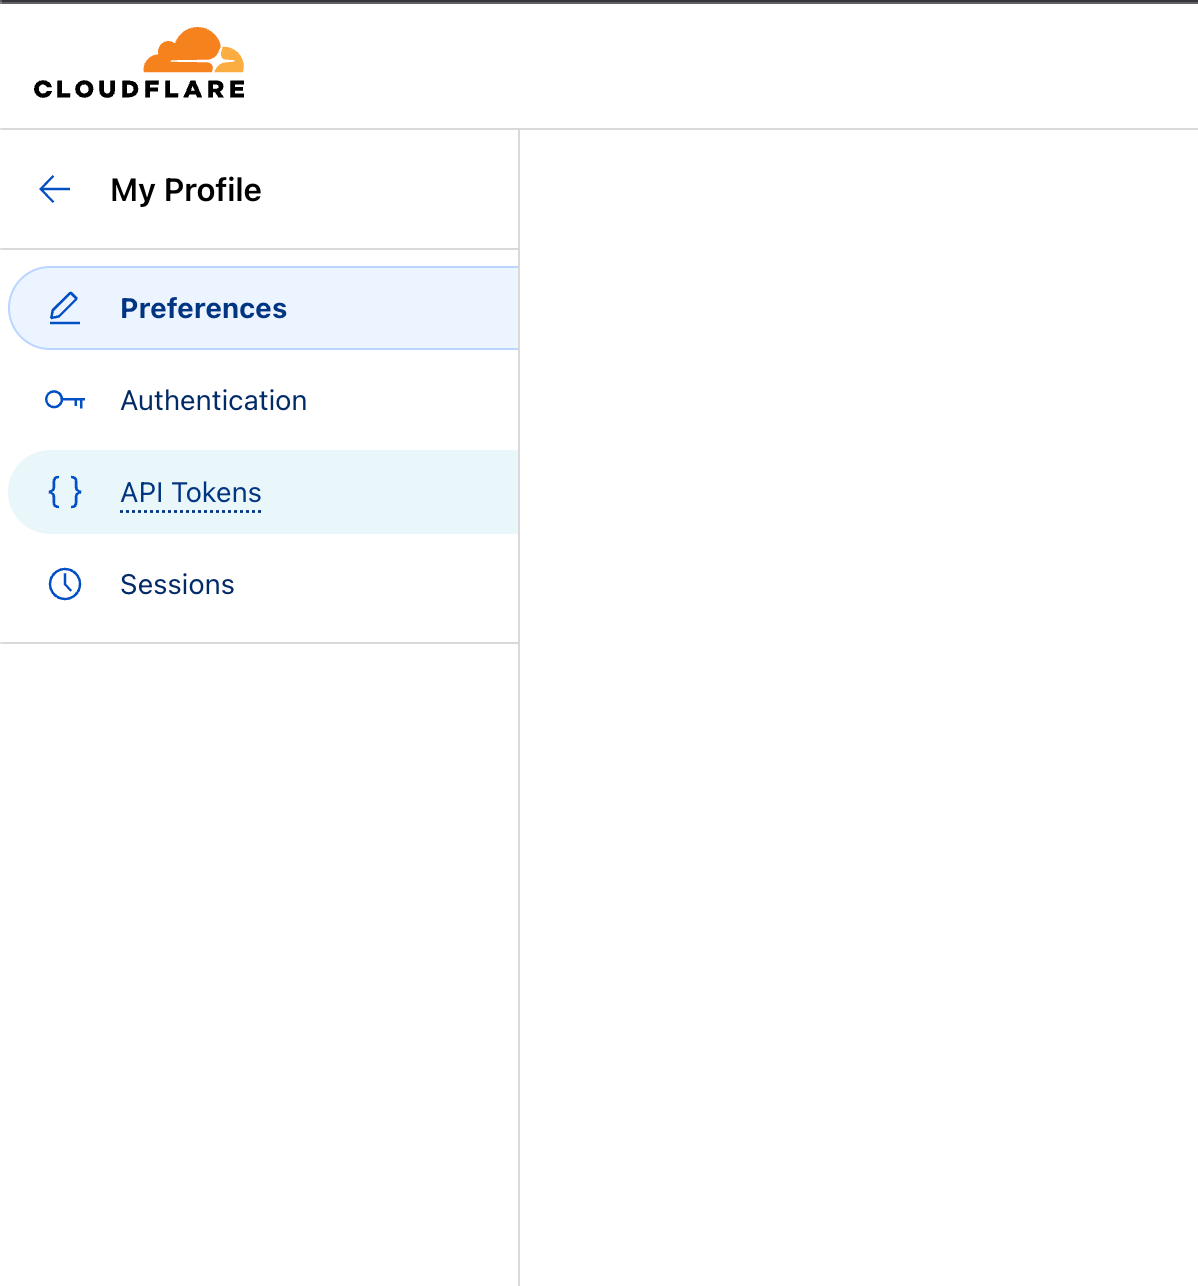
Once here, select the "API Tokens" tab
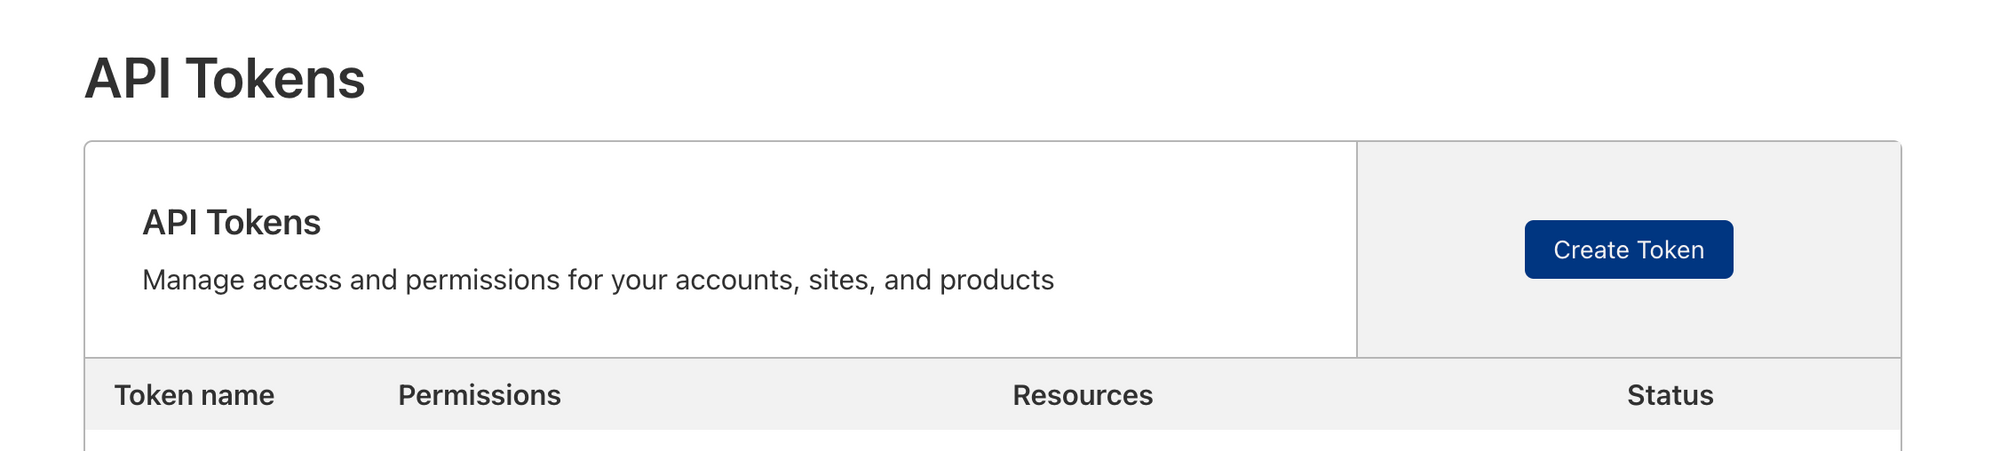
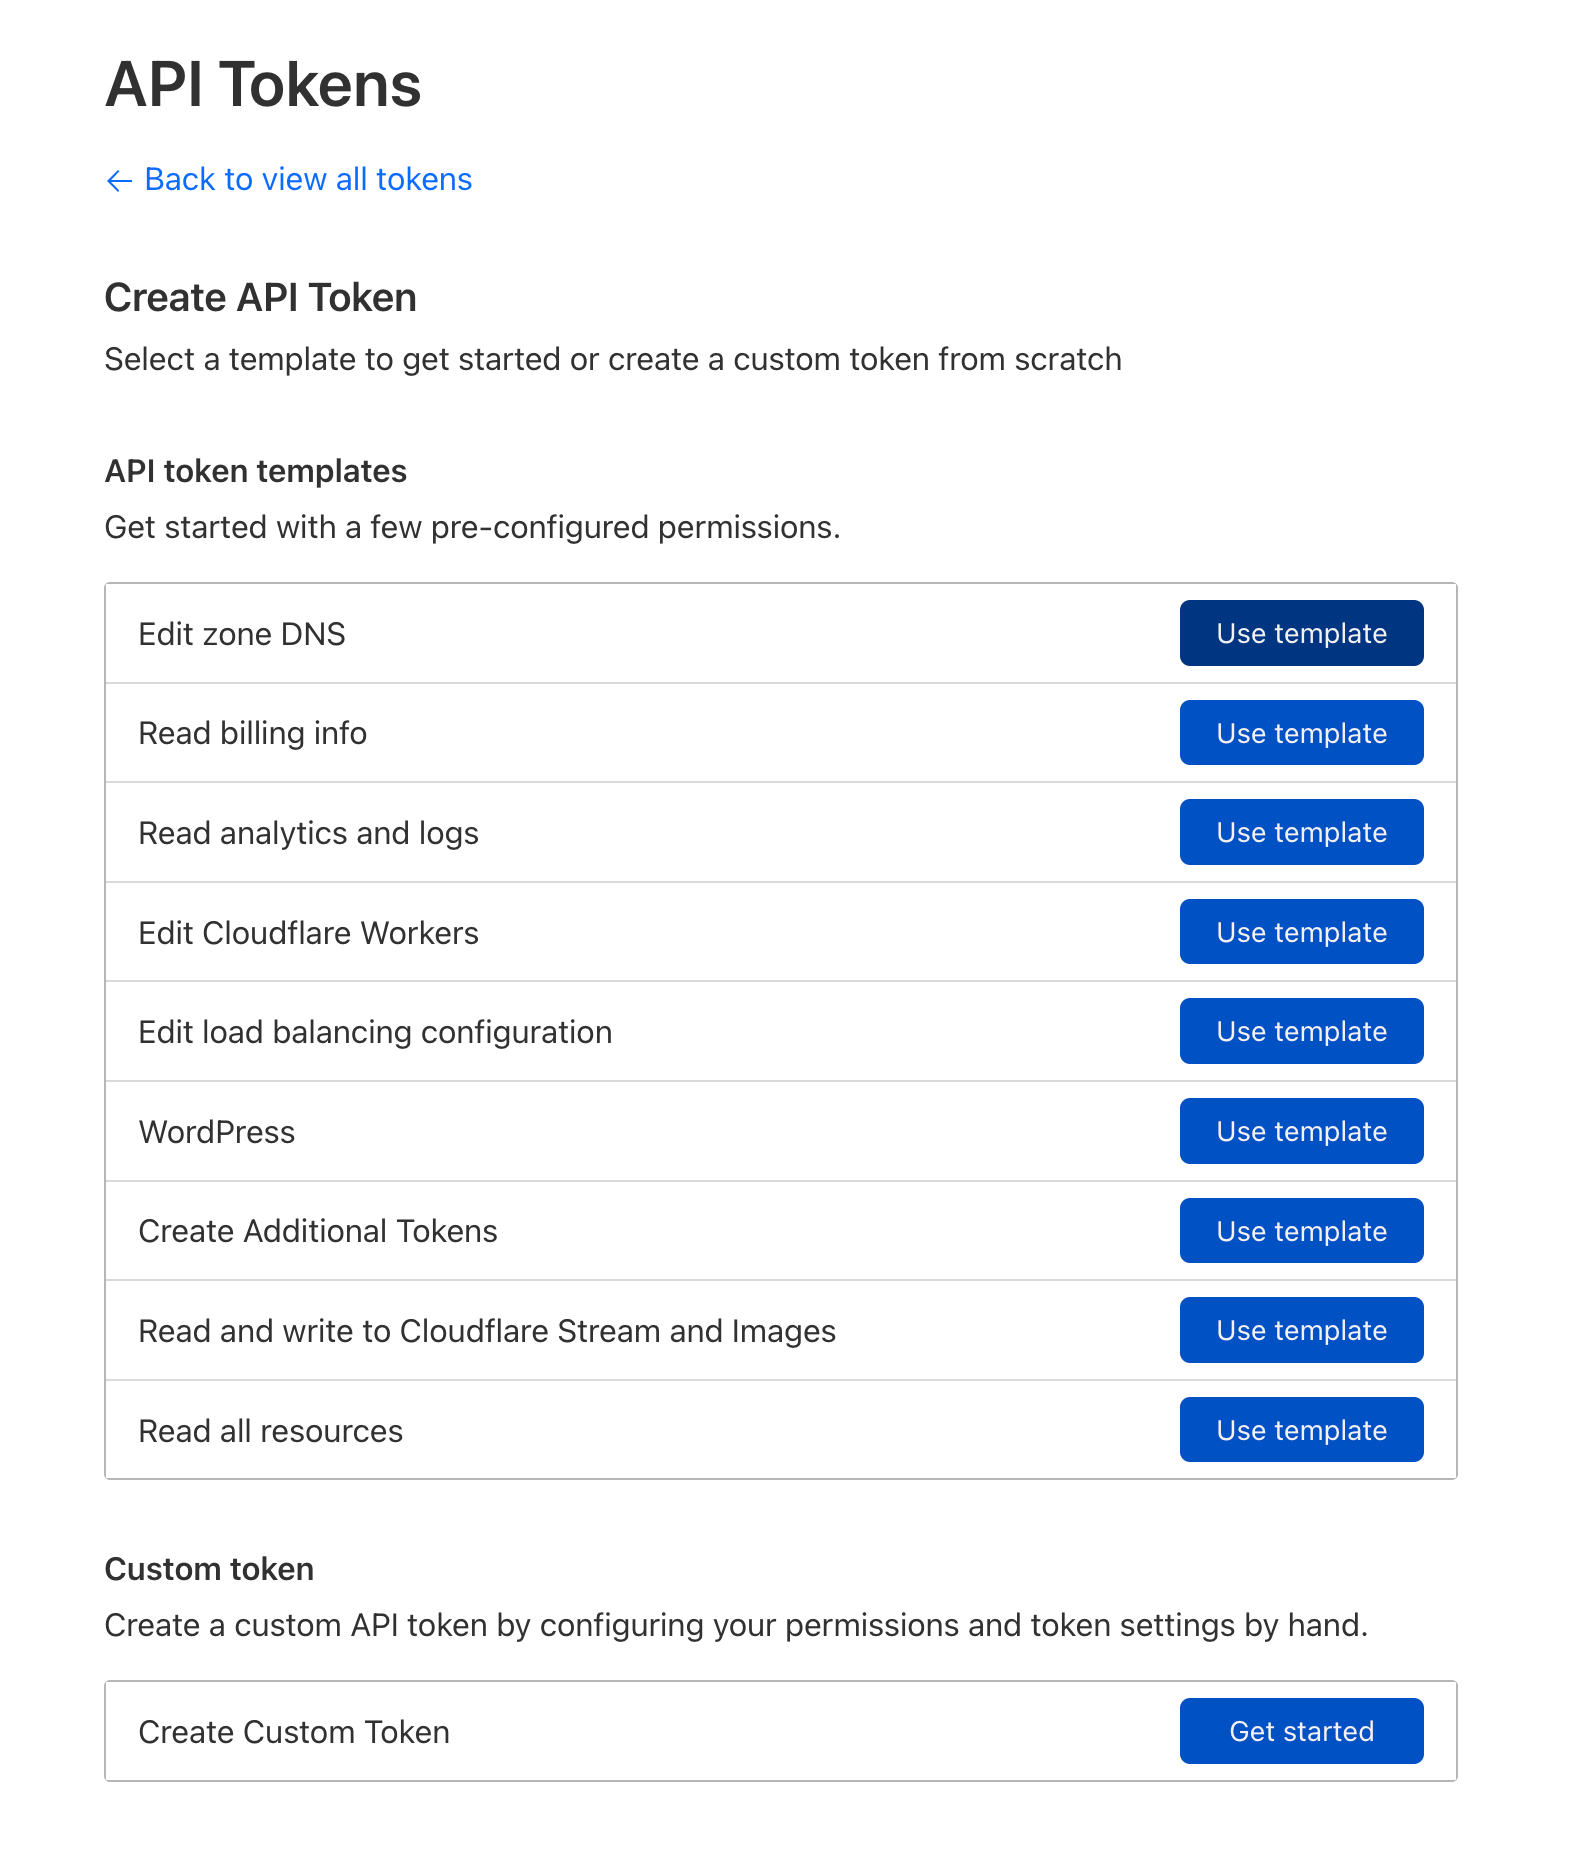
Now it is time to create an API token. Many resources online will instruct you to use your global API key but it is more secure to create one with a smaller scope, specifically for this use case.
Select Use template under Edit zone DNS
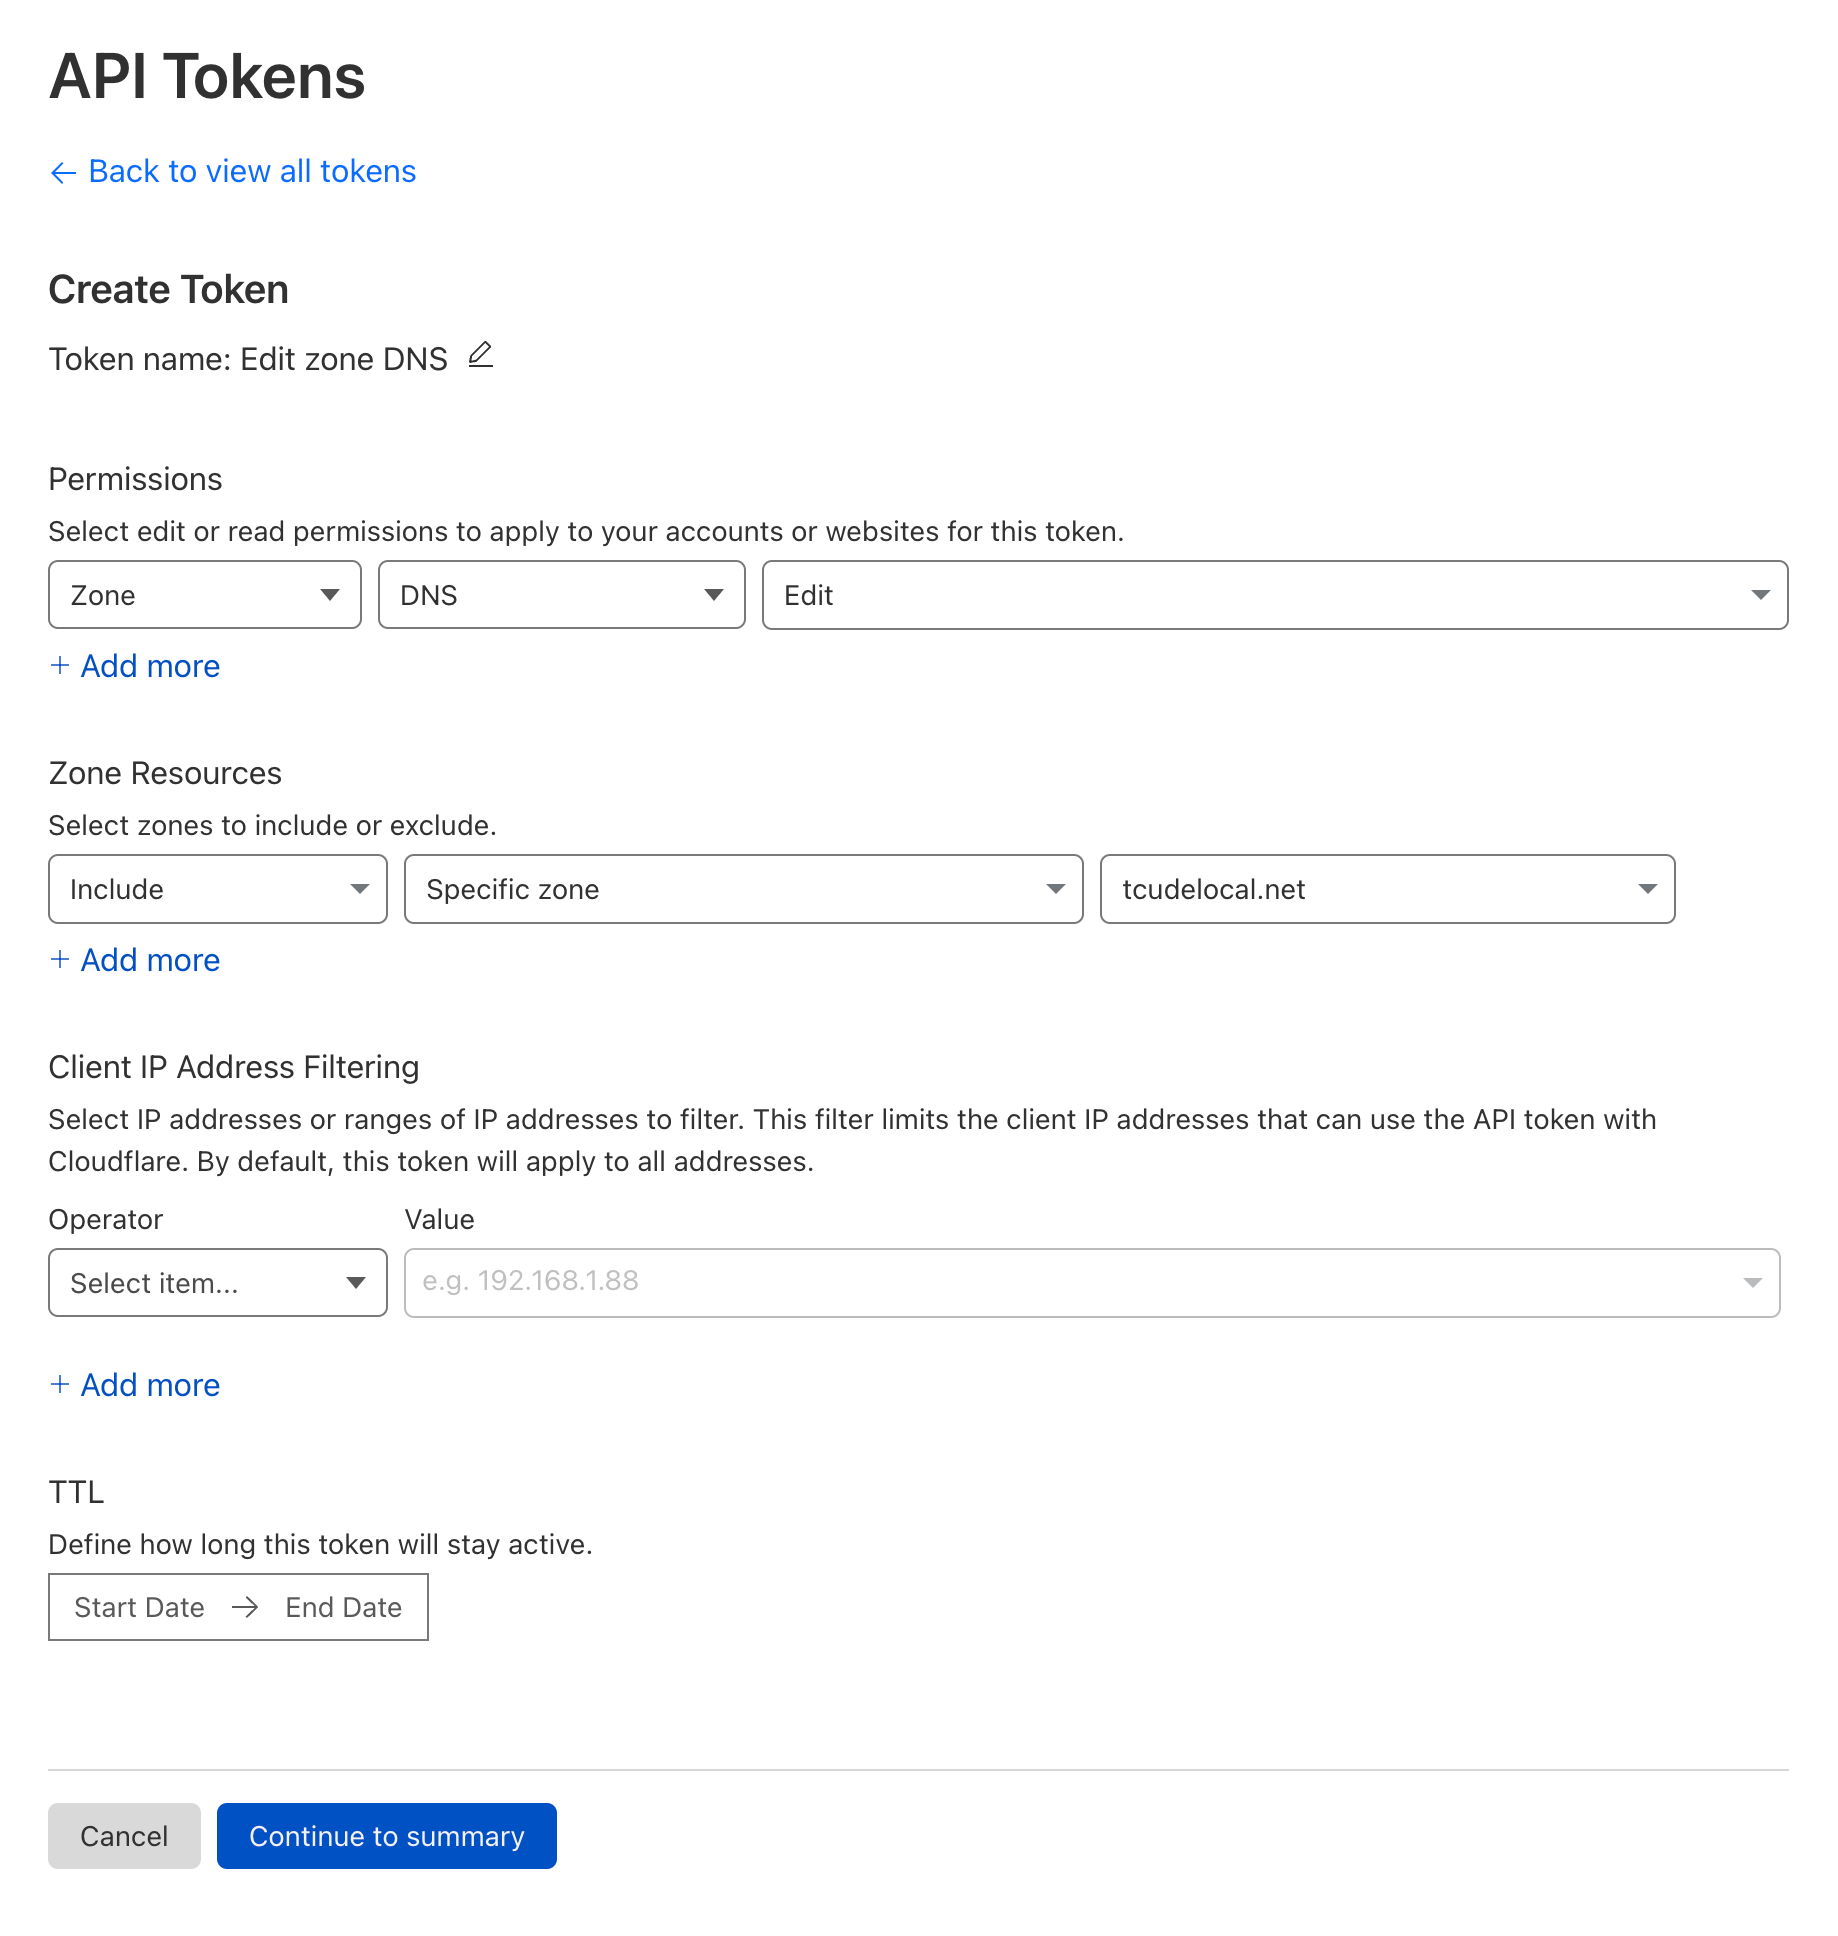
Here is where you will configure your API token. Your configuration should end up looking something like this.
Note that under the Zone Resources section, I have limited the scope of this API key to only apply to tcudelocal.net, my internal domain. It is best practice to keep an API token like this limited in scope.
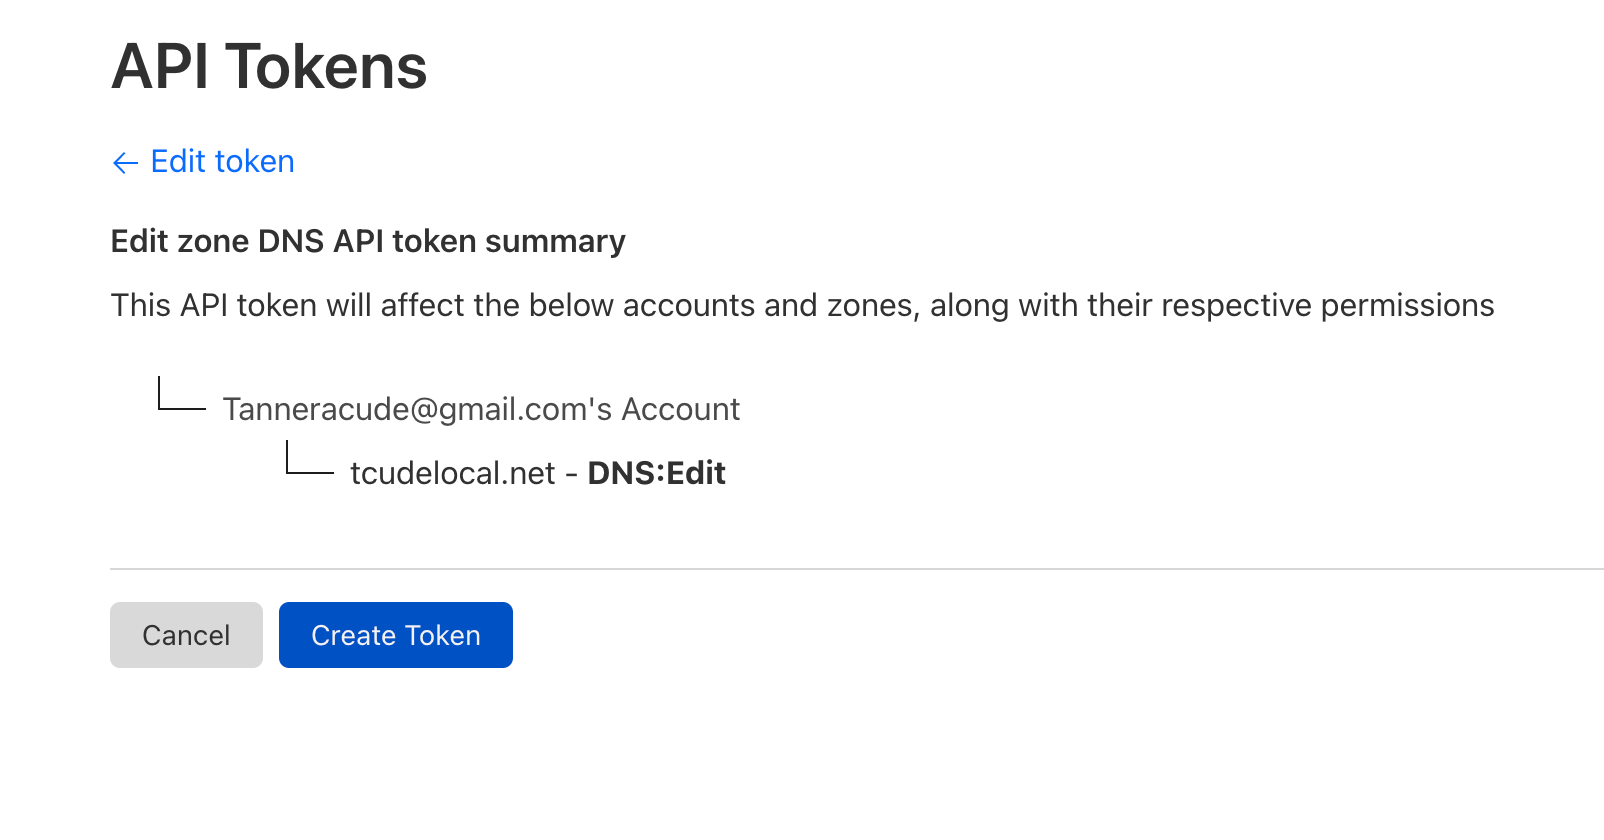
You can now confirm the details of this API token before creating it. Once ready, simply click Create Token
At this point, you will then be presented with your token. Ensure that you make note of the value of this token, as it will only be presented once.
Per the page you should now be seeing, to confirm your token is working correctly, copy and paste the supplied CURL command in a terminal shell to test.
curl -X GET "https://api.cloudflare.com/client/v4/user/tokens/verify" \
     -H "Authorization: Example sx324jklsd932jkljklsdf"\
-H "Content-Type:application/json"Configuring Let's Encrypt to work with Cloudflare's API
Now that we have an API token created with Cloudflare, it's time to make use of it by integrating it with Let's Encrypt/Certbot. To do so, you will need to start by creating a file to store your API token in:
mkdir ~/.secrets && touch ~/.secrets/cloudflare.ini
Once the file is created, edit the file with a text editor of your choice.
dns_cloudflare_api_token = yourapitokenNow, ensure that your permissions are correct by running the following command:
sudo chmod 0700 ~/.secrets && sudo chmod 0400 ~/.secrets/cloudflare.ini
Pulling Your Certificate from Let's Encrypt with Certbot
Now that you have your API token prepped, it's time to let Certbot generate a certificate for you.
Install Certbot by running the following command:
sudo apt install python3-certbot-dns-cloudflare && sudo apt install python-pip
Once installed, you should be able to make use of the following certbot command:
sudo certbot certonly --dns-cloudflare --dns-cloudflare-credentials ~/.secrets/cloudflare.ini -d "*.tcudelocal.net"To break this command down a bit, I am telling Certbot that I am using Cloudflare's API with the --dns-cloudflare and --dns-cloudflare-credentials options. I then point it to the location of my cloudflare.ini file from earlier, which contains my API token, and finally, I specify the domain.
You might notice the * at the beginning of my domain. For those who are unaware, this allows me to generate a wildcard certificate, which allows me to secure multiple subdomains under one cert. For example, I could have dashboard.tcudelocal.net, vcenter.tcudelocal.net, and any other subdomains all covered by the single cert.
Going back to the command line, you should now see output similar to what is shown below:
Saving debug log to /var/log/letsencrypt/letsencrypt.log
Enter email address (used for urgent renewal and security notices)
 (Enter 'c' to cancel): [email protected]

- - - - - - - - - - - - - - - - - - - - - - - - - - - - - - - - - - - - - - - -
Please read the Terms of Service at
https://letsencrypt.org/documents/LE-SA-v1.3-September-21-2022.pdf. You must
agree in order to register with the ACME server. Do you agree?
- - - - - - - - - - - - - - - - - - - - - - - - - - - - - - - - - - - - - - - -
(Y)es/(N)o: y

- - - - - - - - - - - - - - - - - - - - - - - - - - - - - - - - - - - - - - - -
Would you be willing, once your first certificate is successfully issued, to
share your email address with the Electronic Frontier Foundation, a founding
partner of the Let's Encrypt project and the non-profit organization that
develops Certbot? We'd like to send you email about our work encrypting the web,
EFF news, campaigns, and ways to support digital freedom.
- - - - - - - - - - - - - - - - - - - - - - - - - - - - - - - - - - - - - - - -
(Y)es/(N)o: n
Account registered.
Requesting a certificate for *.tcudelocal.net
Waiting 10 seconds for DNS changes to propagate

Successfully received certificate.
Certificate is saved at: /etc/letsencrypt/live/tcudelocal.net/fullchain.pem
Key is saved at:         /etc/letsencrypt/live/tcudelocal.net/privkey.pem
This certificate expires on 2023-09-25.
These files will be updated when the certificate renews.
Certbot has set up a scheduled task to automatically renew this certificate in the background.

- - - - - - - - - - - - - - - - - - - - - - - - - - - - - - - - - - - - - - - -
If you like Certbot, please consider supporting our work by:
 * Donating to ISRG / Let's Encrypt:   https://letsencrypt.org/donate
 * Donating to EFF:                    https://eff.org/donate-le
- - - - - - - - - - - - - - - - - - - - - - - - - - - - - - - - - - - - - - - -
As you can see, the output lets us know that the certificate is stored at /etc/letsencrypt/live/tcudelocal.net/fullchain.pem, along with the key being located at /etc/letsencrypt/live/tcudelocal.net/privkey.pem. We will use this in the next section to point Nginx at the newly generated cert, so keep these paths handy!
/lib/systemd/system/certbot.timerConfiguring Nginx
We've come a long way at this point but we still aren't done. The last thing to do is to configure your reverse proxy to utilize the newly created Let's Encrypt cert. Doing so is a fairly simple process. Here is an example of a config that I use for my internal sites, located in /etc/nginx/sites-enabled/example.conf:
server {
  server_name example.tcudelocal.net;
    location / {
        proxy_pass http://10.10.80.26:8080/;
        proxy_set_header Host $host;
        proxy_set_header X-Forwarded-Host $server_name;
        proxy_set_header X-Real-IP $remote_addr;
        proxy_set_header X-Forwarded-For $proxy_add_x_forwarded_for;
        proxy_read_timeout 90;
        proxy_set_header X-Forwarded-Proto $scheme;
        set $xforwardedssl "off";
        if ($scheme = https) {
            set $xforwardedssl "on";
         }
        proxy_set_header X-Forwarded-Ssl $xforwardedssl;
    }

    listen [::]:443 ssl; # managed by Certbot
    listen 443 ssl; # managed by Certbot
    ssl_certificate /etc/letsencrypt/live/tcudelocal.net/fullchain.pem; # managed by Certbot
    ssl_certificate_key /etc/letsencrypt/live/tcudelocal.net/privkey.pem; # managed by Certbot
    include /etc/letsencrypt/options-ssl-nginx.conf; # managed by Certbot
    ssl_dhparam /etc/letsencrypt/ssl-dhparams.pem; # managed by Certbot


}
server {
    if ($host = example.tcudelocal.net) {
        return 301 https://$host$request_uri;
    } # managed by Certbot


  listen 80;
  listen [::]:80;
  server_name example.tcudelocal.net;
    return 404; # managed by Certbot
}
This config might need some slight tweaking in order to work in your setup but it is generally what I have come up with for use in my internal sites. The most important bits are the lines pointing to your newly created fullchain.pem and privkey.pem. Ensure those paths are correct for your environment.
Once done, simply save the Nginx config and reload it with systemctl reload nginx.service.
Conclusion
Assuming you followed all of the steps listed above, you should now be able to easily configure your internal Nginx sites to make use of SSL/TLS.
If you have enjoyed this article, please consider subscribing to my RSS feed, which you can find at https://tcude.net/rss/