Installing Homer Dashboard with Docker

While I've had a fairly solid understanding of docker for a while now, I've been tinkering with it far more than usual over my extended weekend. One of the containers I've found to be interesting is Homer, a "dead simple static HOMepage for your servER to keep your services on hand, from a simple yaml configuration file."
Up until now, I've used Heimdall, which has been adequate but seems to have lost developer support in the last year or so. Homer appears to have an active developer with many features that Heimdall simply cannot compete with.
For multiple reasons, including some of the ones I listed, I have begun making the switch to Homer and wanted to share the process that goes into installing it.
Prerequisites
Installation for Homer is extremely easy using docker but we'll need to ensure a couple of steps are taken before we pull the image and install. I went ahead and created a docker directory that all of my containers live in. Within docker, I have named directories that contain each of my container's docker-compose.yml files and their corresponding config/data directories.
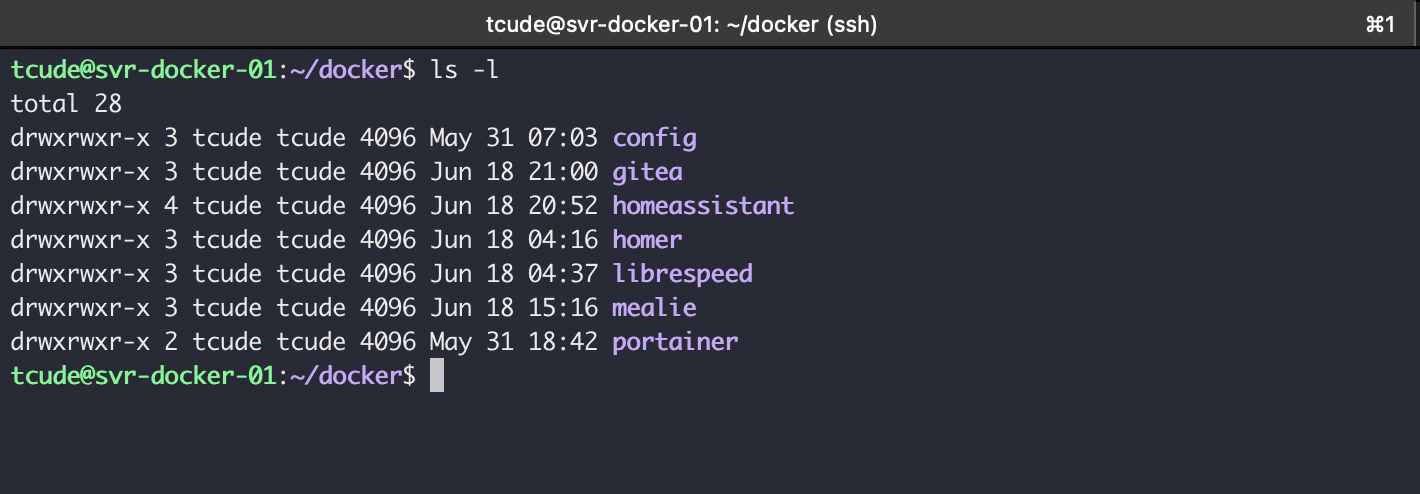
As you can see, within the homer directory, there is a docker compose file and a data directory.
You can create these with mkdir data, which will create the data directory and touch docker-compose.yml, which will create an empty file called `docker-compose.yml

We will now want to edit our docker-compose.yml file. Using a text editor of your choice, open the file and populate it with the following:
---
version: "2"
services:
  homer:
    image: b4bz/homer
    container_name: homer
    volumes:
      - /path/to/your/data:/www/assets
    ports:
      - 8092:8080
    #environment:
    #  - UID=1000
    #  - GID=1000
    restart: unless-stopped
You will need to change the /path/to/your/data section to reflect the location of the data directory that you created earlier in the installation process.
You can also take a look at the ports section and see that I set it to 8092. You can reconfigure this to something else if you'd like.
Installation
Now that we have a docker compose file created and a data directory for our container's data to live in, it's time to bring the container up. To do this, all that is needed is to run docker-compose up -d. Doing so will let your docker compose file do its thing and spin up the container.
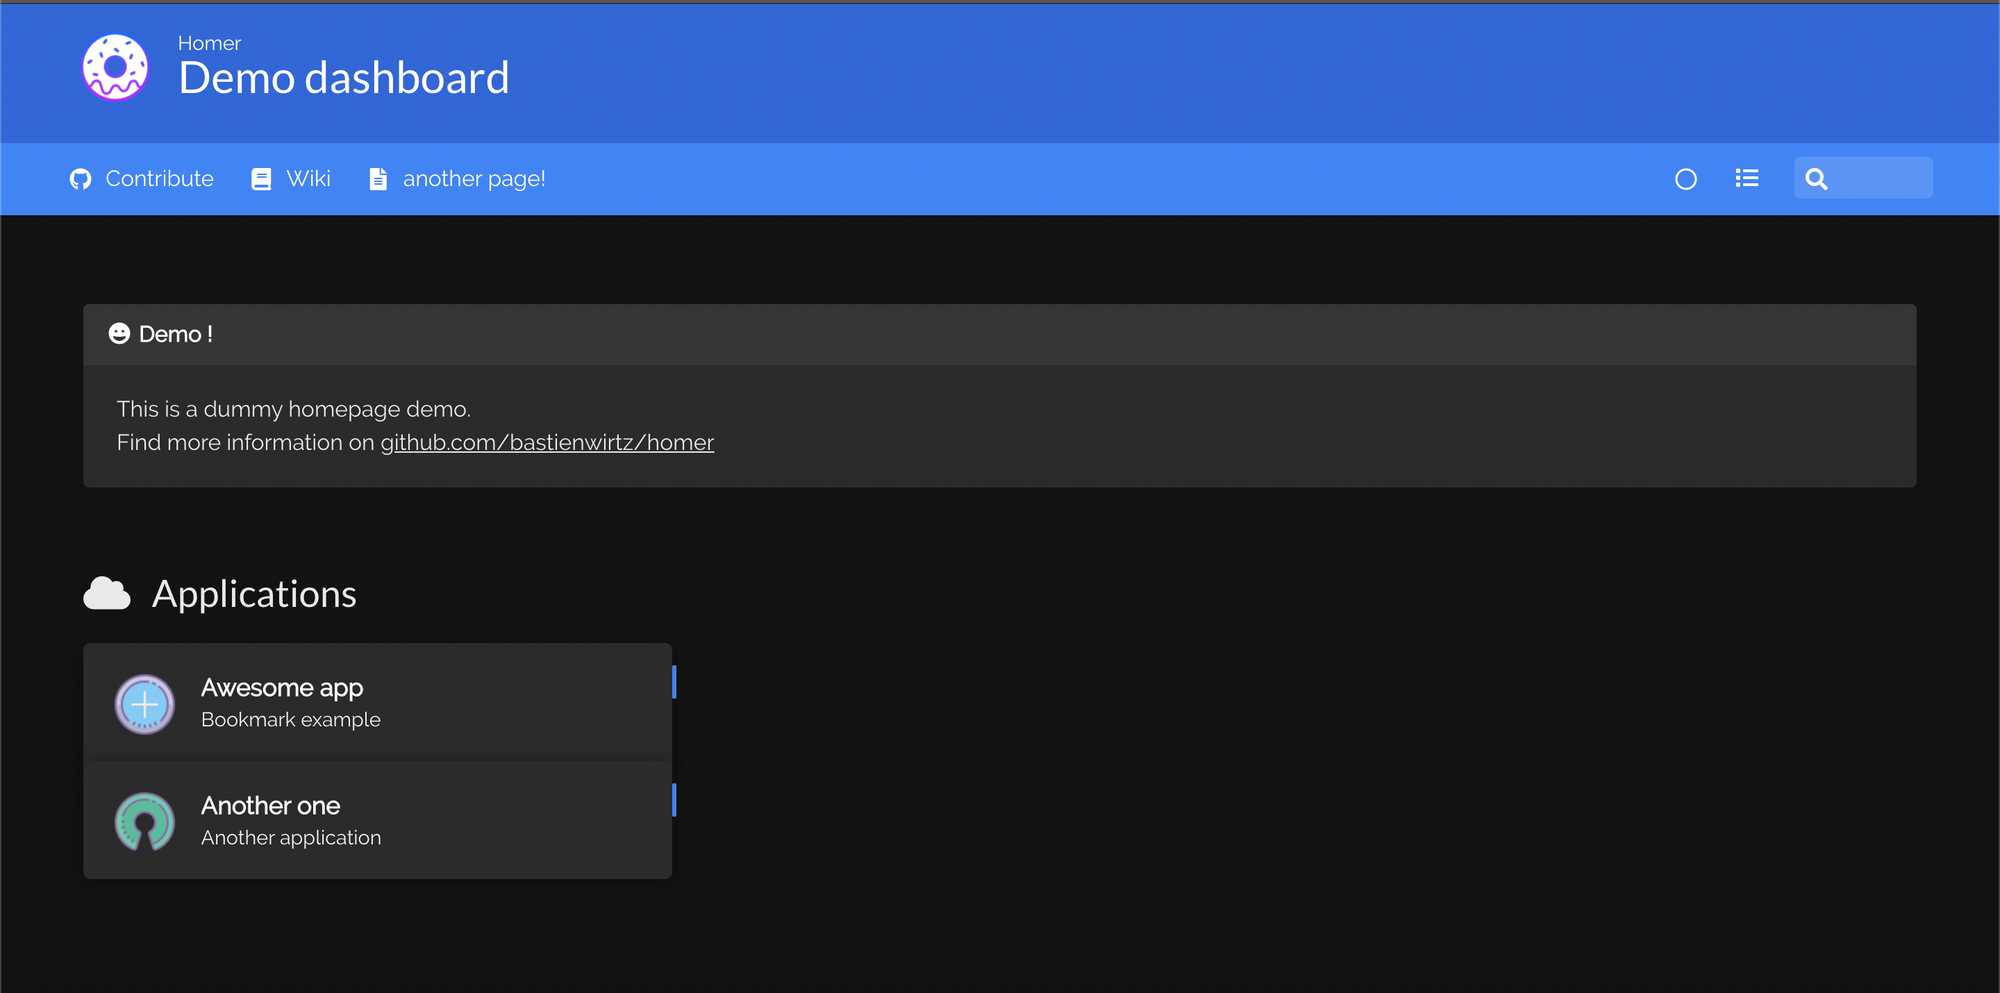
Once done, that's all there is to it! You should now be able to access Homer by visiting http://<ip of your server>:<port>. In my case, it would be http://10.10.80.192:8092/.

You will be presented with this "Demo Dashboard".
If you'd like to learn more about how you can customize your newly created dashboard, check out my new post, showing you how to do exactly that:
https://tcude.net/configuring-homer-dashboard/
I hope you found this guide helpful. If you did, consider adding my site to your RSS reader using the following URL: