Using Terraform with Proxmox
As a promised follow-up to my previous post, today I will outline the process necessary to set up and utilize HashiCorp Terraform within Proxmox.
To preface, Terraform is an infrastructure as code tool, letting you spin up, modify, and destroy infrastructure. Terraform is extremely versatile, utilizing Terraform Providers to interface with with the APIs of everything from cloud providers, such as AWS, to on-prem hypervisors, like Proxmox or VMWare.
Unfortunately, there is no 0fficial provider for Proxmox so we will be making use of Telmate's Proxmox provider, listed here. While not official, I have found it to be stable and entirely sufficient for someone to familiarize themselves with Terraform in the comfort of their Proxmox lab.
Special thanks to Austin over at his site for providing some valuable info to build on.
Getting Started
Installation
To start out, you will need to first download and install Terraform onto the client device that you will be running your Terraform commands from. Commands issued from your client will be used by Terraform to then perform your instructions on your Proxmox host.
Terraform can be installed on most common OS's, and for my purposes, I will be installing it on my MacBook Pro using Homebrew:
brew tap hashicorp/tap
brew install hashicorp/tap/terraform
Additional installation instructions for other OS's can be found here: https://developer.hashicorp.com/terraform/downloads
Preparing Proxmox
Before we can start spinning things up with Terraform, we must first configure Proxmox to be able to communicate with Terraform.
pveum role add terraform-role -privs "VM.Allocate VM.Clone VM.Config.CDROM VM.Config.CPU VM.Config.Cloudinit VM.Config.Disk VM.Config.HWType VM.Config.Memory VM.Config.Network VM.Config.Options VM.Monitor VM.Audit VM.PowerMgmt Datastore.AllocateSpace Datastore.Audit"
Start by SSH'ing to your Proxmox server and create the terraform-role. The privs, as you might suspect, appended to the end of this command, limit the scope of what this new terraform-role can and cannot do.
Next, create the terraform user and authentication token.
pveum user add terraform@pve
pveum aclmod / -user terraform@pve -role terraform-role
pveum user token add terraform@pve terraform-token --privsep=0
After running the last command, you will be presented with your token. Please make note of this token now, as you will not be able to retrieve it again in the future.
┌──────────────┬──────────────────────────────────────┐
│ key          │ value                                │
╞══════════════╪══════════════════════════════════════╡
│ full-tokenid │ terraform@pve!terraform-token        │
├──────────────┼──────────────────────────────────────┤
│ info         │ {"privsep":"0"}                      │
├──────────────┼──────────────────────────────────────┤
│ value        │ XXXXX-XXXXX-XXXXX-XXXXX-XXXXX        │
└──────────────┴──────────────────────────────────────┘
Setting up Terraform on your Local Environment
It is time to move back over to the machine you will be running your Terraform commands from. For my use-case, I will be performing these on my MacBook.
Start by creating a directory that you'd like for your Terraform code to live in. For the purposes of this post, mine will be living in a directory named blog_demo
Creating a .gitignore file
Next, assuming you will be using some sort of git/source control for your Terraform code, I'd highly suggest creating a .gitignore file. You can find the one I am using here.
Establishing Secrets
Next, establish a file you'd like for your secrets to live in. Keeping in mind the .gitignore file we just created, I chose to use a file named terraform.tfvars, as it would be excluded from any sort of git/source control pushes in the future.
My terraform.tfvars file looks as follows:
token_secret = "XXXXX-XXXXX-XXXXX-XXXXX-XXXXX"
token_id = "terraform@pve!terraform-token"
Establishing Variables
Next, you will need to establish variables you'd like to use within your Terraform project. While these could be hard-coded within your main.tf file (which we will cover next), it is easier for you to establish these separately for convenience in future projects.
To establish your variables, create a file named vars.tf and give it the following variables:
#Set your public SSH key here
variable "ssh_key" {
  default = "your_public_ssh_key_here"
}
#Establish which Proxmox host you'd like to spin a VM up on
variable "proxmox_host" {
    default = "proxmox_host_name"
}
#Specify which template name you'd like to use
variable "template_name" {
    default = "ubuntu-2204-template"
}
#Establish which nic you would like to utilize
variable "nic_name" {
    default = "vmbr<number>"
}
#Establish the VLAN you'd like to use
variable "vlan_num" {
    default = "place_vlan_number_here"
}
#Provide the url of the host you would like the API to communicate on.
#It is safe to default to setting this as the URL for what you used
#as your `proxmox_host`, although they can be different
variable "api_url" {
    default = "https://<proxmox_host_ip>:8006/api2/json"
}
#Blank var for use by terraform.tfvars
variable "token_secret" {
}
#Blank var for use by terraform.tfvars
variable "token_id" {
}
Creating your main.tf file
Lastly, you will need to create your main.tf file. This is where everything comes together. Your various variable files will be referenced here and it is also where you will need to establish your provider.
terraform {
  required_providers {
    proxmox = {
      source = "telmate/proxmox"
      #latest version as of Nov 30 2022
      version = "2.9.11"
    }
  }
}

provider "proxmox" {
  # References our vars.tf file to plug in the api_url
  pm_api_url = var.api_url
  # References our secrets.tfvars file to plug in our token_id
  pm_api_token_id = var.token_id
  # References our secrets.tfvars to plug in our token_secret
  pm_api_token_secret = var.token_secret
  # Default to `true` unless you have TLS working within your pve setup
  pm_tls_insecure = true
}

# Creates a proxmox_vm_qemu entity named blog_demo_test
resource "proxmox_vm_qemu" "blog_demo_test" {
  name = "test_vm${count.index + 1}" # count.index starts at 0
  #name = "test-vm-01"
  count = 1 # Establishes how many instances will be created
  target_node = var.proxmox_host

  # References our vars.tf file to plug in our template name
  clone = var.template_name
  # Creates a full clone, rather than linked clone
  # https://pve.proxmox.com/wiki/VM_Templates_and_Clones
  full_clone  = "true"

  # VM Settings. `agent = 1` enables qemu-guest-agent
  agent = 1
  os_type = "cloud-init"
  cores = 2
  sockets = 1
  cpu = "host"
  memory = 2048
  scsihw = "virtio-scsi-pci"
  bootdisk = "scsi0"

  disk {
    slot = 0
    size = "50G"
    type = "scsi"
    storage = "intel-storage" # Name of storage local to the host you are spinning the VM up on
    # Enables SSD emulation
    ssd = 1
    # Enables thin-provisioning
    discard = "on"
    #iothread = 1
  }

  network {
    model = "virtio"
    bridge = var.nic_name
    tag = var.vlan_num # This tag can be left off if you are not taking advantage of VLANs
  }


  lifecycle {
    ignore_changes = [
      network,
    ]
  }
  #provisioner "local-exec" {
    # Provisioner commands can be run here.
    # We will use provisioner functionality to kick off ansible
    # playbooks in the future
    #command = "touch /home/tcude/test.txt"
  #}
}
Using Terraform
Now that you have configured all of the various files needed in order to spin up a VM within Proxmox, let's get started with utilizing Terraform to do so.
To start, ensure that all of your previously created files are within the same directory/project:
➜  blog_demo git:(master) ✗ ls -l
total 24
-rw-r--r--  1 tcude  staff  2038 Nov 30 16:37 main.tf
-rw-r--r--  1 tcude  staff   194 Nov 30 15:50 secrets.tfvars
-rw-r--r--  1 tcude  staff   830 Nov 30 16:10 vars.tf
Initialize Terraform
Next, run the command terraform init. This will initialize a new working directory for use with Terraform. More can be read about this command here.
Assuming that everything works correctly, you should see output similar to this:
➜  blog_demo git:(master) ✗ terraform init

Initializing the backend...

Initializing provider plugins...
- Finding telmate/proxmox versions matching "2.9.11"...
- Installing telmate/proxmox v2.9.11...
- Installed telmate/proxmox v2.9.11 (self-signed, key ID A9EBBE091B35AFCE)

Partner and community providers are signed by their developers.
If you'd like to know more about provider signing, you can read about it here:
https://www.terraform.io/docs/cli/plugins/signing.html

Terraform has created a lock file .terraform.lock.hcl to record the provider
selections it made above. Include this file in your version control repository
so that Terraform can guarantee to make the same selections by default when
you run "terraform init" in the future.

Terraform has been successfully initialized!

You may now begin working with Terraform. Try running "terraform plan" to see
any changes that are required for your infrastructure. All Terraform commands
should now work.

If you ever set or change modules or backend configuration for Terraform,
rerun this command to reinitialize your working directory. If you forget, other
commands will detect it and remind you to do so if necessary.
Planning
Now that we have an initialized project, let's run a terraform plan command. This will give us output indicating what will be created, modified, or destroyed by Terraform.
It is generally a good idea to specify an -out file to save this generated plan to, rather than relying on a speculative plan.
terraform plan -out plan
Once run, you should receive output that looks similar to the following:

Assuming your output looks similar to mine, you should now be ready to move to the final step
Applying the Terraform Plan
After all of your hard work, you are now ready to apply your plan and spin up a VM within your Proxmox server!
Doing so is as simple as running the command terraform apply plan. This will use our saved plan file and apply it.
Assuming things run successfully, you should see the following output:
Apply complete! Resources: 1 added, 0 changed, 0 destroyed.
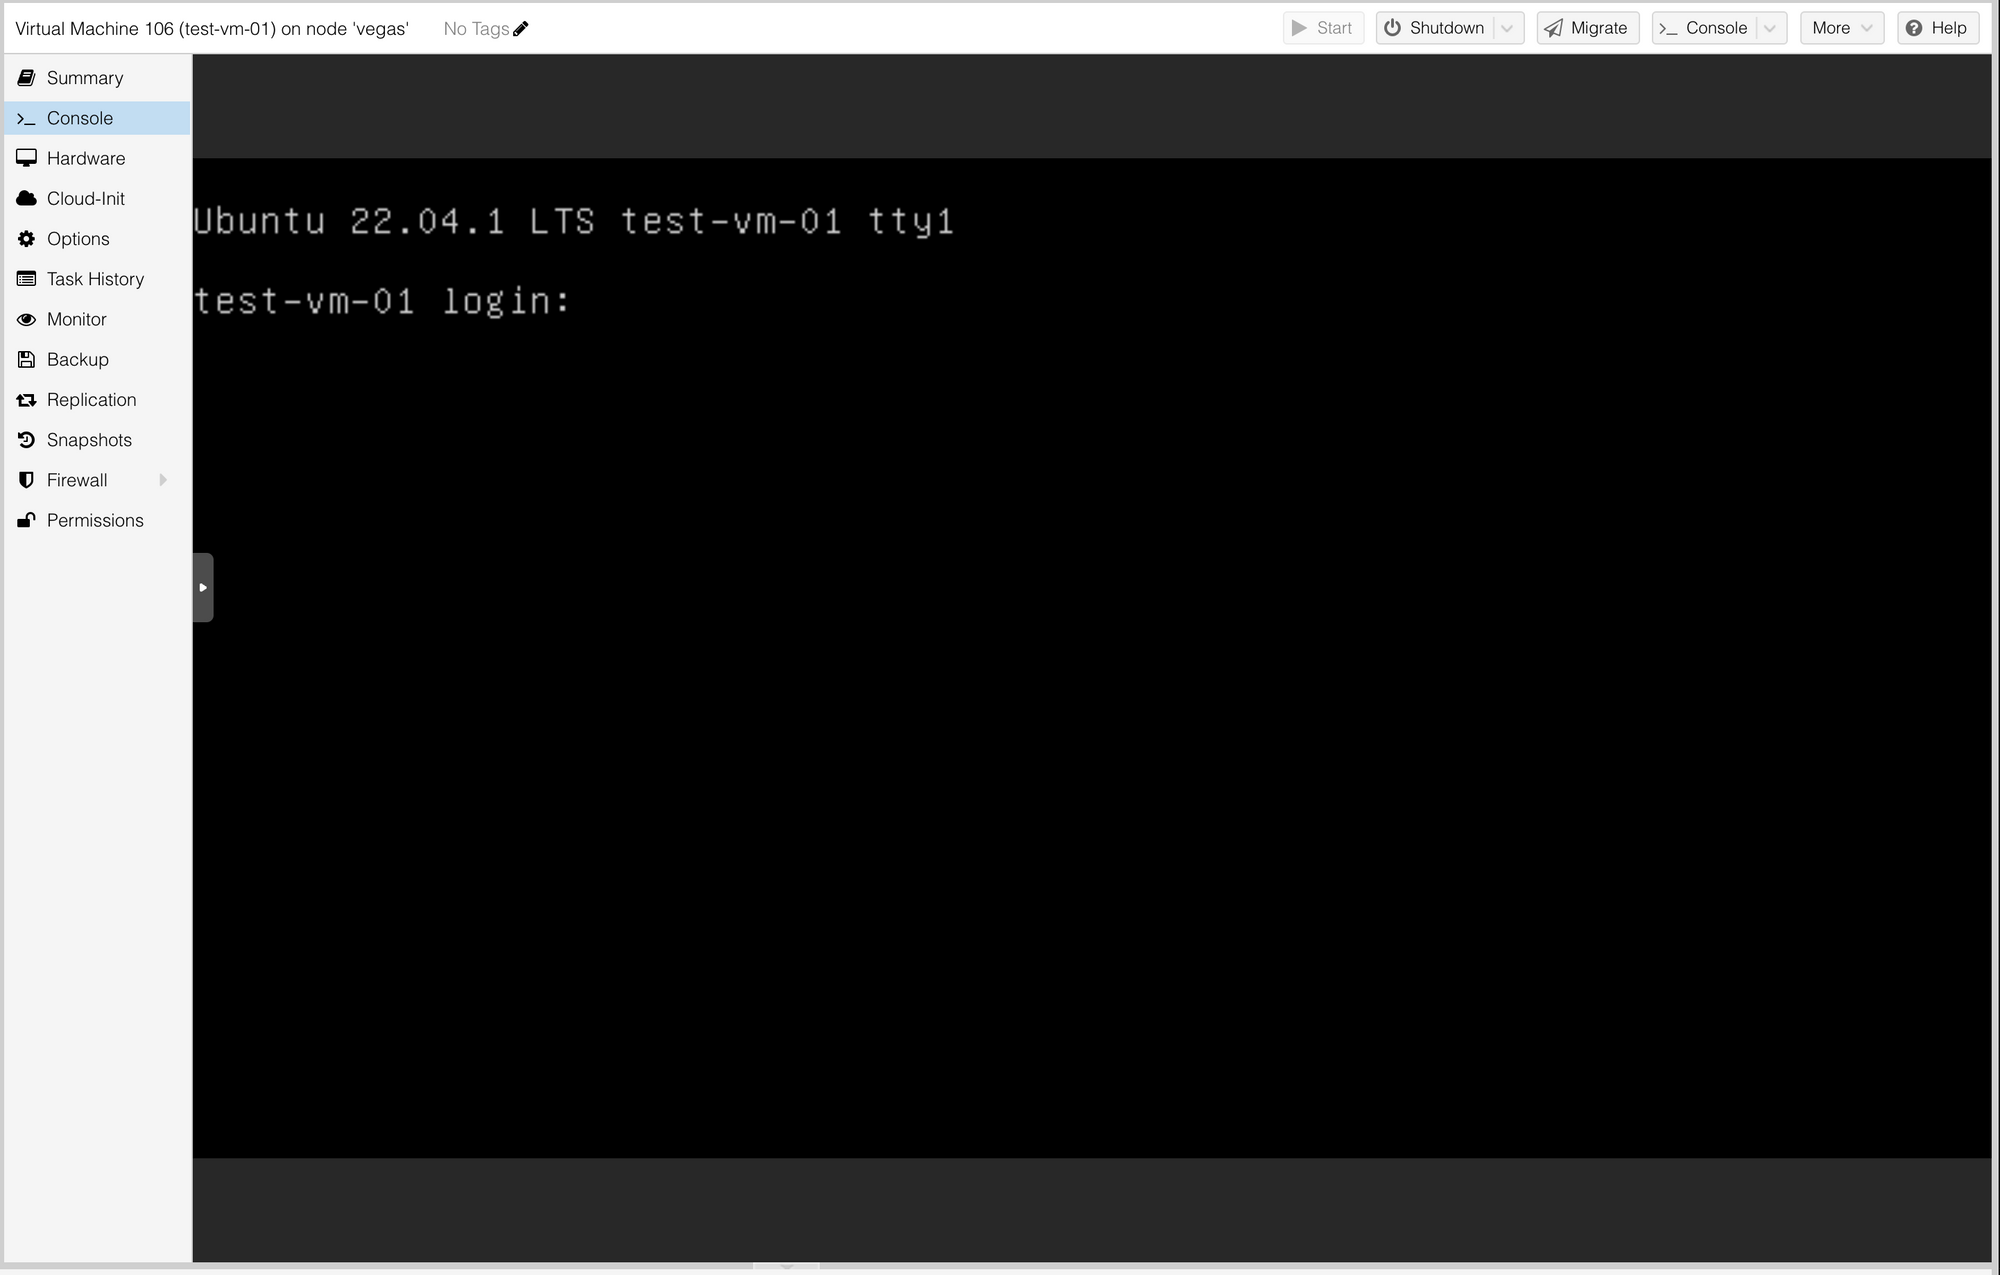
And here we can see that the new VM shows up within the Proxmox GUI
Deleting a VM with Terraform
Now that you have successfully spun up a VM with Terraform, it is important to know how to delete an existing VM.
Doing so is as simple as ensuring you're cd'd into the corresponding Terraform project directory and then running the command terraform destroy
Doing so will then present you with an output somewhat similar to what you would see when running a terraform apply but this time, shows everything Terraform will be deleting.
Upon successfully deleting your instance with terraform-destroy, you will be presented with the following output:

Conclusion
While it was a bit of lengthy process to get all of this working together, I hope you found it useful. Terraform is fairly ubiquitous in enterprise environments and being able to utilize it within a homelab setting can be very valuable for learning.
I hope you found this post helpful. If you did, please consider subscribing to my RSS feed to see future posts:
Resources
 Telmate